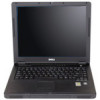
Dell Inspiron 1000 Setup Diagram
Dell Inspiron 1000 Manual
 |
View all Dell Inspiron 1000 manuals
Add to My Manuals
Save this manual to your list of manuals |
Dell Inspiron 1000 manual content summary:
- Dell Inspiron 1000 | Setup Diagram - Page 1
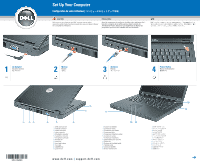
and operate your Dell™ computer, see the safety instructions in the Product Information Guide. Also, see your Owner's Manual for a complete AC adapter connector 6. headphone connector 7. microphone connector 8. PC Card slot 9. hard drive 10. touch pad buttons 11. touch pad 12. CD/DVD drive 13. power - Dell Inspiron 1000 | Setup Diagram - Page 2
Owner's Manual for information on setting up devices like printers. See the Dell™ Inspiron™ Help file for information on using your computer and operating system. To access the Dell Inspiron Help file: 1. Click the Start button and click Help and Support. 2. Click User and system guides and click
-
 1
1 -
 2
2
 |
 |
www.dell.com
|
support.dell.com
Set Up Your Computer
Configuration de votre ordinateur |
2
1
8
9
10
11
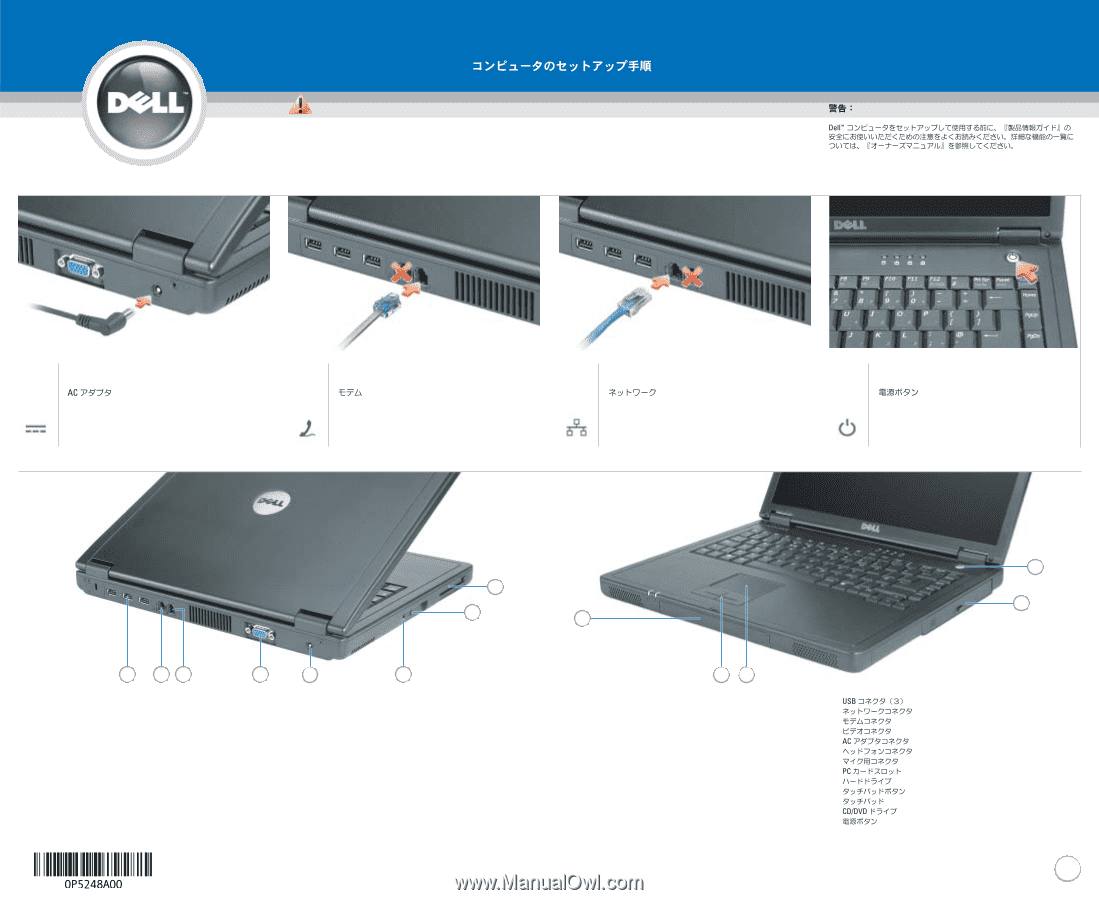
CAUTION:
Before you set up and operate your Dell
™
computer, see the safety
instructions in the
Product Information Guide
. Also, see your
Owner's Manual
for a complete list of featurest.
PRÉCAUTION :
Avant de commencer à configurer et utiliser votre ordinateur
Dell
™
,
lisez les consignes de sécurité exposées dans le
Guide des
Informations Produit
.
Reportez-vous également au
Manuel du
propriétaire
pour une liste complète des fonctionnalités.
7
3
5
6
4
13
12
➔
1.
USB connectors (3)
2.
network connector
3.
modem connector
4.
video connector
5.
AC adapter connector
6.
headphone connector
7.
microphone connector
8.
PC Card slot
9.
hard drive
10.
touch pad buttons
11.
touch pad
12.
CD/DVD drive
13.
power button
1.
Connecteurs USB (3)
2.
Connecteur réseau
3.
Connecteur pour modem
4.
Connecteur vidéo
5.
Connecteur d’adapteur secteur
6.
Connecteur casque
7.
Connecteur microphone
8.
Emplacement pour carte PC
9.
Disque dur
10.
Boutons de la tablette tactile
11.
Tablette tactile
12.
Lecteur de CD/DVD
13.
Bouton d’alimentation
1.
2.
3.
4.
5.
6.
7.
8.
9.
10.
11.
12.
13.
AC Adapter
Adapteur secteur
1
Modem
Modem
2
Network
Réseau
3
Power Button
Bouton d'alimentation
4