Dirt Devil M082476 Revision 5 (11/2001)
Dirt Devil M082476 Manual
 |
View all Dirt Devil M082476 manuals
Add to My Manuals
Save this manual to your list of manuals |
Dirt Devil M082476 manual content summary:
- Dirt Devil M082476 | Revision 5 (11/2001) - Page 1
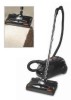
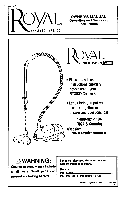
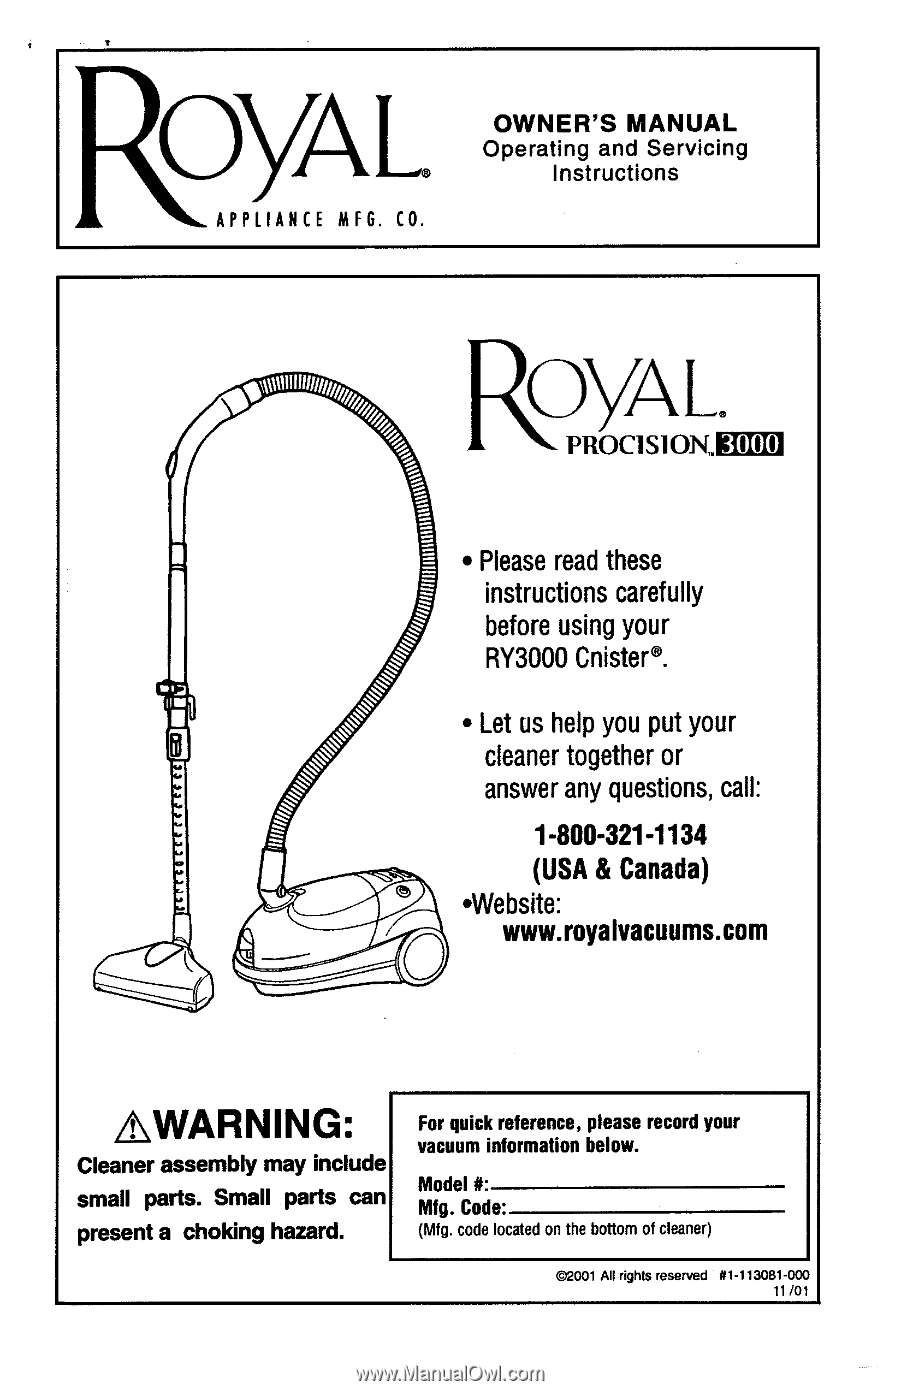
MFG. CO. OWNER'S MANUAL Operating and Servicing Instructions Please read these instructions carefully before using your RY3000 Cleaner assembly may include small parts. Small parts can present a choking hazard. For quick reference, please record your vacuum information below. Model #: Mfg. Code: - Dirt Devil M082476 | Revision 5 (11/2001) - Page 2
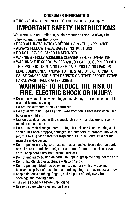
VACUUM IS INTENDED FOR HOUSEHOLD USE ONLY. IMPORTANT SAFETY INSTRUCTIONS When you use an appliance, basic precautions should always be followed, including the following: READ ALL INSTRUCTIONS BEFORE USING THlS APPLIANCE ALWAYS FOLLOW THESE SAFETY INSTRUCTIONS before servicing. Do in this manual. Use - Dirt Devil M082476 | Revision 5 (11/2001) - Page 3
all label and marking instructions. Do not use an extension cord with this cleaner. Keep end of hose, wands and other openings away from your face and body. Keep your hands, feet, hair and clothing away from moving parts. Do not use the vacuum cleaner without dust bag andlor filters in place. Store - Dirt Devil M082476 | Revision 5 (11/2001) - Page 4
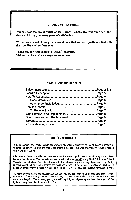
Page 7 To Reduce Suction Page 7 Bag: Removaland Replacement Page 8 Filter: Removal and Replacement Page 9 Storage Page 9 Troubleshooting Guide Page 10 LIMITED WARRANTY I I To the consumer, Royal Appliance Mfg. Co. warrants this vacuum cleaner to be free of defects in material or workmanship - Dirt Devil M082476 | Revision 5 (11/2001) - Page 5
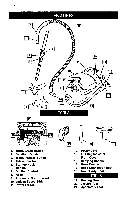
1. Turbo Brush Nozzle 2. Barefloor Brush 3. Wand Release Button 4. Telescopic Wand 5. Storage Hook 6. Handle 7. Suction Control 8. Hose 9. Automatic Cord Rewind 10. Variablespeed Slider 11. Power Switch 12. Power Cord 13. Full Bag Indicator 14. Front Cover 15. Carrying Handle 16. Hose Connection 17 - Dirt Devil M082476 | Revision 5 (11/2001) - Page 6
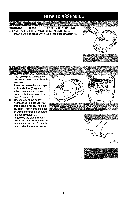
or wand end until it is secured in place (Diagram 3). 4. To remove the tool, pull apart gently. You may gently rotate the attachment b a a and forth a little to make the removal easier. - Dirt Devil M082476 | Revision 5 (11/2001) - Page 7
1. Connect metal telescopic wand to the hose handle. Extend length by pressing - down on release buttonand pulling the bottom portion of the wand down (Diagram 1). 2. Push end of wand into desired cleaning nozzle. & - driven brushroll for clean- attach. Dresswand onto - b. Barefloor Brush to be used - Dirt Devil M082476 | Revision 5 (11/2001) - Page 8
) of the bag chamber (Diagram 3). 1. Insert a new bag into bag chamber by inserting the THIS SIDE DOWN"portion of the bag collar into the bag guides (Diagram 1). Secure in place by locking the bag collar under the release latch (hinge). 2. Return bag and bag chamber to the cleaner by sliding the - Dirt Devil M082476 | Revision 5 (11/2001) - Page 9
located inside the cleaner behind the paper bag. 1. Ooen front cover. 2 Remove bag chamber and paper bag. 3. Pull up on the old filter and replace with the new filter. To turn power off, press power switch again (Diagram 1). Remove plug from the wall power outlet. To stow power cord in its storage - Dirt Devil M082476 | Revision 5 (11/2001) - Page 10
fuse or breaker in home. Replace fuselreset breaker. 3. Take to service center or call 1-800-321-1134. 4. Review bottom of safety instructions-Pg.3 OR call 1-800-321-1134. Cleaner won't pick-up or low suction 1. Dirt bag not installed correctly. 2. Dirt bag full. 3. Nouleldirt passage hose clogged
-
 1
1 -
 2
2 -
 3
3 -
 4
4 -
 5
5 -
 6
6 -
 7
7 -
8
-
9
-
10
 |
 |
OWNER'S
MANUAL
Operating and Servicing
Instructions
APPLIANCE
MFG.
CO.
Please read these
instructions carefully
before using your
RY3000
Cnister?
Let us help you put your
cleaner together or
answer any questions, call:
1-800-321-1134
(USA
&
Canada)
.We bsite:
www.royaIvacuums.com
02001
All
rights reserved
#I-113081-000
11
101
AWARNING:
Cleaner assembly may include
small parts. Small parts
can
present a choking hazard.
For quick reference, please record your
vacuum information below.
Model
#:
Mfg.
Code:
(M~Q.
code located on the bottom of cleaner)