Epson PowerLite 825 Quick Setup
Epson PowerLite 825 Manual
 |
View all Epson PowerLite 825 manuals
Add to My Manuals
Save this manual to your list of manuals |
Epson PowerLite 825 manual content summary:
- Epson PowerLite 825 | Quick Setup - Page 1
PowerLite® 85/825/826W Quick Setup Before using the projector, make sure you read the safety instructions in the User's Guide on your projector CD. Connect the projector Choose from the following connections: Computer Monitor Port Connect a computer using the VGA cable that came with the projector. - Epson PowerLite 825 | Quick Setup - Page 2
camera Thumb drive DC-06 document camera If you connect a digital camera or USB storage device, you can use the projector's Slideshow feature. See the EasyMP Operation Guide on your projector CD. For information on playing sound through the projector or connecting an external monitor, see the User - Epson PowerLite 825 | Quick Setup - Page 3
to cool down. Adjust the image 1 If you don't see an image, press the Source Search button on the projector or the Search button on the remote control to select the image source. NOTE: If you still see a blank screen or have other display problems, see the troubleshooting tips on the back of this - Epson PowerLite 825 | Quick Setup - Page 4
squarely. 5 If your image looks like or , press the or buttons on the projector to correct it. Using projector menus Choose which source to display Control projector volume You can use the remote control to operate the projector. With the USB cable, you can use the remote as a wireless - Epson PowerLite 825 | Quick Setup - Page 5
, click Disconnect on the toolbar. NOTE: Using the optional Wireless LAN module, you can project wirelessly. To purchase the Wireless LAN module or other accessories, see "Optional Accessories." For more information about using the projector on a network, see your User's Guide and EasyMP Operation - Epson PowerLite 825 | Quick Setup - Page 6
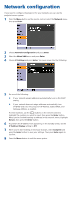
a screen like the following: 5 Do one of the following: • If your network assigns addresses automatically, turn on the DHCP setting. • If your network does not assign addresses automatically, turn off DHCP and enter the projector's IP Address, Subnet Mask, and Gateway Address, as needed. To enter - Epson PowerLite 825 | Quick Setup - Page 7
to hold down the Fn key while pressing it. If the projector and notebook don't display the same image... Windows Try using the CRT/LCD or key as described above. On most systems, this key lets you toggle between the LCD screen and the projector, or display on both at the same time. If that - Epson PowerLite 825 | Quick Setup - Page 8
information about using the projector, install the manuals from your projector CD. Telephone Support Services To use the Epson PrivateLine® Support service, call (800) 637-7661 and enter the PIN on the Epson PrivateLine Support card included with your projector. This service is available 6 AM to
-
 1
1 -
 2
2 -
 3
3 -
 4
4 -
 5
5 -
 6
6 -
 7
7 -
8
 |
 |
Quick Setup
Before using the projector, make sure you read the safety instructions in the
User’s Guide
on your projector CD.
Connect the projector
Choose from the following connections:
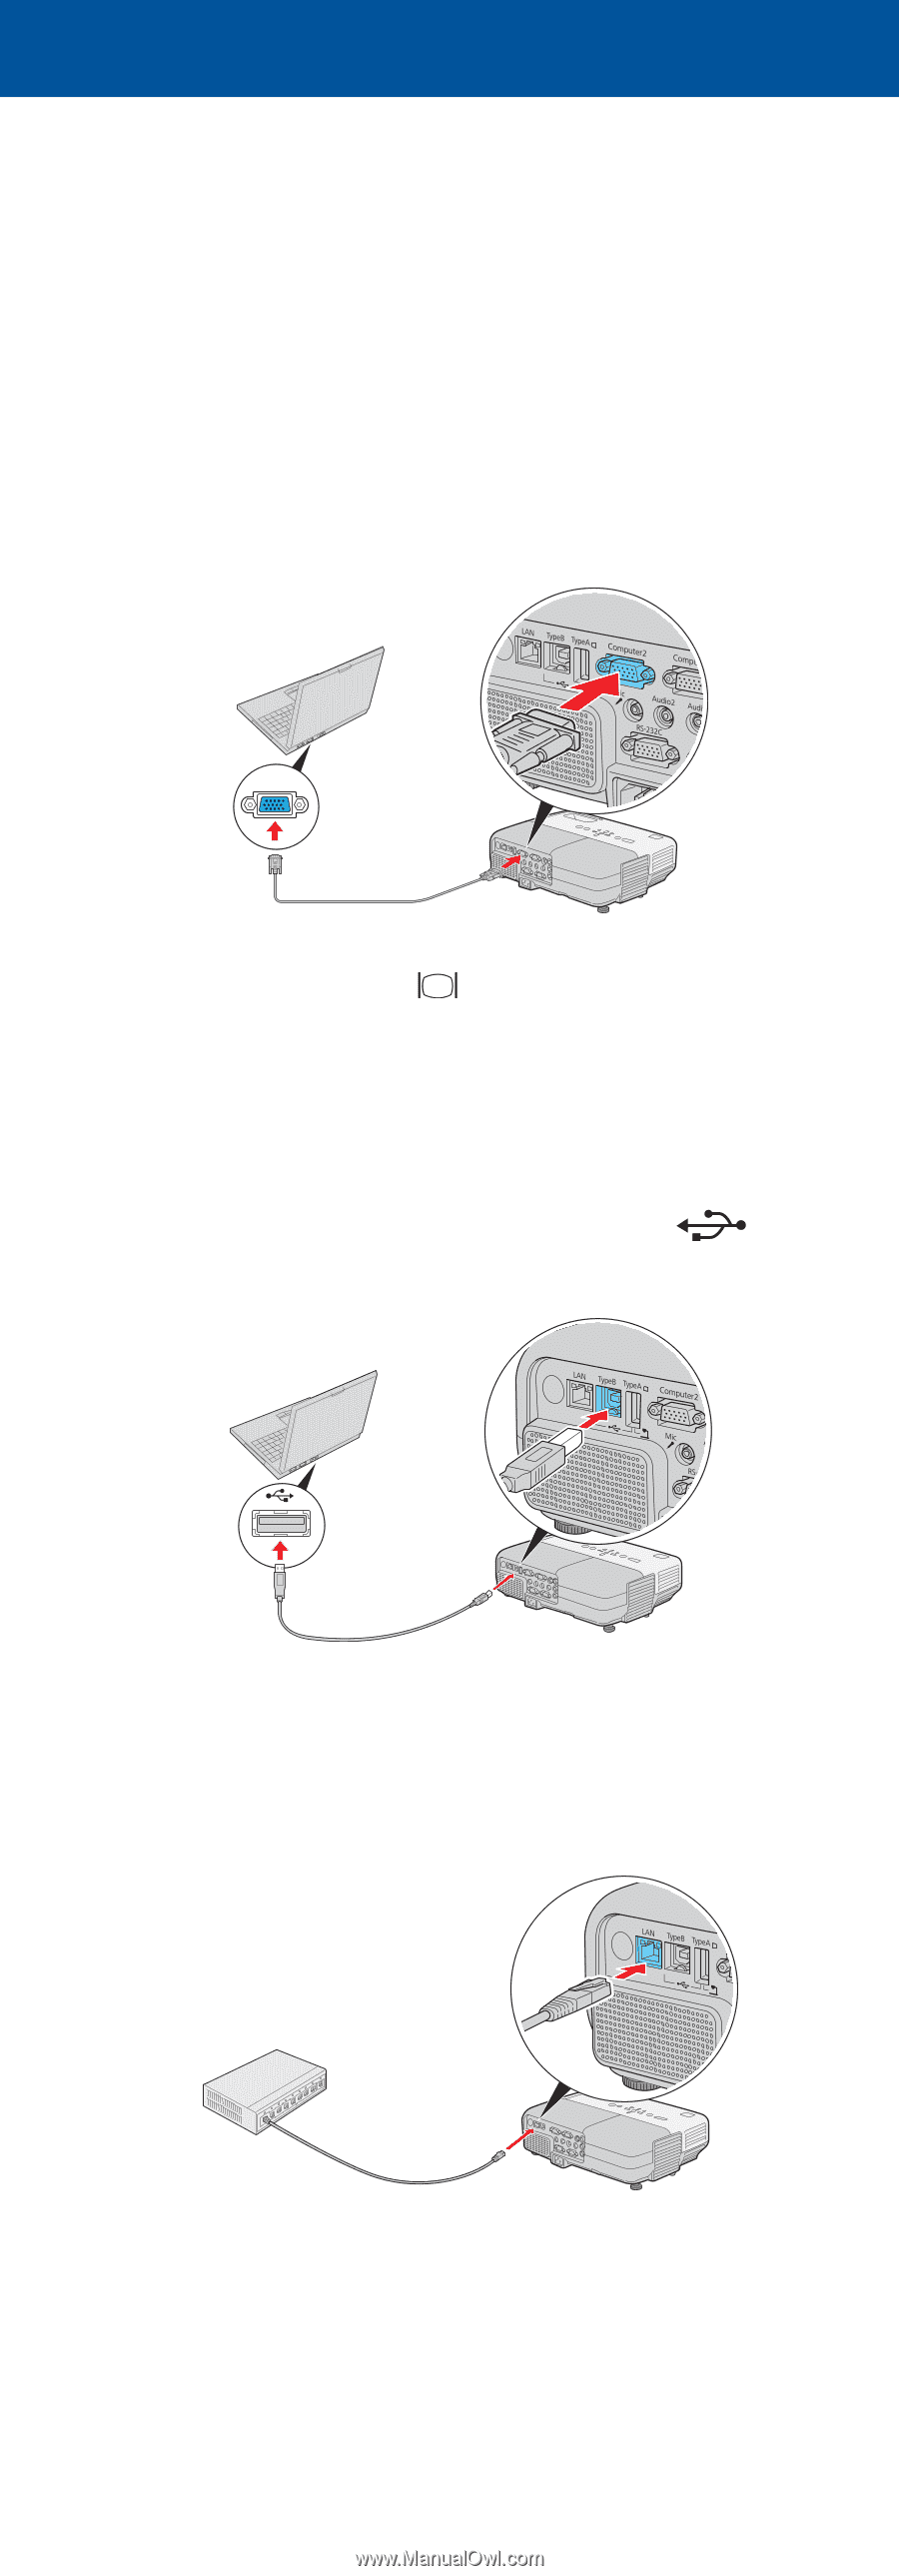
Computer Monitor Port
Connect a computer using the VGA cable that came with the projector.
Connect one end to the projector’s
Computer1
or
Computer2
port, and
the other end to your computer’s
monitor port. If you are using a
notebook, switch it to external display. You can also connect an audio cable or
microphone.
Computer USB Port
Connect a computer (Windows
®
2000 or later only) using the USB cable that
came with the projector.
Connect the square end of the USB cable to the projector’s
Type B
(square) USB port. Connect the flat end of the cable to any USB port on your
computer. You can also connect an audio cable or microphone.
Follow the on-screen instructions to install the Epson USB Display software.
Then press the
USB
button on the remote control.
Network (LAN)
Connect the projector to your network using an Ethernet
®
cable. See “Project
Over the Network” on the back of this sheet for more information.
PowerLite
®
85/825/826W
*411676200*
*411676200*