Garmin GPSMAP 172C Flush Mount Template
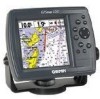
Garmin GPSMAP 172C - Marine GPS Receiver Manual
 |
UPC - 753759043537
View all Garmin GPSMAP 172C manuals
Add to My Manuals
Save this manual to your list of manuals |
Garmin GPSMAP 172C manual content summary:
- Garmin GPSMAP 172C | Flush Mount Template - Page 1
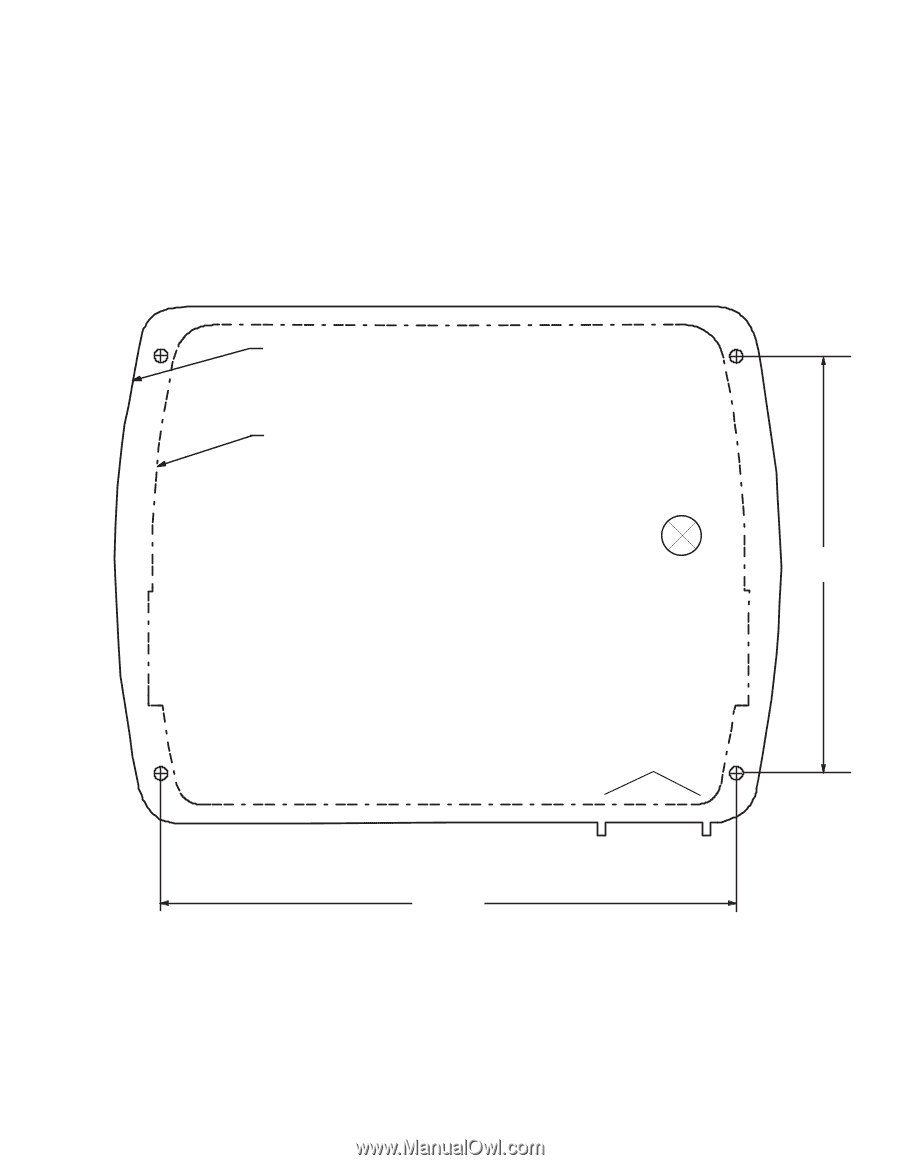
GPSMAP 172C/178C (EXTERNAL ANTENNA data card cover handles and for the data card cover to swing open freely. 100.0 mm (3.93") 138.0 mm (5.43") © Copyright 2004 Garmin Ltd. or its subsidiaries Garmin International, Inc. 1200 East 151st Street, Olathe, Kansas 66062, U.S.A. www.garmin.com Part
-
 1
1
 |
 |
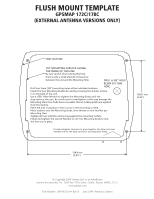
FLUSH MOUNT TEMPLATE
GPSMAP 172C/178C
(EXTERNAL ANTENNA VERSIONS ONLY)
© Copyright 2004 Garmin Ltd. or its subsidiaries
Garmin International, Inc. 1200 East 151st Street, Olathe, Kansas
66062, U.S.A.
www.garmin.com
Part Number
190-00321-04
Rev. B
June 2004
Printed in Taiwan
(3.93")
100.0
mm
DRILL A 3/8" HOLE.
BEGIN CUTTING
HERE
CUT MOUNTING SURFACE ALONG
THE INSIDE OF THIS LINE
UNIT OUTLINE
Be very careful when cutting this hole,
there is only a small amount of clearance
between the unit and the Mounting Hole.
Drill four 3mm (1/8") mounting holes at the indicated locations.
Install the four Mounting Studs into unit by screwing the shorter section
in to the back of the unit.
Use a .050" Allen Wrench to tighten the Mounting Studs until the
stop contacts the case. Be careful not to overtighten as this may damage the
Mounting Stud! The studs have a reusable thread-locking patch pre-applied
from the factory.
Place the unit in position in the cut out in the mounting surface.
Place washers over the Mounting Studs, then thread on one Hex Nut per
Mounting Stud.
Tighten all four until the unit is snug against the mounting surface.
Install and tighten the second Hex Nut on all four Mounting Studs to lock
the first one in place.
Provide adequate clearance to press together the data card cover
handles and for the data card cover to swing open freely.
mm
(5.43")
138.0