Garmin GT51M-TH Installation Instructions
Garmin GT51M-TH Manual
 |
View all Garmin GT51M-TH manuals
Add to My Manuals
Save this manual to your list of manuals |
Garmin GT51M-TH manual content summary:
- Garmin GT51M-TH | Installation Instructions - Page 1
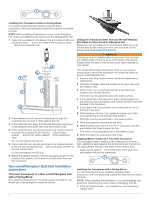
Thru-Hull Transducer Installation Instructions Important Safety Information WARNING See the Important Safety and Product Information guide in the product box for product warnings and other important information. The device must be installed with at least one of the included anti-rotation bolts. - Garmin GT51M-TH | Installation Instructions - Page 2
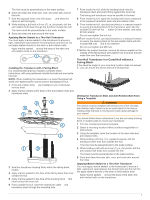
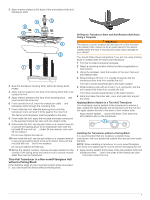
piece of wood. The wood becomes a cutting guide for the fairing block. 2 Measure the deadrise angle of the hull at the mounting location. 3 Tilt your table backing block inside the hull. Cored Fiberglass Boat Hull Installation Instructions Thru-Hull Transducer in a Cored Hull with a Fairing Block - Garmin GT51M-TH | Installation Instructions - Page 3
. Thru-Hull Transducer in a Cored Hull without a Fairing Block If the deadrise angle of your mounting location does not exceed 5°, you can mount the device without a fairing block. Drilling the Transducer Stem and Anti-Rotation Bolt Holes Using a Template WARNING The device must be installed with - Garmin GT51M-TH | Installation Instructions - Page 4
Apply marine sealant around the base of the stem and À anti-rotation bolts on the transducer. Non-cored/Fiberglass Boat Hull Installation Instructions Thru-Hull Transducer in a Non-cored/Fiberglass Hull with a Fairing Block If the deadrise angle of your mounting location exceeds 5°, you should use - Garmin GT51M-TH | Installation Instructions - Page 5
bolts on the transducer. Installing the Transducer without a Fairing Block It is recommended that two installers complete these instructions, with one positioned outside the boat and one inside the boat. NOTE: When installing a transducer in a non-cored fiberglass hull, avoid over-tightening - Garmin GT51M-TH | Installation Instructions - Page 6
boat and one inside the boat. 1 Secure the bushings to the anti-rotation bolts and À Á transducer stem . Â Metal Boat Hull Installation Instructions Thru-Hull Transducer in a Metal Hull with a Fairing Block If the deadrise angle of your mounting location exceeds 5°, you should use a fairing - Garmin GT51M-TH | Installation Instructions - Page 7
ensure smooth water flow over the transducer. Thru-Hull Transducer in a Metal Hull without a Fairing Block If the deadrise angle of your mounting location does not exceed 5°, you can mount the device without a fairing block. Installing the Transducer in a Metal Hull without a Fairing Block It is - Garmin GT51M-TH | Installation Instructions - Page 8
Installation NOTICE You should check your boat for leaks before you leave it in the water for an extended period of time. Because water is necessary to carry the sonar signal, the transducer to the hull of your transducer. Cleaning the Transducer Garmin® and the Garmin logo are trademarks of Garmin
-
 1
1 -
 2
2 -
 3
3 -
 4
4 -
 5
5 -
 6
6 -
 7
7 -
8
 |
 |
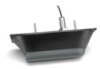
Thru-Hull Transducer
Installation Instructions
Important Safety Information
WARNING
See the
Important Safety and Product Information
guide in the
product box for product warnings and other important
information.
The device must be installed with at least one of the included
anti-rotation bolts. Failure to do so could result in the device
rotating while the boat is moving and could cause damage to
your vessel.
You are responsible for the safe and prudent operation of your
vessel. Sonar is a tool that enhances your awareness of the
water beneath your boat. It does not relieve you of the
responsibility of observing the water around your boat as you
navigate.
CAUTION
Failure to install and maintain this equipment in accordance with
these instructions could result in damage or injury.
Always wear safety goggles, ear protection, and a dust mask
when drilling, cutting, or sanding.
NOTICE
When drilling or cutting, always check what is on the opposite
side of the surface.
This equipment should be installed by a qualified marine
installer.
To obtain the best performance and to avoid damage to your
boat, you must install the Garmin
®
transducer according to these
instructions.
Read all installation instructions before proceeding with the
installation. If you experience difficulty during the installation,
contact Garmin Product Support.
Registering Your Device
Help us better support you by completing our online registration
today.
•
Go to
.
•
Keep the original sales receipt, or a photocopy, in a safe
place.
Contacting Garmin Product Support
•
Go to
www.garmin.com/support
for in-country support
information.
•
In the USA, call 913-397-8200 or 1-800-800-1020.
•
In the UK, call 0808 238 0000.
•
In Europe, call +44 (0) 870 850 1241.
Loading the New Software on a Memory Card
You must copy the software update to a memory card.
1
Insert a memory card into the card slot on the computer.
2
Go to
www.garmin.com/support/software/marine.html
.
3
Select
Download
next to “Garmin Marine Network with SD
card”.
4
Read and agree to the terms.
5
Select
Download
.
6
If necessary, select
Run
or save and open the file.
7
If necessary, select the drive associated with the memory
card, and select
Next
>
Finish
.
Updating the Device Software
Before you can update the software, you must obtain a
software-update memory card or load the latest software onto a
memory card.
1
Turn on the chartplotter.
2
After the home screen appears, insert the memory card into
the card slot.
NOTE:
In order for the software update instructions to
appear, the device must be fully booted before the card is
inserted.
3
Follow the on-screen instructions.
4
Wait several minutes while the software update process
completes.
The device returns to normal operation after the software
update process is complete.
5
Remove the memory card.
NOTE:
If the memory card is removed before the device
restarts fully, the software update is not complete.
Tools Needed
•
Drill
•
3 mm bit (
1
/
8
in.)
•
9 mm bit (
3
/
8
in.)
•
13 mm bit (
1
/
2
in.)
•
25 mm spade bit (1 in.) (fiberglass hull)
•
29 mm spade bit (1
1
/
8
in.) (fiberglass hull)
•
32 mm spade bit (1
1
/
4
in.) (fiberglass hull)
•
32 mm hole saw (1
1
/
4
in.) (metal hull)
•
Bandsaw or table saw
•
Slip-joint pliers or crescent wrench
•
Masking tape
•
Marine sealant
•
Epoxy or exposed core sealant (cored fiberglass hull)
About the Transducer
The transducer transmits and receives sound waves through the
water, and relays sound-wave information to your Garmin sonar
device.
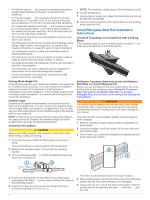
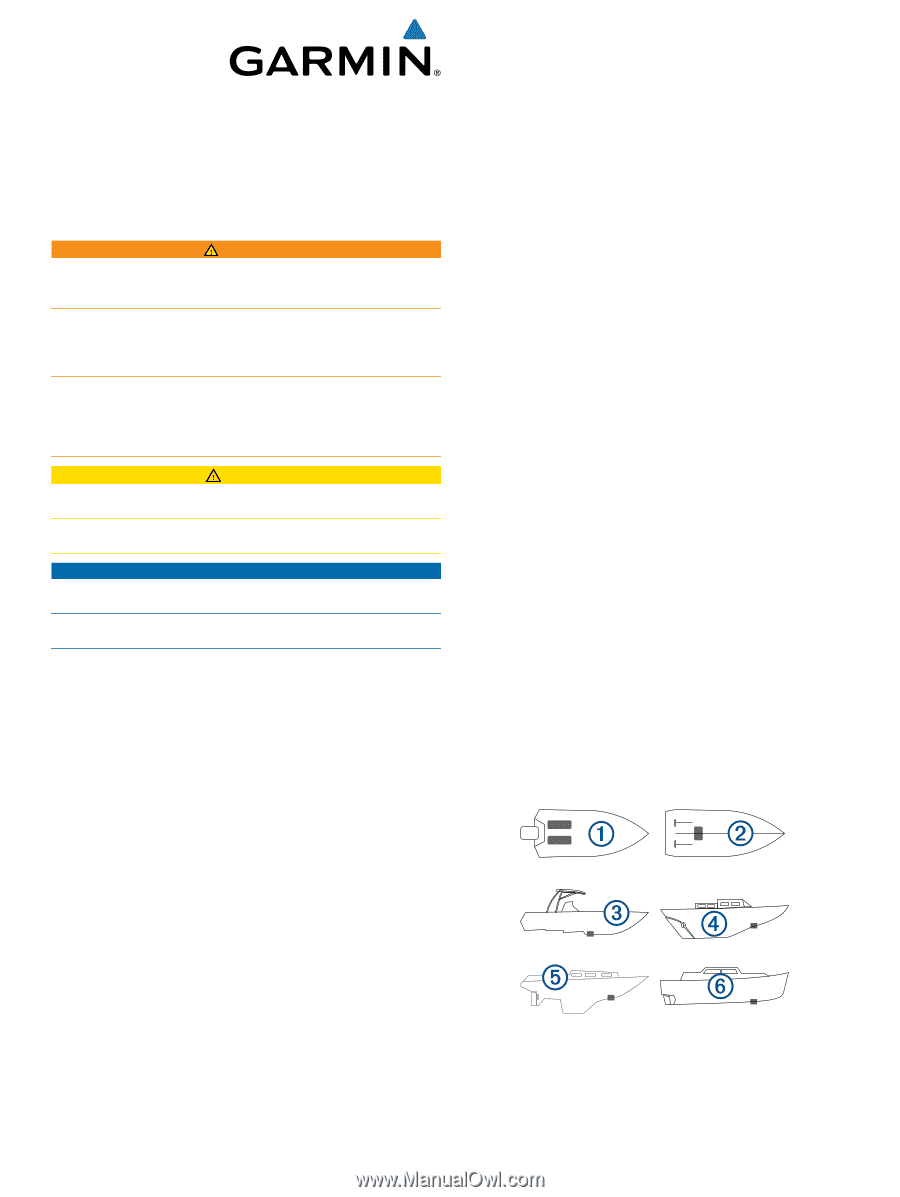
Mounting Location Considerations
•
On outboard and sterndrive vessels
À
, the transducer should
be mounted in front of and close to the engine or engines.
•
On inboard vessels
Á
, the transducer should be mounted in
front of and far away from the engine propeller and shaft.
•
On step-hull vessels
Â
, the transducer should be mounted in
front of the first step.
May 2015
Printed in Taiwan
190-01774-02_0B