Harbor Freight Tools 61484 User Manual
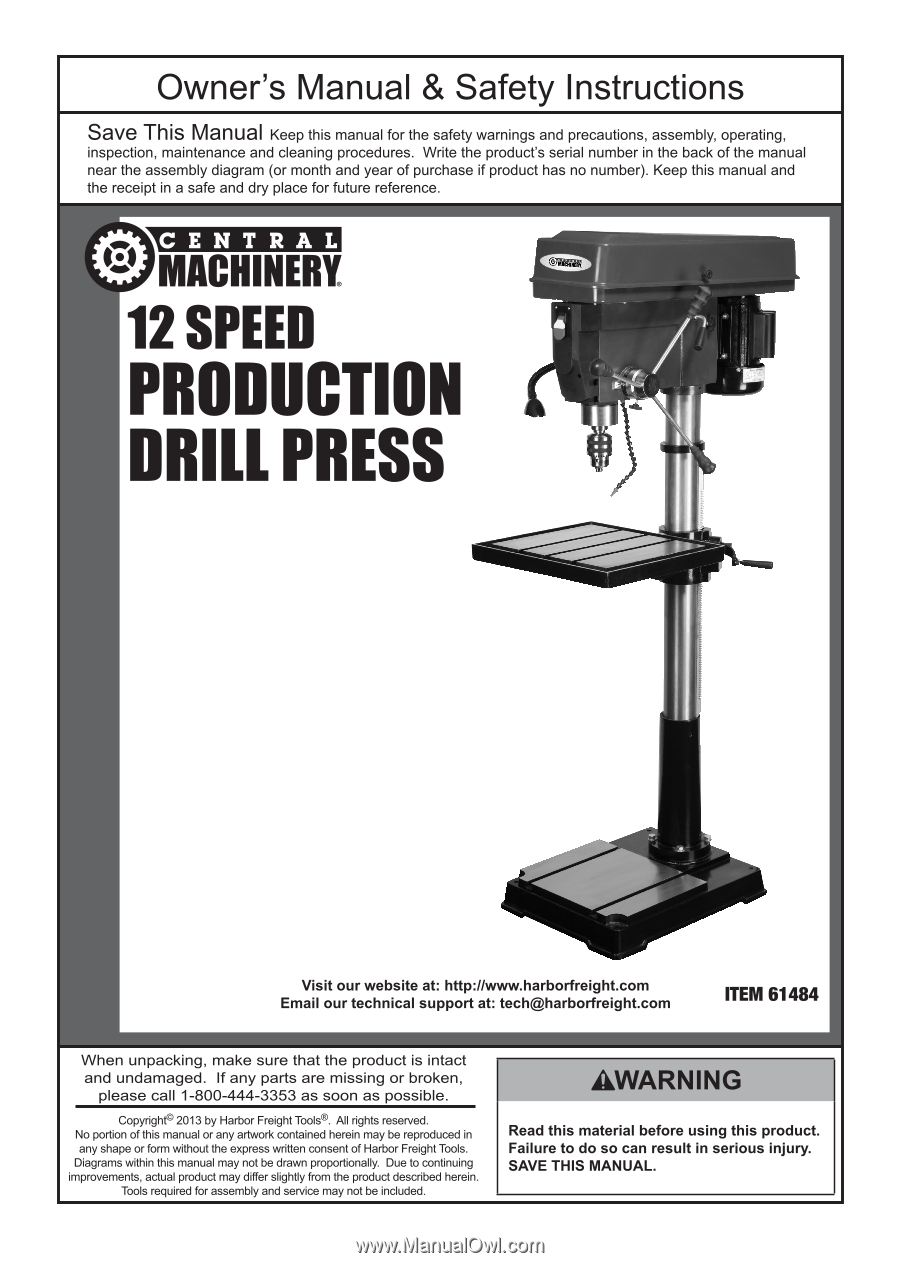
Harbor Freight Tools 61484 - 20 in. Floor Mount Drill Press Manual
 |
View all Harbor Freight Tools 61484 manuals
Add to My Manuals
Save this manual to your list of manuals |
Harbor Freight Tools 61484 manual content summary:
- Harbor Freight Tools 61484 | User Manual - Page 1
- Harbor Freight Tools 61484 | User Manual - Page 2
moderate injury. Addresses practices not related to personal injury. IMpORTANT SAFETy INFORMATION General Tool Safety Warnings Read all safety warnings and instructions. Failure to follow the warnings and instructions may result in electric shock, fire and/or serious injury. Save all warnings and - Harbor Freight Tools 61484 | User Manual - Page 3
operate tool. 14. MAINTAIN TOOLS WITH CARE. Keep tools sharp and clean for best and safest performance. Follow instructions for lubricating and changing accessories. 15. DISCONNECT TOOLS before servicing; when changing accessories, such as blades, bits, cutters, and the like. 16. REDUCE THE RISK OF - Harbor Freight Tools 61484 | User Manual - Page 4
to a different outlet. Drill press Safety Warnings For your Own Safety Read Instruction Manual Before Operating Drill press 1. Wear eye protection. 2. Do not wear may result in a risk of injury to persons. 8. When servicing use only identical replacement parts. 9. Only use safety equipment that - Harbor Freight Tools 61484 | User Manual - Page 5
et seq.) 17. The warnings, precautions, and instructions discussed in this instruction manual cannot cover all possible conditions and situations that may a doctor and then have regular medical check-ups to ensure medical problems are not being caused or worsened from use. Pregnant women or people - Harbor Freight Tools 61484 | User Manual - Page 6
parts listed in the following pages, refer to the Assembly Diagram near the end of this manual. Mounting Before assembling and using the Drill Press, secure the Base to a supporting structure. 1. Verify that the intended installation surface has no hidden utility lines before drilling or driving - Harbor Freight Tools 61484 | User Manual - Page 7
for proper adjustment. The Rack should move freely when the Table is rotated the full 360º around the Column. 10. Screw the Table Support Lock Handle (18) into the Table Support but do not tighten it all the way. Once this is done, turn the Crank, testing to ensure that the Table - Harbor Freight Tools 61484 | User Manual - Page 8
SAFETy SETUp Head to column 1. Before installing the Head Assembly, it may be necessary to back the Set Screws (6) out slightly to ensure they do not protrude internally, as this would prevent the Head Assembly from sliding fully into position. Installing the chuck 2. With assistance, raise the - Harbor Freight Tools 61484 | User Manual - Page 9
SAFETy Attaching the pulley cover Knob 1. Slide the Pulley Cover Knob (124) into the hole in the front of the Pulley Cover. Installing the Drive Belts 1. Undo the Belt Tension Locking Knobs (84) on both sides of the Head. Turn the Belt Tension Lever (96) clockwise to bring the Motor Pulley 107) - Harbor Freight Tools 61484 | User Manual - Page 10
Functions SAFETy SETUp OpERATION MAINTENANcE Page 10 For technical questions, please call 1-800-444-3353. Item 61484 - Harbor Freight Tools 61484 | User Manual - Page 11
SAFETy SETUp Operating Instructions Read the ENTIRE IMpORTANT SAFETy INFORMATION section at the beginning of this manual including all lower the Table. 2. Swivel the Table around the column by loosening the Table Support Locking Handle. The table assembly, arm and rack (B), move as one around the - Harbor Freight Tools 61484 | User Manual - Page 12
SAFETy SETUp Using the cutting Oil Drip System 1. Remove the upper Oil Bottle from the Oil Bottle Clips and unscrew the Cap. 2. Make sure that the Oil Pipe valve is closed. Fill the Bottle with your lubricant of choice. 3. Screw the Cap onto the Bottle and snap the Bottle back into the Clips. - Harbor Freight Tools 61484 | User Manual - Page 13
SAFETy Installing the Bit cAUTION! Wear heavy-duty work gloves to provide protection when inserting and removing drill bits. Drill bits become very hot during use. Do not remove a drill bit until it has cooled. 1. Loosen the Chuck with the Chuck Key until the jaws of the drill are opened enough to - Harbor Freight Tools 61484 | User Manual - Page 14
side of the column (see Figure H). Securely clamp the other end of the scrap wood to the table. Figure H: Bracing workpiece against column General Operating Instructions 1. Use the Spindle Feed Handles to bring the drill bit down to where the hole is to be drilled. Make minor workpiece alignment - Harbor Freight Tools 61484 | User Manual - Page 15
Servicing procedures not specifically explained in this manual . If abnormal noise or vibration occurs, have the problem corrected before further use. cleaning, Maintenance, and Lubrication 2. Replace a belt if damaged, following the instructions under Installing the Drive Belts on page 9. SETUp - Harbor Freight Tools 61484 | User Manual - Page 16
SAFETy Troubleshooting problem possible causes Tool will not start. 1. Cord not connected. 2. No power loads. 3. Turn off tool and allow to cool. Press reset button on tool. 4. Have technician service tool. Eliminate use of extension cord. If an extension cord is needed, use one with the proper - Harbor Freight Tools 61484 | User Manual - Page 17
parts Lists and Diagrams pLEASE READ THE FOLLOWING cAREFULLy THE MANUFACTURER AND/OR DISTRIBUTOR HAS PROVIDED THE PARTS LIST AND ASSEMBLY DIAGRAM IN THIS MANUAL AS A REFERENCE TOOL ONLY. NEITHER THE MANUFACTURER OR DISTRIBUTOR MAKES ANY REPRESENTATION OR WARRANTY OF ANY KIND TO THE BUYER THAT HE OR - Harbor Freight Tools 61484 | User Manual - Page 18
M5×16 10 Table Crank 11 Nut M10 12 Handle Grip 13 Soket Head Cap Screw M8×90 14 Rack 15 Table Support 16 Gear 17 Axis Pin 18 Table Support Lock Handle 19 Handle Grip 20 Scale Label 21 Rivet 22 "0" Degree Label 23 Work Table 24 Sealing Gasket (B) 25 Oil - Harbor Freight Tools 61484 | User Manual - Page 19
SAFETy SETUp Assembly Diagram 47 116 115 46 114 108 45 119 120 124 125 117 113 112 107 44 49 111 74 118 41 121 122 123 109 110 42 43 48 3 103 58 2 42 41 25 51 71 28 50 73 74 80 78 57 83 82 76 77 79 81 99 106 105 101 104 102 49 52 75 53 70 69 98 84 97 101 - Harbor Freight Tools 61484 | User Manual - Page 20
Limited 90 Day Warranty Harbor Freight Tools Co. makes every effort to assure that its products meet high quality and durability standards, and warrants to the original purchaser that this product is free from defects in materials and workmanship for the period of 90 days from the date of purchase.
-
 1
1 -
 2
2 -
 3
3 -
 4
4 -
 5
5 -
 6
6 -
 7
7 -
8
-
9
-
10
-
11
-
12
-
13
-
14
-
15
-
16
-
17
-
18
-
19
-
20
 |
 |