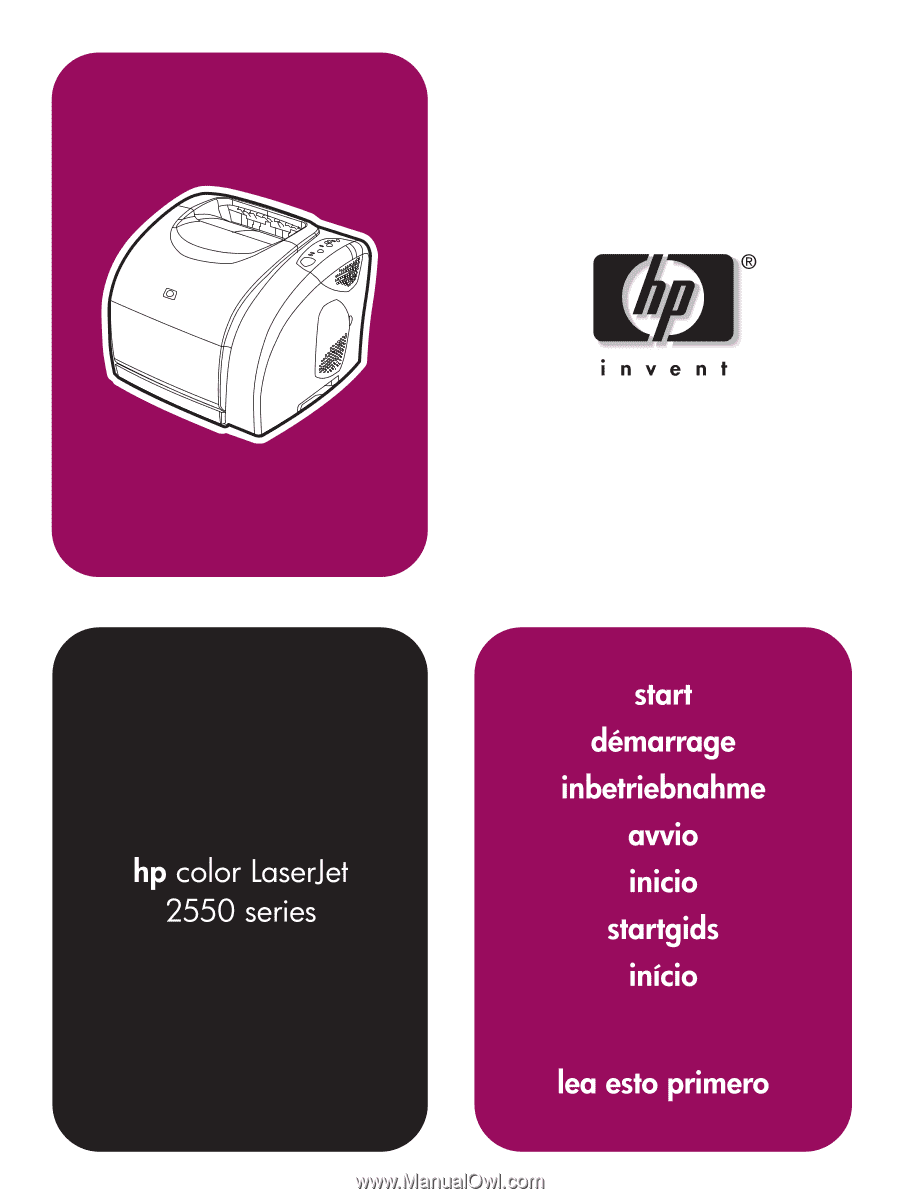
HP 2550n HP Color LaserJet 2550 series - Getting Started Guide
HP 2550n - Color LaserJet Laser Printer Manual
 |
View all HP 2550n manuals
Add to My Manuals
Save this manual to your list of manuals |
HP 2550n manual content summary:
- HP 2550n | HP Color LaserJet 2550 series - Getting Started Guide - Page 1
- HP 2550n | HP Color LaserJet 2550 series - Getting Started Guide - Page 2
services. Nothing herein should be construed as constituting an additional warranty. HP shall not be liable for technical or editorial errors used in accordance with the instructions, it may cause harmful to the printer that are not expressly approved by HP could void the user's authority - HP 2550n | HP Color LaserJet 2550 series - Getting Started Guide - Page 3
. De HP color LaserJet 2550n printer beschikt over alle functies van de HP color LaserJet 2550L printer en daarnaast over een lade voor 250 vel (lade 2) en een HP Jetdirect interne printserver. A impressora HP color LaserJet 2550n vem com todos os recursos da impressora HP color LaserJet 2550L, mais - HP 2550n | HP Color LaserJet 2550 series - Getting Started Guide - Page 4
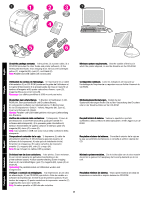
English Check the package contents. 1) the printer; 2) a power cable; 3) a CD-ROM (includes the User Guide and printer software); 4) this Getting Started Guide; 5) an imaging drum; 6) four print cartridges: yellow (Y), magenta (M), cyan (C), and black (K). Note Parallel and USB cables are not - HP 2550n | HP Color LaserJet 2550 series - Getting Started Guide - Page 5
ela tem 138 mm de altura. Note When preparing a location for the HP color LaserJet 2550L printer, make sure that the surface on which you are placing the printer is larger than the bottom of the printer. No portion of the printer base should extend past the surface on which it rests. Remarque La - HP 2550n | HP Color LaserJet 2550 series - Getting Started Guide - Page 6
folhas (bandeja 2) ou para 500 folhas (bandeja 3), para instalá-la, consulte a documentação fornecida com a bandeja. Regulate the environment. Do not place the printer in direct sunlight or an area that has abrupt temperature and humidity changes. Recommended ranges: 20 to 27 degrees C (68 to 81 - HP 2550n | HP Color LaserJet 2550 series - Getting Started Guide - Page 7
2 (2550n model); 7) dual inline memory module (DIMM) access door; 8) interface ports; 9) rear output door; 10) power connector. Understand the control panel. 1) print-cartridge lights; 2) ROTATE CAROUSEL button; 3) imaging drum light; 4) CANCEL JOB button; 5) Attention light (amber); 6) Ready light - HP 2550n | HP Color LaserJet 2550 series - Getting Started Guide - Page 8
lados del área de salida. 3) Cierre la puerta de salida posterior. Het verpakkingsmateriaal verwijderen. Verwijder de oranje tape van de printer. De verzendpinnen verwijderen. 1) Open de achterste uitvoerklep. 2) Verwijder de oranje verzendpinnen aan beide zijden van het uitvoergebied. 3) Sluit de - HP 2550n | HP Color LaserJet 2550 series - Getting Started Guide - Page 9
the tray 2 shipping locks. Open optional tray 2 (HP color LaserJet 2550n printer only), and then remove the orange shipping lock inside the tray. Adjust the guides on optional tray 2. 1) Pull the tray out of the printer. 2) Move the blue width guides to match the paper size being loaded. 3) Extend - HP 2550n | HP Color LaserJet 2550 series - Getting Started Guide - Page 10
das marcas de altura. 3) Push down on the paper to lock the metal plate in the tray into place. 4) Slide the tray back into the printer. 3) Appuyez sur le papier pour verrouiller la plaque métallique du bac. 4) Insérez le bac dans l'imprimante. 3) Drücken Sie das Papier nach unten, damit - HP 2550n | HP Color LaserJet 2550 series - Getting Started Guide - Page 11
with the side to be printed face-up, with the top edge toward the printer. 4) Slide the width guides in so that they lightly touch the paper. 5) Make sure that the paper fits under the tabs on the width guides. Chargement du bac 1. 1) Ouvrez le bac 1 et tirez l'extension. 2) Faites glisser les - HP 2550n | HP Color LaserJet 2550 series - Getting Started Guide - Page 12
and an ac outlet. 2) Press the power switch on the left side of the printer. Install the imaging drum. 1) Remove the imaging drum from its packaging. 2) Place the imaging drum on a firm surface, and then pull the orange rings to remove the shipping pins. 3) Remove the orange shipping lock on - HP 2550n | HP Color LaserJet 2550 series - Getting Started Guide - Page 13
5) Remove the orange cover from the imaging drum. CAUTION Do not touch the surface of the white roller or expose the roller to light for an extended period of time. Doing so could cause print-quality issues. 6) Open the top cover of the printer. 5) Enlevez l'emballage orange du tambour d'imagerie. - HP 2550n | HP Color LaserJet 2550 series - Getting Started Guide - Page 14
drum in de printer, draai de imaging drum enigszins in de richting van de voorkant van de printer en duw de drum stevig vast. 8) Abaixe o tambor de imagens na impressora, gire-o um pouco em direção à frente da impressora e pressione-o firmemente até que se encaixe. Install the print cartridges - HP 2550n | HP Color LaserJet 2550 series - Getting Started Guide - Page 15
Remove the orange cover from the print cartridge. 4) Place the print cartridge on a flat surface, and then caliente o la seca en una secadora, el tóner se fijará en el tejido. VOORZICHTIG Als u toner op uw kleding krijgt, kunt u deze met een schone doek verwijderen, de kleding in koud water wassen - HP 2550n | HP Color LaserJet 2550 series - Getting Started Guide - Page 16
carousel until it is firmly in place. 6) Close the top cover. When the green Go light begins blinking, press (ROTATE CAROUSEL). Repeat this process (step 15) to install the other three print cartridges. English Français Deutsch 5) Pincez les leviers de verrouillage bleus de la cartouche d'encre - HP 2550n | HP Color LaserJet 2550 series - Getting Started Guide - Page 17
de 2 minutos, as luzes do painel de controle piscam em seqüência e a luz verde Pronto se acende. Print a Demo page. With the Ready light on, press (GO) to print a Demo page, which verifies that the printer works. Note If the page does not print, reconnect the power cable. Make sure the Ready - HP 2550n | HP Color LaserJet 2550 series - Getting Started Guide - Page 18
for a network, go to step 20. If the "New Hardware Found" message is on your computer screen, go to step 21. To install only the printer driver for Windows NT 4.0®, go to step 22. To connect directly for Macintosh, go to step 23. To connect to a Macintosh on a network, go to step - HP 2550n | HP Color LaserJet 2550 series - Getting Started Guide - Page 19
Connect directly for Windows. 1) Place the CD-ROM in the CDROM drive. 2) On the Welcome screen, click Install Printer. The Setup Wizard appears. Note If the Welcome screen does not appear, click Start, and then click Run. Type X:hpsetup (replace "X" with the CD-ROM - HP 2550n | HP Color LaserJet 2550 series - Getting Started Guide - Page 20
English Français Deutsch Italiano 3) Follow the onscreen instructions. When prompted, connect either a parallel cable or a USB cable between the printer and the computer. Note that parallel and USB cables are not included. Use an IEEE 1284-compliant parallel cable or a standard USB cable not - HP 2550n | HP Color LaserJet 2550 series - Getting Started Guide - Page 21
Nota As impressoras 2550Ln e 2550n têm um servidor de impressão interno HP Jetdirect para conexão em rede light is on. Press (GO) and (CANCEL JOB) simultaneously to print a Configuration page, an HP Jetdirect page, and a Supplies Status page. On the HP Jetdirect page, locate the printer's IP address - HP 2550n | HP Color LaserJet 2550 series - Getting Started Guide - Page 22
and then try to print the page again. Install the network software. 1) Place the CD-ROM in the CD-ROM drive, and then follow the onscreen instructions. 2) Click Finish, restart the computer, and then go to step 25. Remarque Si aucune page HP Jetdirect ne s'imprime, attendez 30 secondes afin que la - HP 2550n | HP Color LaserJet 2550 series - Getting Started Guide - Page 23
et suivez les instructions. 2) Passez à l'étape 25. Plug & Play. Wenn Sie vor dem Installieren der Software ein Parallel- oder para a etapa 25. Windows 2000 and XP: 1) Click Search. 2) On the Located Driver Files screen, select the Specify a Location check box, clear all of the other check boxes - HP 2550n | HP Color LaserJet 2550 series - Getting Started Guide - Page 24
Printers. 2) Double-click Add Printer, and then follow the onscreen instructions. When prompted for a manufacturer, click Have Disk. Note Windows NT 4.0 does not support auf Einstellungen und dann auf Drucker. Installazione solo del driver della stampante (Windows 4.0). Se la stampante è collegata - HP 2550n | HP Color LaserJet 2550 series - Getting Started Guide - Page 25
duplo na pasta do seu idioma e outro em Drivers. 4) Dê um clique duplo em WinNT40 e outro na pasta do driver desejado (PCL 6 ou PS). (A Hewlett-Packard recomenda o driver PCL 6.) 5) Finalize a instalação e vá para a etapa 25. Connect the printer directly to a Macintosh. Connect a USB cable between - HP 2550n | HP Color LaserJet 2550 series - Getting Started Guide - Page 26
. 7) Fare clic su Create. 8) Fare clic su Save. 9) Fare clic sull'icona della stampante sulla scrivania. 10) Nel menu Printing, fare clic su Set Default Printer. 11) Andare al punto 25. 5) Junto al archivo PPD, haga clic en Cambiar. 6) Haga doble clic en el archivo PPD adecuado de la lista. 7) Haga - HP 2550n | HP Color LaserJet 2550 series - Getting Started Guide - Page 27
, and then restart the computer. 2) Open the Print Center (HD/Applications/Utilities/Print Center), and then verify that the printer has been set up automatically. Note If the printer has not been set up automatically, complete the following steps: 1) Open the Print Center. 2) Click Add. 3) In the - HP 2550n | HP Color LaserJet 2550 series - Getting Started Guide - Page 28
Info window, click the up-down arrow next to Name and Location. Select Printer Model or PPD. The line below the selection lists the PPD. If it is listed as Generic, scroll to HP, and then scroll to the specific model. Click Apply Changes. English Français Deutsch Italiano Remarque Lorsque - HP 2550n | HP Color LaserJet 2550 series - Getting Started Guide - Page 29
, selecione a impressora e clique em Tornar padrão. 4) Vá para a etapa 25. Connect to a Macintosh on a network. Note The HP color LaserJet 2550Ln and 2550n printers have an HP Jetdirect internal print server for network connection. For a 10/100 Base-T network, connect a twisted-pair network cable - HP 2550n | HP Color LaserJet 2550 series - Getting Started Guide - Page 30
light is on. Press (GO) and (CANCEL JOB) simultaneously to print a Configuration page, an HP Jetdirect page, and a Supplies Status page. Note If no HP page again. For OS 9.1.x to 9.2.x, on the HP Jetdirect page, locate the printer IP address (circled in the illustration above). Français Deutsch - HP 2550n | HP Color LaserJet 2550 series - Getting Started Guide - Page 31
the software. OS 9.1.x to 9.2.x: 1) Run the installer CD, and then restart the computer. 2) Run the Apple Desktop Printer Utility (HD/Applications/Utilities/Desktop Printer Utility). 3) Double-click Printer (LPR). Next to LPR Printer Selection, click Change. 4) Type the printer IP address, and - HP 2550n | HP Color LaserJet 2550 series - Getting Started Guide - Page 32
. 2) Open the Print Center, and then click Add. 3) Click IP Printing. 4) Type the printer IP address. 5) In the Printer Model box, select the appropriate printer. 6) Click Add. Français Deutsch Italiano 5) Une fois l'adresse IP vérifiée, cliquez sur OK. 6) En regard de Fichiers PPD (PostScript - HP 2550n | HP Color LaserJet 2550 series - Getting Started Guide - Page 33
the OS X Rendezvous feature, when adding the printer in the Print Center, select Rendezvous, and then select the printer with the matching hardware address listed on the HP Jetdirect configuration page. Note When the Print Center opens, verify that the printer (if it is listed) is using the proper - HP 2550n | HP Color LaserJet 2550 series - Getting Started Guide - Page 34
Print a page from any program to make sure the software is correctly installed. Note If installation fails, reinstall the software. If reinstallation fails, see the Readme, see the flyer that came in the printer box, or go to http://www.hp.com/support/clj2550 for help or more information. Français - HP 2550n | HP Color LaserJet 2550 series - Getting Started Guide - Page 35
! Your printer is ready to use. See the HP Toolbox, where you can open the electronic User Guide and use tools to solve problems. The electronic User Guide is also on the software CD-ROM. Note You must have performed a complete software installation in order to use the HP Toolbox. With - HP 2550n | HP Color LaserJet 2550 series - Getting Started Guide - Page 36
ais Deutsch Italiano Register the printer. Register online now! Ensure that you have the latest information that may include: ● Free driver or software update notification ● Product support alerts ● Optional newsletters with tips and tricks for using your HP product Enregistrement de l'imprimante - HP 2550n | HP Color LaserJet 2550 series - Getting Started Guide - Page 37
36 - HP 2550n | HP Color LaserJet 2550 series - Getting Started Guide - Page 38
37 - HP 2550n | HP Color LaserJet 2550 series - Getting Started Guide - Page 39
38 - HP 2550n | HP Color LaserJet 2550 series - Getting Started Guide - Page 40
*Q3702-90941* *Q3702-90941*
-
 1
1 -
 2
2 -
 3
3 -
 4
4 -
 5
5 -
 6
6 -
 7
7 -
8
-
9
-
10
-
11
-
12
-
13
-
14
-
15
-
16
-
17
-
18
-
19
-
20
-
21
-
22
-
23
-
24
-
25
-
26
-
27
-
28
-
29
-
30
-
31
-
32
-
33
-
34
-
35
-
36
-
37
-
38
-
39
-
40
 |
 |