HP Photosmart C4424 Setup Guide
HP Photosmart C4424 - All-in-One Printer Manual
 |
View all HP Photosmart C4424 manuals
Add to My Manuals
Save this manual to your list of manuals |
HP Photosmart C4424 manual content summary:
- HP Photosmart C4424 | Setup Guide - Page 1
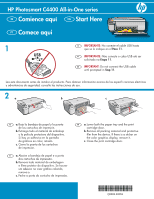
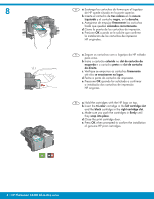
HP Photosmart C4400 All-in-One series ES Comience aquí EN Start Here PT Comece aqui 1 , remova-o. c. Feche a porta do cartucho de impressão. EN a. Lower both the paper tray and the print cartridge door. b. Remove all packing material and protective film from the device. If there is a sticker on the - HP Photosmart C4424 | Setup Guide - Page 2
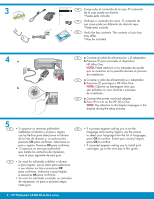
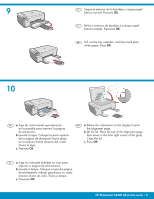
instalação. EN a. Connect the power cord and adapter. b. Press to turn on the HP All-in-One. NOTE: Pay attention to the rm. • If a prompt appears asking you to install print cartridges, go to the next step in this guide. PT • Se você for solicitado a defi . 2 • HP Photosmart C4400 All-in-One series - HP Photosmart C4424 | Setup Guide - Page 3
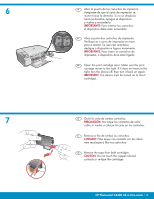
it back on again. IMPORTANT: The device must be turned on to insert cartridges. 7 ES Quite la cinta de ambos cartuchos. PRECAUCIÓN: No toque los tape from both cartridges. CAUTION: Do not touch the copper-colored contacts or re-tape the cartridges. HP Photosmart C4400 All-in-One series • 3 - HP Photosmart C4424 | Setup Guide - Page 4
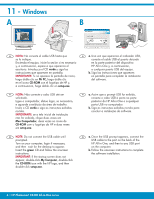
cartridge slot and the black cartridge in the right cartridge slot. c. Make sure you push the cartridges in firmly until they snap into place. d. Close the print cartridge door. e. Press OK when prompted to confirm the installation of genuine HP print cartridges. 4 • HP Photosmart C4400 All-in-One - HP Photosmart C4424 | Setup Guide - Page 5
tray extender, and then load plain white paper. Press OK. 10 ES a. Siga las instrucciones que aparecen en la pantalla para . Cierre la tapa. c. Presione OK. EN a. Follow the instructions on the display to print the alignment page. b. Lift the OK. HP Photosmart C4400 All-in-One series • 5 - HP Photosmart C4424 | Setup Guide - Page 6
HP logo, and then double-click setup.exe. EN a. Once the USB prompt appears, connect the USB cable to the port on the back of the HP All-in-One, and then to any USB port on the computer. b. Follow the onscreen instructions to complete the software installation. 6 • HP Photosmart C4400 All-in-One - HP Photosmart C4424 | Setup Guide - Page 7
. d. Conclua as etapas na tela do Assistente de Instalação. EN a. Insert the green CD. b. Double-click the HP Photosmart CD icon on the desktop. c. Double-click the HP Installer icon. Follow the onscreen instructions. d. Complete the Setup Assistant screen. HP Photosmart C4400 All-in-One series • 7 - HP Photosmart C4424 | Setup Guide - Page 8
Troubleshooting www.hp.com/support ES Problema: (Windows) Aparece la pantalla Agregar hardware de Microsoft. Acción: Cierre todas las pantallas. Desconecte el cable USB y, a continuación, inserte el CD verde del dispositivo HP All-in-One. PT Problema: (Windows energia. EN Problem: (Windows only) The
-
 1
1 -
 2
2 -
 3
3 -
 4
4 -
 5
5 -
 6
6 -
 7
7 -
8
 |
 |
2
1
*Q8383-90053*
*Q8383-90053*
Q8383-90053
HP Photosmart C4400 All-in-One series
Lea este documento antes de instalar el producto. Para obtener información acerca de las especi
fi
caciones eléctricas
y advertencias de seguridad, consulte las instrucciones de uso.
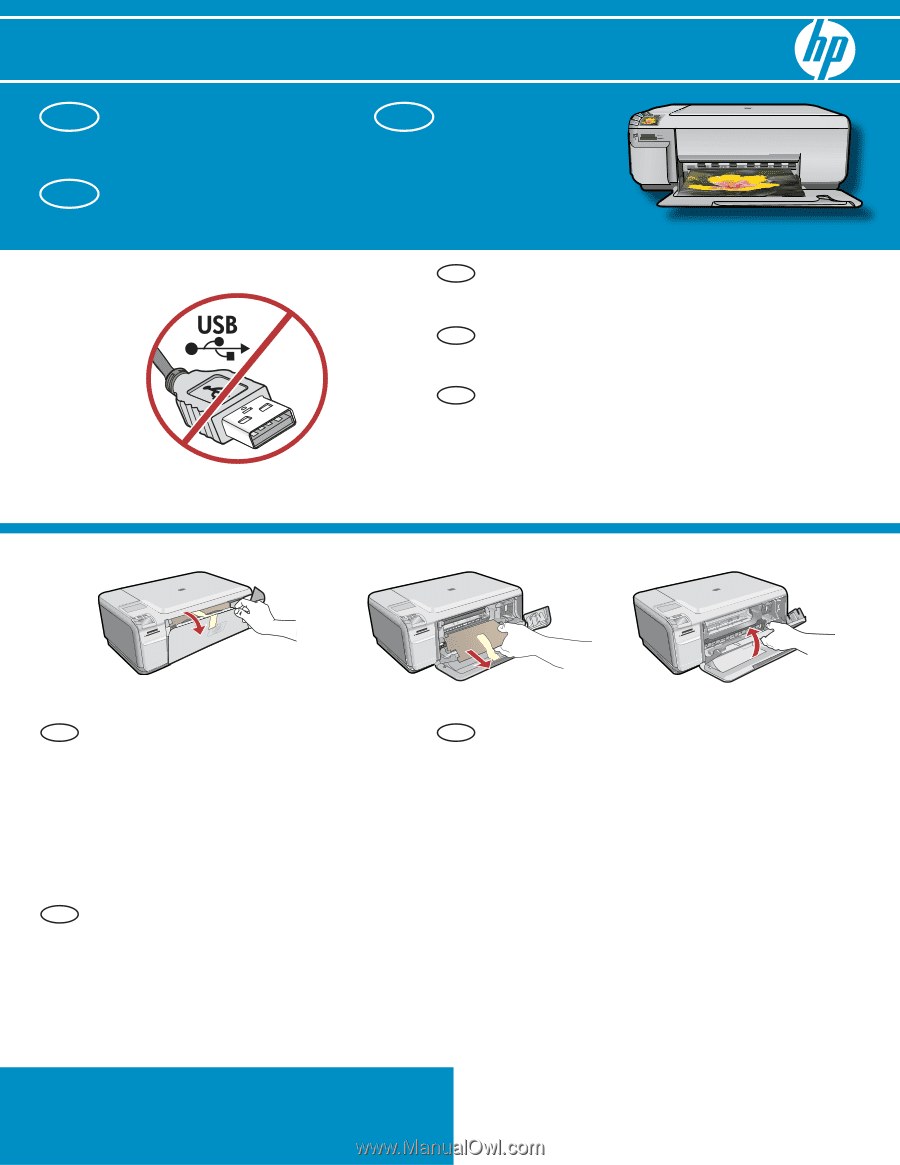
Lower both the paper tray and the print
cartridge door.
Remove all packing material and protective
fi
lm from the device. If there is a sticker on
the color graphics display, remove it.
Close the print cartridge door.
a.
b.
c.
Start Here
IMPORTANT:
Do not connect the USB cable
until prompted in
Step 11
.
Comece aqui
Abaixe a bandeja de papel e a porta
dos cartuchos de impressão.
Remova todo material de embalagem
e
fi
lme protetor do dispositivo. Se houver
um adesivo no visor grá
fi
co colorido,
remova-o.
Feche a porta do cartucho de impressão.
a.
b.
c.
IMPORTANTE:
Não conecte o cabo USB até ser
solicitado na
Etapa 11
.
Comience aquí
Baje la bandeja de papel y la puerta
de los cartuchos de impresión.
Extraiga todo el material de embalaje
y la película protectora del dispositivo.
Si hay un adhesivo en la pantalla
de grá
fi
cos en color, retírelo.
Cierre la puerta de los cartuchos
de impresión.
a.
b.
c.
IMPORTANTE:
No conecte el cable USB hasta
que se le indique en el
Paso 11
.
EN
EN
ES
PT
PT
EN
ES
PT
ES
a
b
c