Kenwood KDC-BT555U Instruction Manual - Page 4
Getting Started - firmware
 |
View all Kenwood KDC-BT555U manuals
Add to My Manuals
Save this manual to your list of manuals |
Page 4 highlights
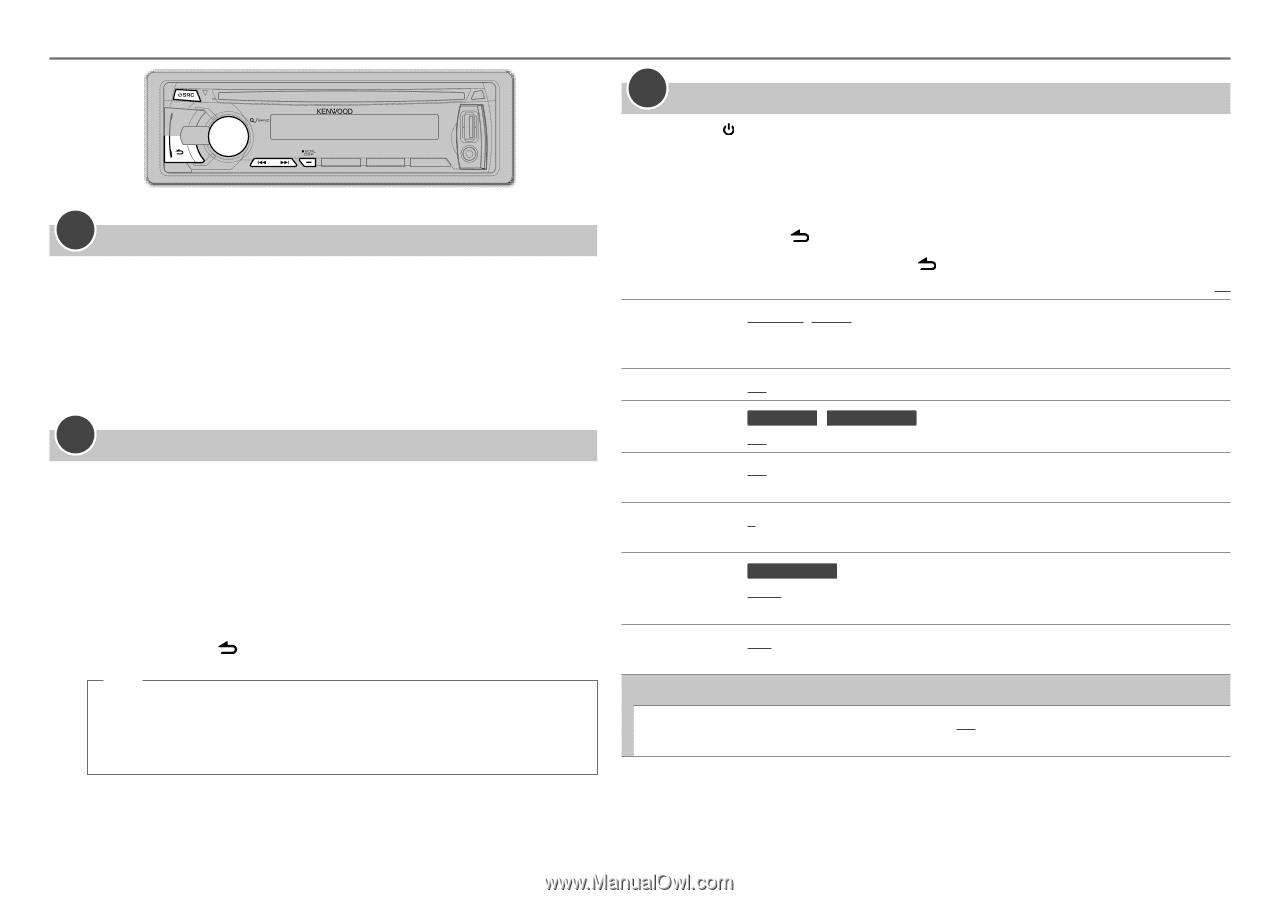
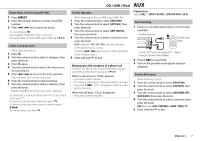
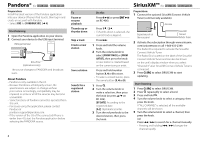
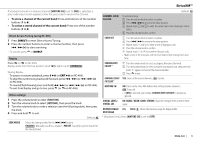
GETTING STARTED 1 Cancel the demonstration When you turn on the power (or after you reset the unit), the display shows: "CANCEL DEMO" \ "PRESS" \ "VOLUME KNOB" 1 Press the volume knob. [YES] is selected for the initial setup. 2 Press the volume knob again. "DEMO OFF" appears. 2 Set the clock 1 Press the volume knob to enter [FUNCTION]. 2 Turn the volume knob to select [SETTINGS], then press the knob. 3 Turn the volume knob to select [CLOCK], then press the knob. 4 Turn the volume knob to select [CLOCK ADJUST]/ [CLOCK ADJ], then press the knob. 5 Turn the volume knob to adjust the hour, then press the knob. 6 Turn the volume knob to adjust the minute, then press the knob. Press 4 / ¢ to move between the hour and minute adjustment. 7 Press and hold to exit. (or) Press and hold SCRL DISP to enter clock adjustment mode directly while in clock display screen. Then, perform steps 5 and 6 above to set the clock. 3 Set the initial settings 1 Press SRC to enter [STANDBY]. 2 Press the volume knob to enter [FUNCTION]. 3 Turn the volume knob to select [INITIAL SET], then press the knob. 4 Turn the volume knob to make a selection (see the following table), then press the knob. 5 Press and hold to exit. • To return to the previous hierarchy, press . Default: XX PRESET TYPE NORMAL/ NORM: Memorizes one station for each preset button in each band (FM1/ FM2/ FM3/ AM). ; MIX: Memorizes one station or SiriusXM channel for each preset button regardless of the selected band or SiriusXM channel. KEY BEEP ON: Activates the keypress tone. ; OFF: Deactivates. PANDORA SRC KDC-X597 / KDC-BT555U : ON: Enables PANDORA in source selection. ; OFF: Disables. (➜ 8) BUILT-IN AUX/ BUILTIN AUX ON: Enables AUX in source selection. ; OFF: Disables. (➜ 7) CD READ 1: Automatically distinguishes between audio file disc and music CD. ; 2: Forces to play as a music CD. No sound can be heard if an audio file disc is played. SWITCH PRE KDC-BT355U : REAR/ SUB-W: Selects whether rear speakers or a subwoofer are connected to the line out terminals on the rear (through an external amplifier). SP SELECT OFF/ 5/4/ 6 × 9/6/ OEM: Selects according to the speaker size (5 inches or 4 inches, 6×9 inches or 6 inches) or OEM speakers for optimum performance. F/W UPDATE F/W UP xx.xx YES: Starts upgrading the firmware. ; NO: Cancels (upgrading is not activated). For details on how to update the firmware, see: www.kenwood.com/cs/ce/ 4
-
 1
1 -
 2
2 -
 3
3 -
 4
4 -
 5
5 -
 6
6 -
 7
7 -
 8
8 -
 9
9 -
 10
10 -
11
-
12
-
13
-
14
-
15
-
16
-
17
-
18
-
19
-
20
-
21
-
22
-
23
-
24
-
25
-
26
-
27
-
28
-
29
-
30
-
31
-
32
-
33
-
34
-
35
-
36
-
37
-
38
-
39
-
40
-
41
-
42
-
43
-
44
-
45
-
46
-
47
-
48
-
49
-
50
-
51
-
52
-
53
-
54
-
55
-
56
-
57
-
58
-
59
-
60
-
61
-
62
 |
 |