Lexmark MX910 Print Defects Guide
Lexmark MX910 Manual
 |
View all Lexmark MX910 manuals
Add to My Manuals
Save this manual to your list of manuals |
Lexmark MX910 manual content summary:
- Lexmark MX910 | Print Defects Guide - Page 1
Page 1 of 2 Print Defects Guide Use the settings in the Quality menu to adjust the quality 600 dpi 1200 dpi 1200 Image Q 2400 Image Q Pixel Boost Off Fonts Horizontally Vertically Both directions Toner Darkness 1-10 Enhance Fine Lines On Off Gray Correction Auto Off Brightness ‑6 to 6 Contrast 0-5 - Lexmark MX910 | Print Defects Guide - Page 2
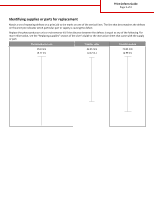
the defects is equal to any of the following. For more information, see the "Replacing supplies" section of the User's Guide or the instruction sheet that came with the supply or part. Photoconductor unit Transfer roller Transfer module 95.8 mm (3.77 in.) 62.65 mm (2.47 in.) 75.85 mm (2.99 in
-
 1
1 -
 2
2
 |
 |
Print Defects Guide
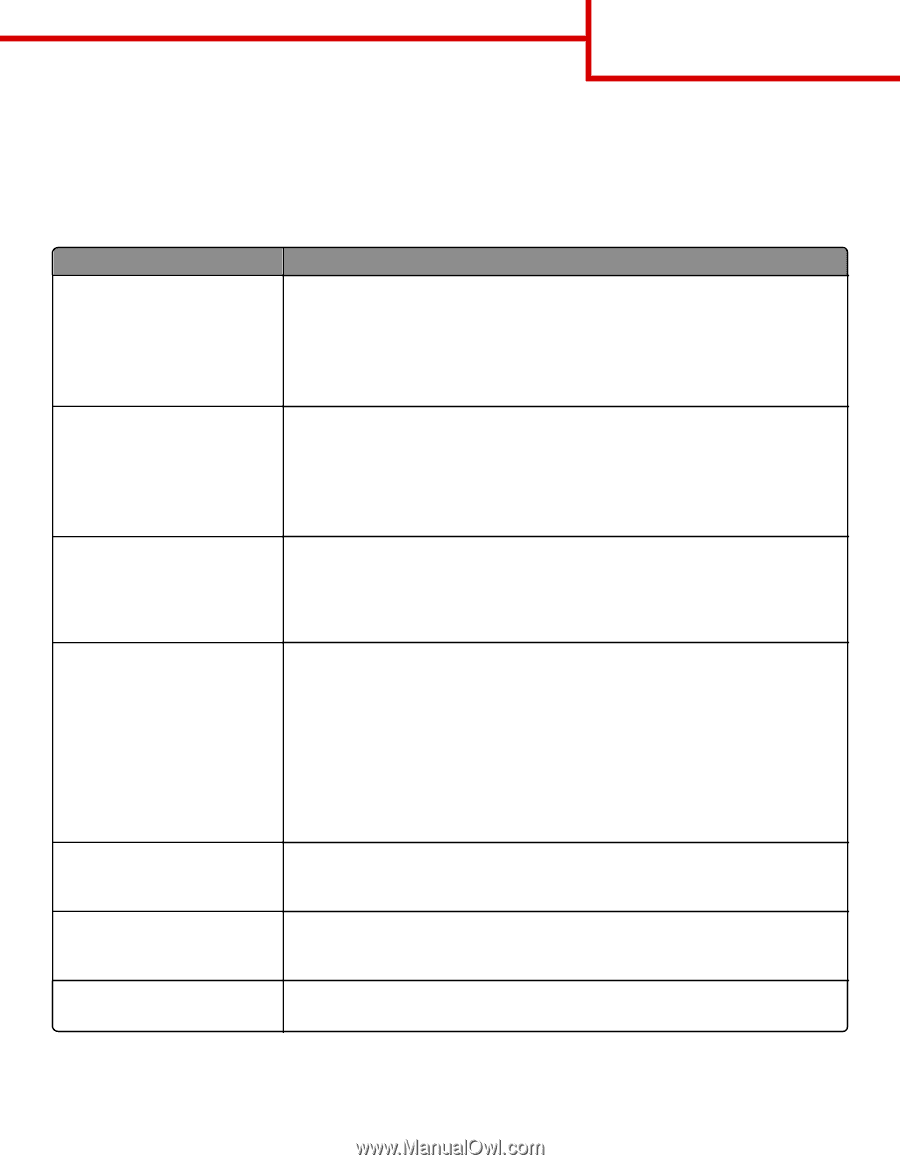
Use the settings in the Quality menu to adjust the quality of printed output. To resolve repeated print quality defects, you may
need to replace parts or supplies.
Quality menu
Use
To
Print Resolution
300 dpi
600 dpi
1200 dpi
1200 Image Q
2400 Image Q
Specify the printed output resolution in dots per inch.
Note:
600 dpi is the factory default setting.
Pixel Boost
Off
Fonts
Horizontally
Vertically
Both directions
Enable more pixels to print in clusters for clarity, in order to enhance images horizontally or
vertically, or to enhance fonts.
Note:
Off is the factory default setting.
Toner Darkness
1–10
Lighten or darken the printed output.
Notes:
•
8 is the factory default setting.
•
Selecting a smaller number can help conserve toner.
Enhance Fine Lines
On
Off
Enable a print mode preferable for files such as architectural drawings, maps, electrical circuit
diagrams, and flow charts.
Notes:
•
Off is the factory default setting.
•
You can set this option from the printer software. For Windows users, click
File
>
Print
,
and then click
Properties
,
Preferences
,
Options
, or
Setup
. For Macintosh users, choose
File
>
Print
, and then adjust the settings from the Print dialog and context menus.
•
To set this option using the Embedded Web Server, type the network printer IP address
in the Web browser address field.
Gray Correction
Auto
Off
Automatically adjust the contrast enhancement applied to images.
Note:
Auto is the factory default setting.
Brightness
‑
6 to 6
Adjust the printed output either by lightening or darkening it. You can conserve toner by
lightening the output.
Note:
0 is the factory default setting.
Contrast
0–5
Adjust the contrast of printed objects.
Note:
0 is the factory default setting.
Print Defects Guide
Page 1 of 2