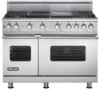
Viking VDSC548 Installation Instructions
Viking VDSC548 Manual
 |
View all Viking VDSC548 manuals
Add to My Manuals
Save this manual to your list of manuals |
Viking VDSC548 manual content summary:
- Viking VDSC548 | Installation Instructions - Page 1
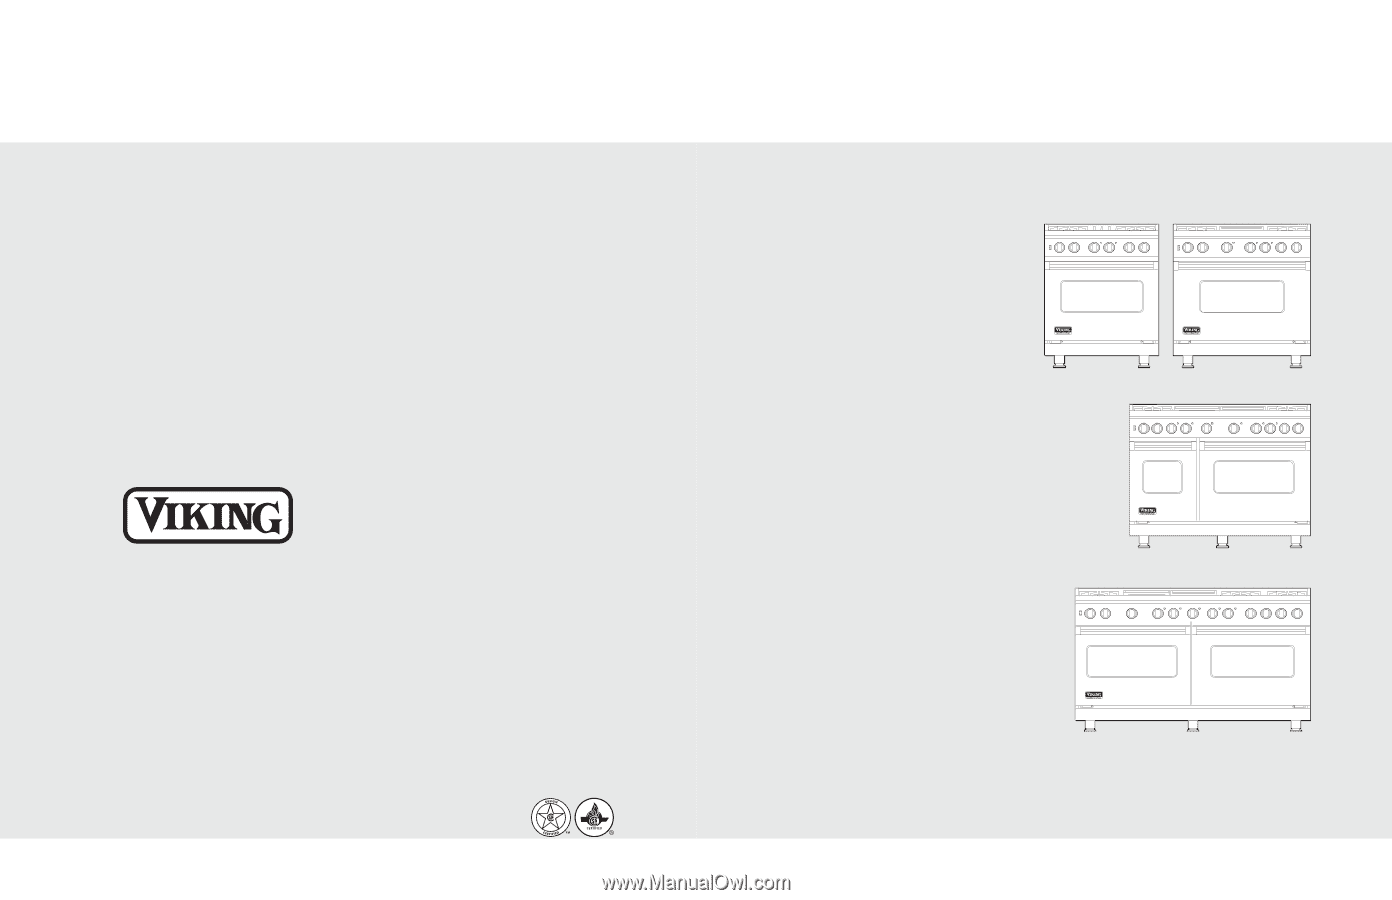
Viking Installation Guide ® Viking Range Corporation 111 Front Street Greenwood, Mississippi 38930 USA (662) 455-1200 For product information, call 1-888-VIKING1 (845-4641) or visit the Viking Web site at vikingrange.com F20533E EN Professional Freestanding Dual Fuel Ranges (080610) - Viking VDSC548 | Installation Instructions - Page 2
26 Service & Registration 27 2 IMPORTANT-Read and Follow! • Before beginning, please read these instructions completely and of others is very important. We have provided many important safety messages in this manual and on your appliance. Always read and obey all safety messages. This is - Viking VDSC548 | Installation Instructions - Page 3
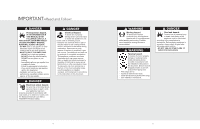
THIS MANUAL IS instructions. -If you cannot reach your gas supplier, call the fire department. • Installation and service must be performed by a qualified installer, service range can tip. • Injuries to persons can result. • Install anti-tip device packed with range. • See installation instructions - Viking VDSC548 | Installation Instructions - Page 4
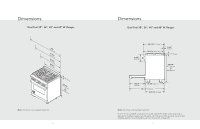
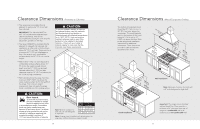
Unit shown with standard island trim. 6 Dimensions Dual Fuel 30", 36", 48" and 60" W. Ranges 8-1/8" (20.6 cm) 28-1/16" (71.2 cm) 26-7/16" (67.2 cm) 1-5/8" standoff is included on each 48" and 60"W. VDSC model range and is required for installation against a combustible wall. These standoffs - Viking VDSC548 | Installation Instructions - Page 5
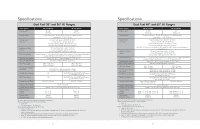
service line Natural 5.0" W.C.P./ Liquid Propane L/P 10.0" W.C.P. Electrical Requirements See Electrical Requirements information. Max Amp Usage Surface Burner Rating Natural/LP Griddle Burner Rating Grill Burner Sides - 0" • Top grate support - 36" (91.4 cm) and 60" W. Ranges Description 48" - Viking VDSC548 | Installation Instructions - Page 6
in the bottom of the hood being 66" (167.6 cm) to 72" (182.9 cm) above the floor. Refer to the range hood installation instructions for additional information. These dimensions provide for safe and efficient operation of the hood. WoodO/Cveormlapyosite WoodO/Cveormlapyosite ((7611268672""t..mmo69 - Viking VDSC548 | Installation Instructions - Page 7
to any significant sources of water or moisture. • Viking Range Corporation will NOT warranty any problems resulting from GFI outlets which are not installed properly qualified licensed plumber or gas service company. Please provide the service person with this manual before work begins. Pressure - Viking VDSC548 | Installation Instructions - Page 8
be operating when the unit is in operation. If you notice the cooling fan is not operating or you observe unusual or excessive noise coming from the cooling fan, contact a Viking Authorized Service Center before continuing operation. Failure to do so can result in damage to the oven or surrounding - Viking VDSC548 | Installation Instructions - Page 9
a 4-wire connection, see following section for 4-wire connection instructions. WARNING Electrical shock hazard. To avoid risk or electrical shock wire power supply cord. The cord or conduit must be secured to the range with the strain relief bracket. The electrical connection is made at the terminal - Viking VDSC548 | Installation Instructions - Page 10
information. Where local codes do not permit grounding through neutral, use a 4-wire power supply cord. The cord or conduit must be secured to the range with the strain relief bracket. The electrical connection is made at the terminal block, which is located behind the access door on the back of - Viking VDSC548 | Installation Instructions - Page 11
Electrical Connection (4-wire) (cont.) 4 5 Feed supply cord up through hole in bottom of range back. 6 Attach ground lead (green) with ground screw that was removed. 7 1 Attach line #1 (red) and line #2 (black) leads to outside terminal. Attach neutral wire (white) - Viking VDSC548 | Installation Instructions - Page 12
range to high corner. Anti-tip Device Installation WARNING Tipping hazard. To reduce the risk of property damage or personal injury; install anti-tipping device provided in accordance with the installation instructions performed by your dealer, a qualified licensed plumber, or gas service company. 23 - Viking VDSC548 | Installation Instructions - Page 13
caps are packed in styrofoam top pack with the grates. Place burner on top of range. Place burner grate on top of burner cap and grate support. Note: Arrow on burner cap must be pointing towards back of range. (03.9/58"cm) Check that unit is level side to side and front to back. The side trim - Viking VDSC548 | Installation Instructions - Page 14
to scrape stainless steel to burner fan service on the appliance. All servicing should be referred to a qualified technician. Contact Viking Range Corporation, 1-888-VIKING1 (845-4641), for the nearest service parts distributor in your area or write to: VIKING RANGE CORPORATION PREFERRED SERVICE
-
 1
1 -
 2
2 -
 3
3 -
 4
4 -
 5
5 -
 6
6 -
 7
7 -
8
-
9
-
10
-
11
-
12
-
13
-
14
 |
 |
Viking Range Corporation
111 Front Street
Greenwood, Mississippi 38930 USA
(662) 455-1200
For product information,
call 1-888-VIKING1 (845-4641)
or visit the Viking Web site at
vikingrange.com
F20533E EN
(080610)
®
Viking Installation Guide
Professional Freestanding Dual Fuel Ranges