Whirlpool GSC309PVQ Installation Instructions
Whirlpool GSC309PVQ - 30" SpeedCook Microwave/Oven Combination Manual
 |
UPC - 883049143163
View all Whirlpool GSC309PVQ manuals
Add to My Manuals
Save this manual to your list of manuals |
Whirlpool GSC309PVQ manual content summary:
- Whirlpool GSC309PVQ | Installation Instructions - Page 1
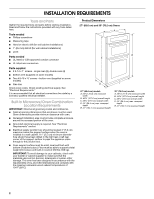
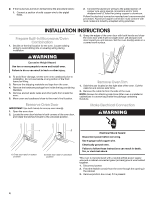
30" (76,2 CM) Table of Contents/Table des matières BUILT-IN MICROWAVE/OVEN COMBINATION SAFETY 1 INSTALLATION REQUIREMENTS 2 Tools and Parts 2 Built-In Microwave/Oven Combination Location Requirements ...........2 Electrical Requirements 3 INSTALLATION INSTRUCTIONS 4 Prepare Built-In Microwave - Whirlpool GSC309PVQ | Installation Instructions - Page 2
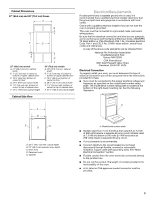
rear or left rear corner of the support surface to pass the appliance cable through to the junction box. ■ Oven support surface must be solid, level and flush with bottom of cabinet cutout. Floor must be able to support a total weight (microwave and built-in oven) of 238 lbs (108 kg). IMPORTANT: To - Whirlpool GSC309PVQ | Installation Instructions - Page 3
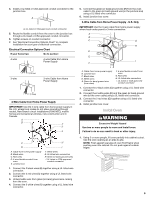
depth C. Oven front D. Recessed oven E. Cabinet A. Model/serial number plate ■ Models rated from 7.3 to 9.6 kW at 240 volts (5.5 to 7.2 kW at 208 volts) require a separate 40-amp circuit. Models rated at 7.2 kW and below at 240 volts (5.4 kW and below at 208 volts) require a separate 30-amp circuit - Whirlpool GSC309PVQ | Installation Instructions - Page 4
Aluminum/copper connection must conform with local codes and industry accepted wiring practices. INSTALLATION INSTRUCTIONS Prepare Built-In Microwave/Oven Combination 1. Decide on the final location for the oven. Locate existing wiring to avoid drilling into or severing wiring during installation - Whirlpool GSC309PVQ | Installation Instructions - Page 5
or CSA approved conduit connector 5. Route the flexible conduit from the oven to the junction box through a UL listed or CSA approved conduit from Home Power Supply 5. Connect the green (or bare) ground wire (H) from the oven cable to the green (or bare) ground wire (in the junction box) using a - Whirlpool GSC309PVQ | Installation Instructions - Page 6
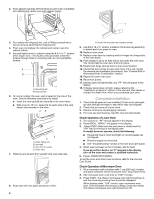
procedures. See "Prepare Built-In Microwave/Oven Combination" section. 15. Repeat for lower oven door. 16. Service" section of the Use and Care Guide or contact the dealer from whom you purchased your oven. Complete Installation 1. Check that all parts are now installed. If there is an extra part - Whirlpool GSC309PVQ | Installation Instructions - Page 7
Service: Please reference the "Assistance or Service" section of the Use and Care Guide or contact the dealer from whom you purchased your built-in and microwave ovens des instructions. EXIGENCES D'INSTALLATION (7,6 cm) au-dessous de la surface de support lorsque le four est installé dans un placard - Whirlpool GSC309PVQ | Installation Instructions - Page 8
porte du placard F. Hauteur de l'ouverture 41¼" (104,8 cm) Modèles de 30" (76,2 cm) A. Largeur du placard 30" (76,2 cm) min. B. 1" (2,5 cm) entre le sommet de l'ouverture le type de raccords électriques que l'on utilisera et suivre les instructions indiquées ici. ■ Le four doit être alimenté par une - Whirlpool GSC309PVQ | Installation Instructions - Page 9
kW ou moins à 240 volts (5,4 kW ou moins à 208 volts) doit être alimenté par un circuit indépendant de 30 le four. Le non-respect de cette instruction peut causer une blessure au dos ou d' enlever la porte. Conserver la/les porte(s) du four à part sur une surface de travail couverte. Dépose de la - Whirlpool GSC309PVQ | Installation Instructions - Page 10
de courant électrique avant l'entretien. Utiliser du fil en cuivre rigide de calibre 8. Relier le four à la terre. Le non-respect de ces instructions peut causer un décès, un incendie ou un choc électrique. Le câblage d'alimentation de ce four comporte un conducteur neutre (blanc) et un conducteur - Whirlpool GSC309PVQ | Installation Instructions - Page 11
de montage B. Insérer la vis 6. Sur certains modèles, l'évent du four est fixé au côté du four avec du ruban adhésif. Voir les instructions suivantes pour l'installation. ■ nsérer les onglets de l'évent (B) dans les ouvertures (A) du châssis du four. ■ Fixer solidement l'évent au four en utilisant - Whirlpool GSC309PVQ | Installation Instructions - Page 12
d'affichage ne s'allume pas, consulter la section "Assistance ou service" du Guide d'utilisation et d'entretien ou contacter le marchand qui vous a le réglage de l'horloge et d'autres fonctions du four, voir le Guide d'utilisation et d'entretien. Vérification du fonctionnement du four à micro-ondes
-
 1
1 -
 2
2 -
 3
3 -
 4
4 -
 5
5 -
 6
6 -
 7
7 -
8
-
9
-
10
-
11
-
12
 |
 |
INSTALLATION INSTRUCTIONS
27" (68.6 CM) AND 30" (76.2 CM) ELECTRIC BUILT-IN
MICROWAVE/OVEN COMBINATION
INSTRUCTIONS D'INSTALLATION DE L'ENSEMBLE FOUR À
MICRO-ONDES ET FOUR CONVENTIONNEL
ÉLECTRIQUES ENCASTRÉS DE 27" (68,6 CM) ET
30" (76,2 CM)
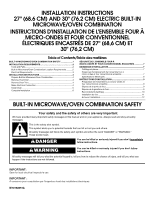
BUILT-IN MICROWAVE/OVEN COMBINATION SAFETY
Table of Contents/Table des matières
BUILT-IN MICROWAVE/OVEN COMBINATION SAFETY
......................
1
INSTALLATION REQUIREMENTS
...........................................................
2
Tools and Parts
.......................................................................................
2
Built-In Microwave/Oven Combination Location Requirements
...........
2
Electrical Requirements
..........................................................................
3
INSTALLATION INSTRUCTIONS
.............................................................
4
Prepare Built-In Microwave/Oven Combination
....................................
4
Remove Oven Door
................................................................................
4
Remove Oven Trim
.................................................................................
4
Make Electrical Connection
....................................................................
4
Install Oven
.............................................................................................
5
Complete Installation
..............................................................................
6
SÉCURITÉ DE L'ENSEMBLE FOUR À
MICRO-ONDES ET FOUR CONVENTIONNEL ENCASTRÉS
................
7
EXIGENCES D'INSTALLATION
................................................................
7
Outillage et pièces
..................................................................................
7
Exigences d'emplacement de l'ensemble four à
micro-ondes et four conventionnel encastrés
.......................................
7
Spécifications électriques
.......................................................................
8
INSTRUCTIONS D'INSTALLATION
.........................................................
9
Préparation de l'ensemble four à micro-ondes et
four conventionnel encastrés
.................................................................
9
Dépose de la porte du four
.....................................................................
9
Dépose de la garniture du four
...............................................................
9
Raccordement électrique
.....................................................................
10
Installation du four
................................................................................
11
Achever l'installation
.............................................................................
12
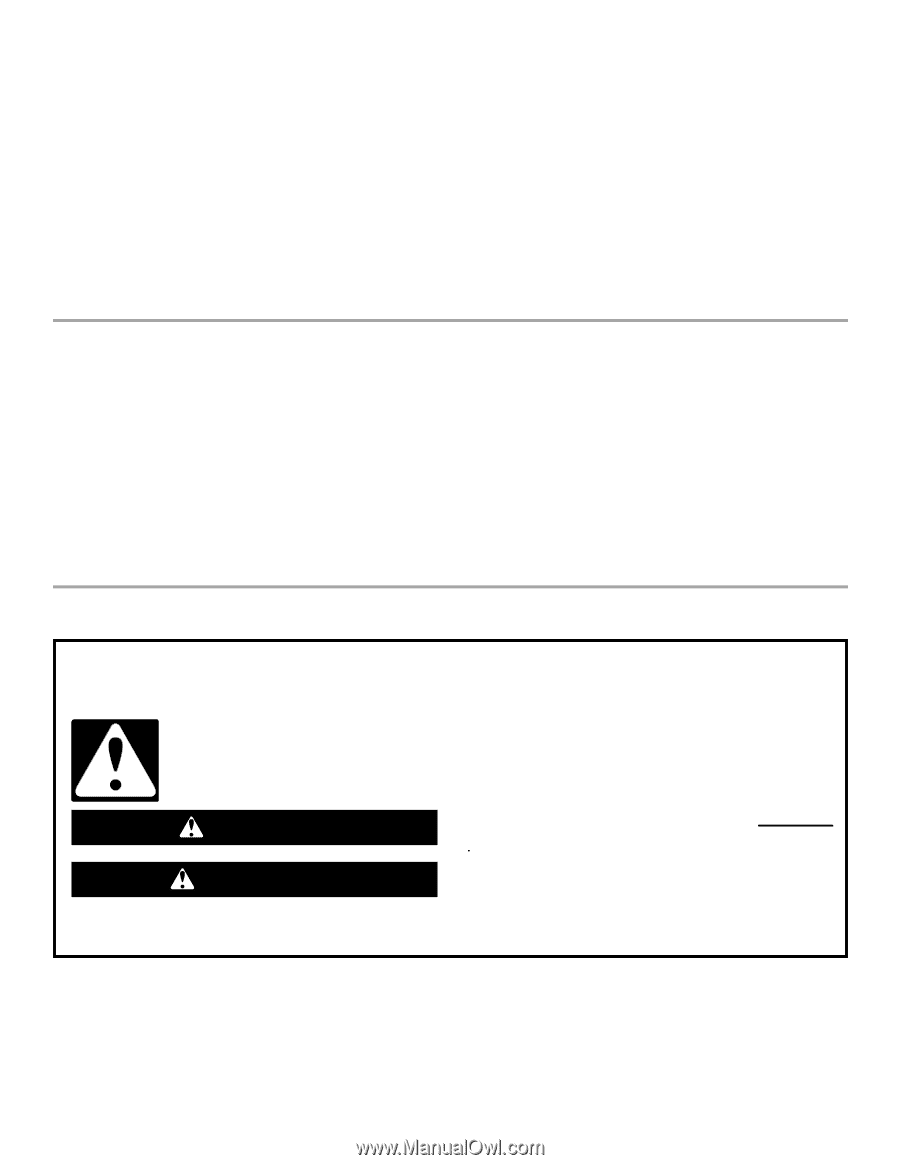
You can be killed or seriously injured if you don't immediately
You
can be killed or seriously injured if you don't follow
All safety messages will tell you what the potential hazard is, tell you how to reduce the chance of injury, and tell you what can
happen if the instructions are not followed.
Your safety and the safety of others are very important.
We have provided many important safety messages in this manual and on your appliance. Always read and obey all safety
messages.
This is the safety alert symbol.
This symbol alerts you to potential hazards that can kill or hurt you and others.
All safety messages will follow the safety alert symbol and either the word “DANGER” or “WARNING.”
These words mean:
follow instructions.
instructions.
DANGER
WARNING
IMPORTANT:
Save for local electrical inspector's use.
IMPORTANT :
À conserver pour consultation par l'inspecteur local des installations électriques.
W10192051A