1999 Ford Ranger Owner Guide 1st Printing - Page 191
1999 Ford Ranger Manual
Page 191 highlights
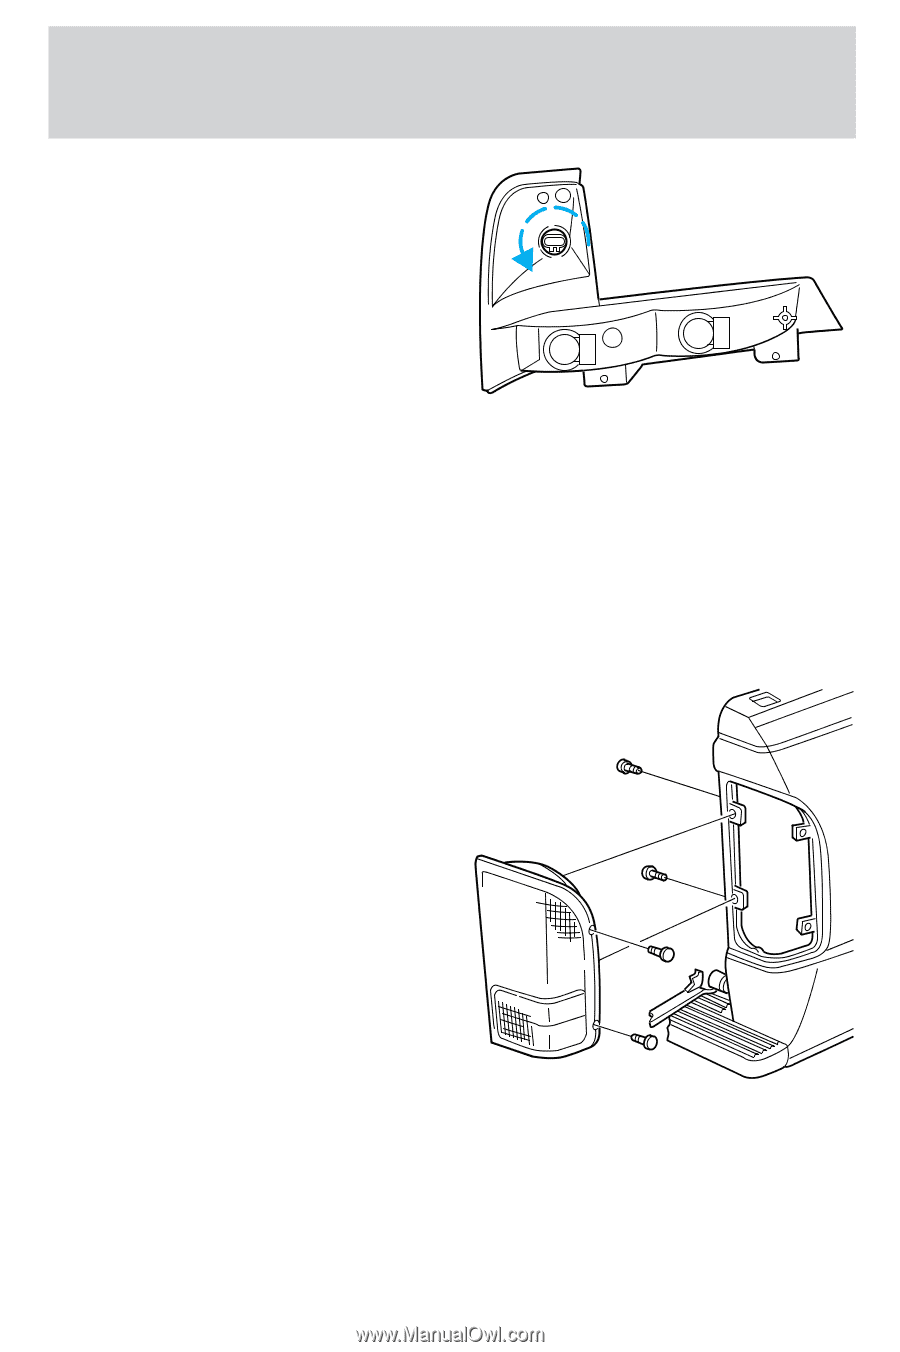
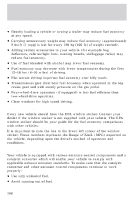
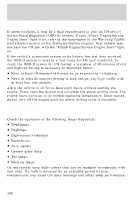
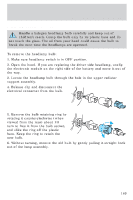
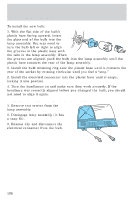
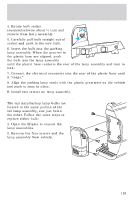
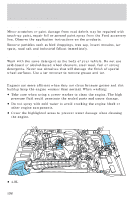
Maintenance and care 4. Rotate bulb socket counterclockwise about ¼ turn and remove from lamp assembly. 5. Carefully pull bulb straight out of socket and push in the new bulb. 6. Insert the bulb into the parking lamp assembly. When the grooves in the plastic base are aligned, push the bulb into the lamp assembly until the plastic base contacts the rear of the lamp assembly and turn to lock. 7. Connect the electrical connector into the rear of the plastic base until it "snaps." 8. Align the parking lamp studs with the plastic grommets on the vehicle and push to snap in place. 9. Install two screws on lamp assembly. Replacing tail lamp/Backup lamp bulbs The tail lamp/backup lamp bulbs are located in the same portion of the tail lamp assembly, one just below the other. Follow the same steps to replace either bulb: 1. Open the liftgate to expose the lamp assemblies. 2. Remove the four screws and the lamp assembly from vehicle. 191
-
 1
1 -
2
-
3
-
4
-
5
-
6
-
7
-
8
-
9
-
10
-
11
-
12
-
13
-
14
-
15
-
16
-
17
-
18
-
19
-
20
-
21
-
22
-
23
-
24
-
25
-
26
-
27
-
28
-
29
-
30
-
31
-
32
-
33
-
34
-
35
-
36
-
37
-
38
-
39
-
40
-
41
-
42
-
43
-
44
-
45
-
46
-
47
-
48
-
49
-
50
-
51
-
52
-
53
-
54
-
55
-
56
-
57
-
58
-
59
-
60
-
61
-
62
-
63
-
64
-
65
-
66
-
67
-
68
-
69
-
70
-
71
-
72
-
73
-
74
-
75
-
76
-
77
-
78
-
79
-
80
-
81
-
82
-
83
-
84
-
85
-
86
-
87
-
88
-
89
-
90
-
91
-
92
-
93
-
94
-
95
-
96
-
97
-
98
-
99
-
100
-
101
-
102
-
103
-
104
-
105
-
106
-
107
-
108
-
109
-
110
-
111
-
112
-
113
-
114
-
115
-
116
-
117
-
118
-
119
-
120
-
121
-
122
-
123
-
124
-
125
-
126
-
127
-
128
-
129
-
130
-
131
-
132
-
133
-
134
-
135
-
136
-
137
-
138
-
139
-
140
-
141
-
142
-
143
-
144
-
145
-
146
-
147
-
148
-
149
-
150
-
151
-
152
-
153
-
154
-
155
-
156
-
157
-
158
-
159
-
160
-
161
-
162
-
163
-
164
-
165
-
166
-
167
-
168
-
169
-
170
-
171
-
172
-
173
-
174
-
175
-
176
-
177
-
178
-
179
-
180
-
181
-
182
-
183
-
184
-
185
-
 186
186 -
 187
187 -
 188
188 -
 189
189 -
 190
190 -
 191
191 -
 192
192 -
 193
193 -
 194
194 -
 195
195 -
 196
196 -
197
-
198
-
199
-
200
-
201
-
202
-
203
-
204
-
205
-
206
-
207
-
208
-
209
-
210
-
211
-
212
-
213
-
214
-
215
-
216
 |
 |