2005 Ford Thunderbird Quick Reference Guide 1st Printing
2005 Ford Thunderbird Manual

2005 Ford Thunderbird manual content summary:
- 2005 Ford Thunderbird | Quick Reference Guide 1st Printing - Page 1
boot inward, exterior surface to exterior surface. Repeat for the other side. Thunderbird's removable top Top Ford Motor Company Customer Relationship Center P.O. Box 6248 Dearborn, MI 48121 1-800-392-3673 (FORD) This Quick Reference Guide is not intended to replace your vehicle Owner's Guide - 2005 Ford Thunderbird | Quick Reference Guide 1st Printing - Page 2
serviced. 11 Climate Control Your Thunderbird is equipped with a Dual Electronic Automatic Temperature Control System. Please see your Owner's Guide system will automatically provide outside air to reduce window fogging. 07 Speed Control The speed controls are located on the steering wheel. Press
-
 1
1 -
 2
2
 |
 |
Ford Motor Company
Customer Relationship Center
P.O. Box 6248
Dearborn, MI 48121
1-800-392-3673 (FORD)
This Quick Reference Guide is not intended to replace your vehicle Owner’s Guide which
contains more detailed information concerning the features of your vehicle as well as
important safety warnings designed to help reduce the risk of injury to you and your
passengers. Please read your entire Owner’s Guide carefully as you begin learning about your
new Thunderbird and refer to the appropriate sections when questions arise.
All information contained in this Quick Reference Guide was accurate at the time of duplication.
We reserve the right to change features, operation and/or functionality of any vehicle
specification at any time.
Your Ford dealer is the best source for the most current information.
5W6J-19G217-AA
*F5W6J19G217AA*
April 2004
First Printing
Quick Reference Guide
Ford Thunderbird
Litho in U.S.A.
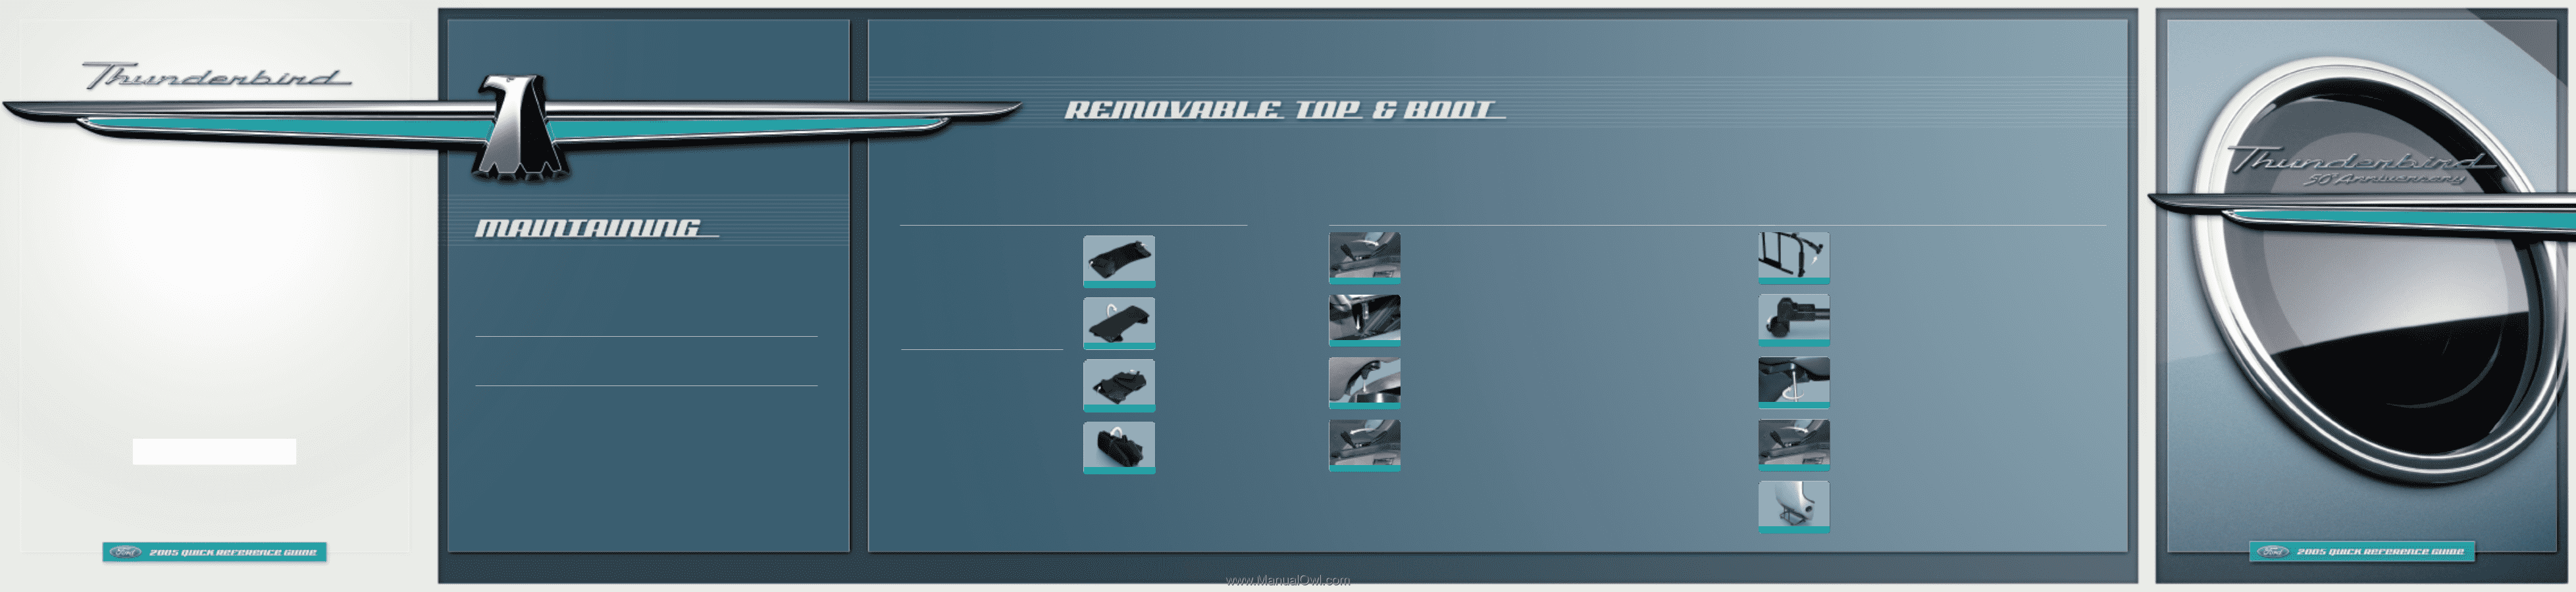
Maintaining Your Removable Top
(if equipped)
Proper maintenance of your removable top will help you enjoy your ownership
experience more fully in the miles to come. The tape provided is not designed
to exceed 6 months continuous use.
Installing and Removing Your Removable Top
(if equipped)
Thunderbird’s removable top requires special attention in terms of removal, installation, and maintenance.
In fact, it should be removed every 3 months or 3000 miles for rear
seal and rear deck cleaning. Before removing or installing your top, please make sure your vehicle is parked on a level surface and be sure you have someone standing by to help
you.
(The top weighs approximately 84 lbs.)
Installing, Removing and Storing the Boot
(if equipped)
When the convertible top is in the stored (down) position, you have the option
of covering it with the convertible top boot.
When not in use, the boot can be
conveniently stored in your trunk.
Tape Removal
To remove the old tape, simply pull it off while the temperature is below 90°F. If you notice
adhesive residue on your vehicle, clean the surface with isopropyl alcohol or a very light
non-abrasive soap.
Applying New Tape
Don’t worry about positioning the tape perfectly on your first attempt; the tape won’t bond completely
until it has been in place for more than 24 hours. Only use the tape that has been approved by Ford for
use on painted surfaces. Before applying new tape, make sure the surface of your vehicle is clean and dry.
The temperature of the body surface should not be lower than 65°F or higher than 90°F.
✦
Retract the convertible top to the open
position.
✦
Start with the Driver-Side piece and remove
the backing paper, spraying the sticky side
with the gliding solution as it is exposed.
This stops the film from folding and sticking
to itself before you lay it on the car.
✦
Spray the driver’s section of the vehicle
liberally with the gliding solution.
✦
Lay the piece onto the car, getting as close
to position as possible. You should be able to
glide it into position.
✦
Use the foam pad on the bottom of the
spray bottle to help squeeze out bubbles.
✦
After the film has set for greater than 10
minutes, do not try to move.
✦
Repeat the process with the Passenger-Side
piece.
✦
Complete installation with the left and right
rear pieces.
Installation
01
While the convertible top is in the raised position, make sure it is completely
clean and dry. Lower the convertible top. Open the doors, lower the windows and
clean the area where the removable top is mounted to the body with a clean, damp
cloth.
Note: Before installing the removable top, apply the protective tape to the
rear deck of the vehicle; refer to “Applying New Tape” in this Quick Reference Guide.
02
Make sure the wheels on your storage rack are locked; remove the
protective cover.
03
Confirm that the top’s rear locking levers are rotated to the fully
open position.
04
Ensure that the removable top levers are rotated rearward to the fully open
position. Ask someone to assist you in carrying the top to the vehicle; lower the
rear of the top so that the pins are placed into the bracket receivers. (The
receivers should be lubricated once a year. Apply a small amount of silicone
lubricant to the receivers. Spray the lubricant directly into the holes to avoid
damaging trim parts.)
05
Position the front of the top so that the locating tabs on each side are
placed in the mounting castings.
06
Rotate the rear locking levers approximately one-half turn toward the front
of the vehicle. (The levers are on the rear left- and right-hand sides of the vehicle.)
07
Use the mounting key to loosely install the two mounting screws and the
left and right sides of the windscreen; give them two or three turns. Note: The
screws in the windscreen panel of the vehicle are already set in place.
08
Pull the rear locking levers fully forward and slightly downward to lock the
rear of the roof in place. The rear levers are locked when you feel the spring
engage; each lever will point toward the front of the vehicle.
09
Use the mounting key to fully tighten the front mounting screws. After
driving approximately 30 to 40 miles, check the front mounting screws to
confirm they’re secure.
Removal
01
Prepare the storage rack to accept the removable top.
Place the bumper
end of the uprights on the floor, with the wheels facing you.
02
Firmly squeeze the two chrome locking buttons (top and bottom) of one leg
and rotate the leg toward you until it locks in place. Repeat this step for the other leg.
03
Turn the rack over on its wheels and place it on a flat surface. Make sure the
center “T” section is fully locked by attempting to move it downward without
releasing the chrome locking buttons.
04
Push down on the two plastic levers on the front wheels to lock the
wheels in place.
05
Remove the mounting key (located in the bag in the trunk).
06
Using the mounting key, fully loosen the two screws at the front of the top
(one on each side of the windscreen). The two screws remain undetachable in the
windscreen panel of your vehicle.
07
Undo the locking levers at the rear right and left sides of the vehicle.
Rotate
each lever rearward while applying slight upward force to the top.
08
With the aid of a second person, remove the top and place it on the storage
rack, with the rear of the top resting on the rubber bumpers of the lower legs.
Push the two screws down into the windscreen panel of your vehicle.
09
Use the cover that has been provided to keep the top clean when not in use.
step 3
step 4
step 6
step 8
step 2
step 4
step 6
step 7
step 8
Storage
01
Fold the outboard
sixth of the boot inward,
exterior surface to
exterior surface. Repeat
for the other side.
02
Flip the boot; fold
the doubled-up ends
toward the center of the
boot.
Repeat for the
other side.
03
Fold the boot in
half and secure it with
the Velcro strap.
04
Place the folded
boot in the storage area
in the front of the trunk.
To prevent the boot
from getting dirty it
may be stored in the
plastic bag.
Installation
01
Fasten the snaps on the boot to the
quarter trim panels on both sides of the vehicle
and at the center.
02
Tuck the boot under the upper back panel
at the rear and the quarter panels along the sides.
03
Ensure that the cover is tucked into the
quarter panel and upper back panel and all snaps
are fastened before driving.
Removal
01
Unfasten all three driver’s side snaps and
all three passenger’s side snaps.
02
Untuck both sides and the rear of the boot
by sliding it forward.
03
Fold and fasten the Velcro strap and lift off.
step 1
step 2
step 3
step 4