1998 Nissan Sentra Owner's Manual - Page 168
1998 Nissan Sentra Manual
Page 168 highlights
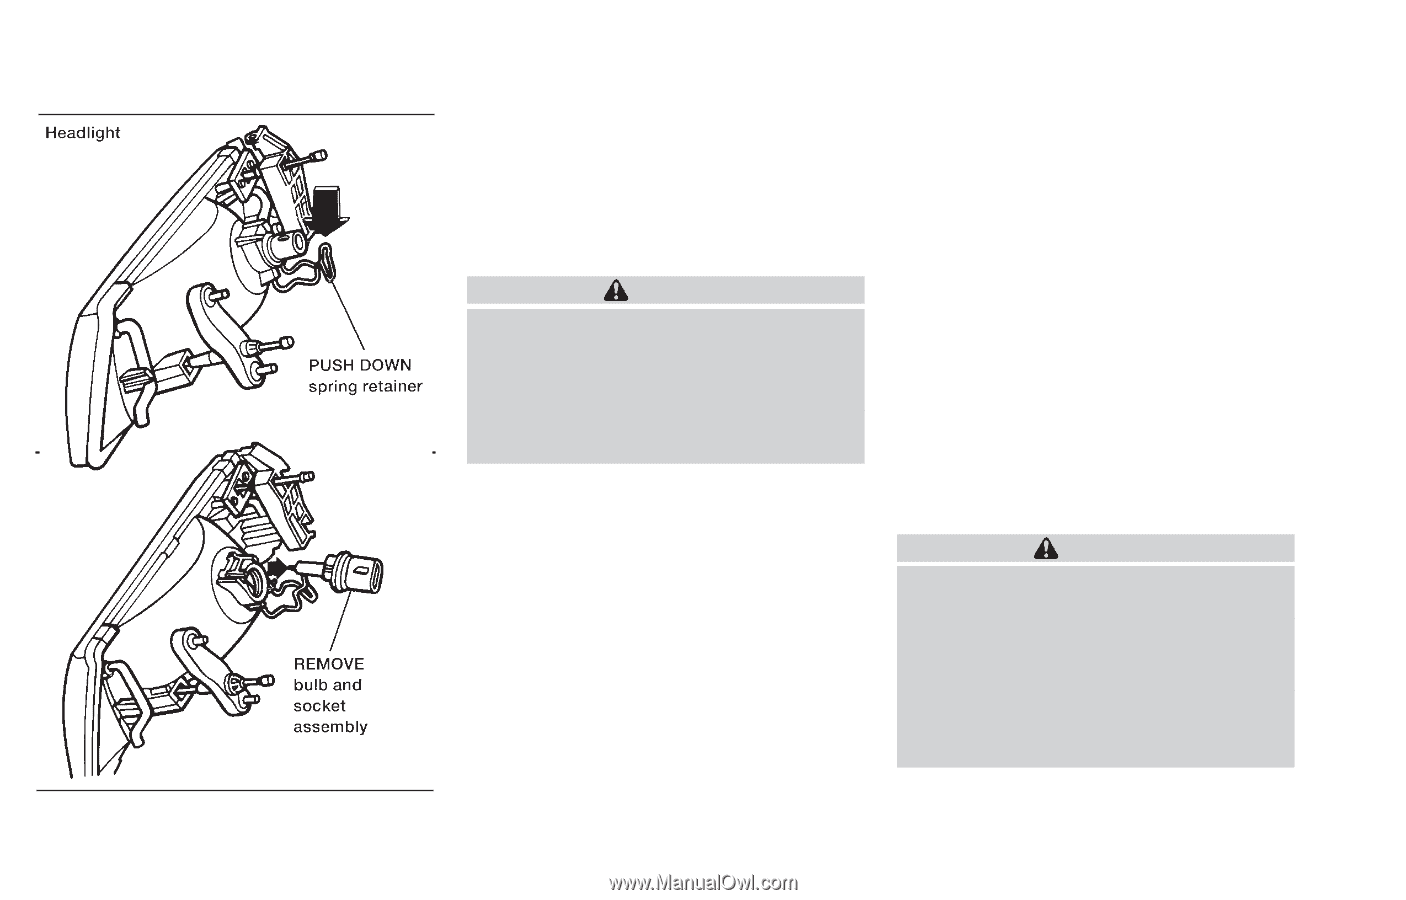
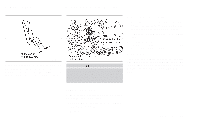
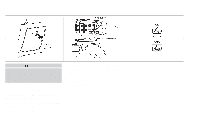
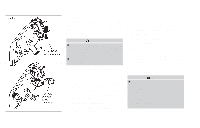
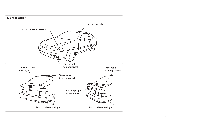
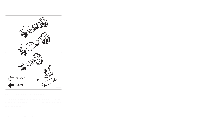
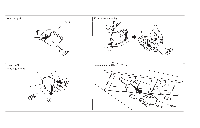
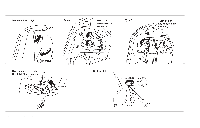
LIGHT BULBS HEADLIGHTS The headlight is a semi-sealed beam type which uses a replaceable headlight (halogen) bulb. A bulb can be replaced from inside the engine compartment without removing the headlight assembly. CAUTION ● High pressure halogen gas is sealed inside the halogen bulb. The bulb may break if the glass envelope is scratched or the bulb is dropped. ● When handling the bulb, do not touch the glass envelope. bulb when removing it. Do not handle the glass envelope. Replacing the headlight bulb 1. Insert the bulb and socket assembly into the headlight. DO NOT TOUCH THE BULB. 2. Install the spring retainer. 3. Push the electrical connector into the bulb plastic base until it snaps and stops. 4. If installing the right-hand (passenger side) headlight bulb, be sure to reposition the engine coolant reservoir. 5. Connect the negative (-) battery cable. 6. Close the engine hood. CAUTION ● Use the same number and wattage as originally installed: 2 DOOR Wattage 65/55 Bulb no. 9007 4 DOOR Wattage 65/45 Bulb no. 9004 Removing the headlight bulb 1. Open the engine hood. 2. Disconnect the negative (-) battery cable. 3. If removing the right-hand (passenger side) headlight bulb, it is necessary to first reposition the engine coolant reservoir. 4. Disconnect the electrical connector from the rear end of the bulb. 5. Push down the spring retainer. ADI0607 6. Pull out the headlight bulb and socket as an assembly. Do not shake or rotate the Do-it-yourself 8-25
-
 1
1 -
2
-
3
-
4
-
5
-
6
-
7
-
8
-
9
-
10
-
11
-
12
-
13
-
14
-
15
-
16
-
17
-
18
-
19
-
20
-
21
-
22
-
23
-
24
-
25
-
26
-
27
-
28
-
29
-
30
-
31
-
32
-
33
-
34
-
35
-
36
-
37
-
38
-
39
-
40
-
41
-
42
-
43
-
44
-
45
-
46
-
47
-
48
-
49
-
50
-
51
-
52
-
53
-
54
-
55
-
56
-
57
-
58
-
59
-
60
-
61
-
62
-
63
-
64
-
65
-
66
-
67
-
68
-
69
-
70
-
71
-
72
-
73
-
74
-
75
-
76
-
77
-
78
-
79
-
80
-
81
-
82
-
83
-
84
-
85
-
86
-
87
-
88
-
89
-
90
-
91
-
92
-
93
-
94
-
95
-
96
-
97
-
98
-
99
-
100
-
101
-
102
-
103
-
104
-
105
-
106
-
107
-
108
-
109
-
110
-
111
-
112
-
113
-
114
-
115
-
116
-
117
-
118
-
119
-
120
-
121
-
122
-
123
-
124
-
125
-
126
-
127
-
128
-
129
-
130
-
131
-
132
-
133
-
134
-
135
-
136
-
137
-
138
-
139
-
140
-
141
-
142
-
143
-
144
-
145
-
146
-
147
-
148
-
149
-
150
-
151
-
152
-
153
-
154
-
155
-
156
-
157
-
158
-
159
-
160
-
161
-
162
-
 163
163 -
 164
164 -
 165
165 -
 166
166 -
 167
167 -
 168
168 -
 169
169 -
 170
170 -
 171
171 -
 172
172 -
 173
173 -
174
-
175
-
176
-
177
-
178
-
179
-
180
-
181
-
182
-
183
-
184
-
185
-
186
-
187
-
188
-
189
-
190
-
191
-
192
-
193
-
194
-
195
-
196
-
197
-
198
-
199
-
200
-
201
-
202
-
203
-
204
-
205
-
206
-
207
-
208
-
209
-
210
-
211
-
212
-
213
-
214
-
215
-
216
 |
 |