ASRock ALiveXFire-eSATA2 R3.0 RAID Installation Guide - Page 13
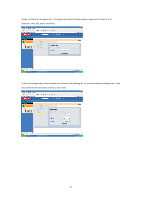
Click Logical Drive View.
 |
View all ASRock ALiveXFire-eSATA2 R3.0 manuals
Add to My Manuals
Save this manual to your list of manuals |
Page 13 highlights
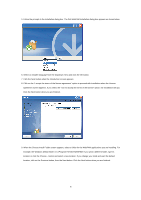
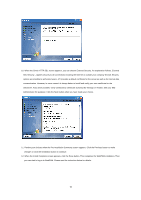
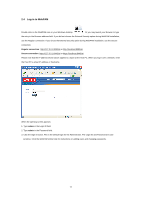
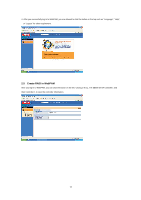
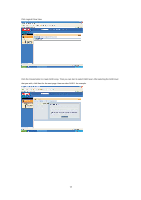
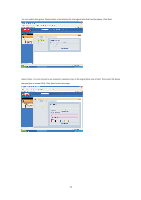
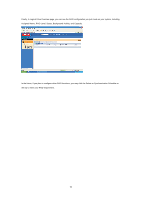
Click Logical Drive View. Click the Create button to create RAID array. Then you can start to select RAID level. After selecting the RAID level that you wish, click Next for the next page. Here we take RAID 1 for example. 13
-
 1
1 -
2
-
3
-
4
-
5
-
6
-
7
-
 8
8 -
 9
9 -
 10
10 -
 11
11 -
 12
12 -
 13
13 -
 14
14 -
 15
15 -
 16
16
 |
 |
13
Click Logical Drive View.
Click the Create button to create RAID array. Then you can start to select RAID level. After selecting the RAID level
that you wish, click Next for the next page. Here we take RAID 1 for example.