Acer E4w User Manual 3D - Page 1
Acer E4w Manual
 |
View all Acer E4w manuals
Add to My Manuals
Save this manual to your list of manuals |
Page 1 highlights
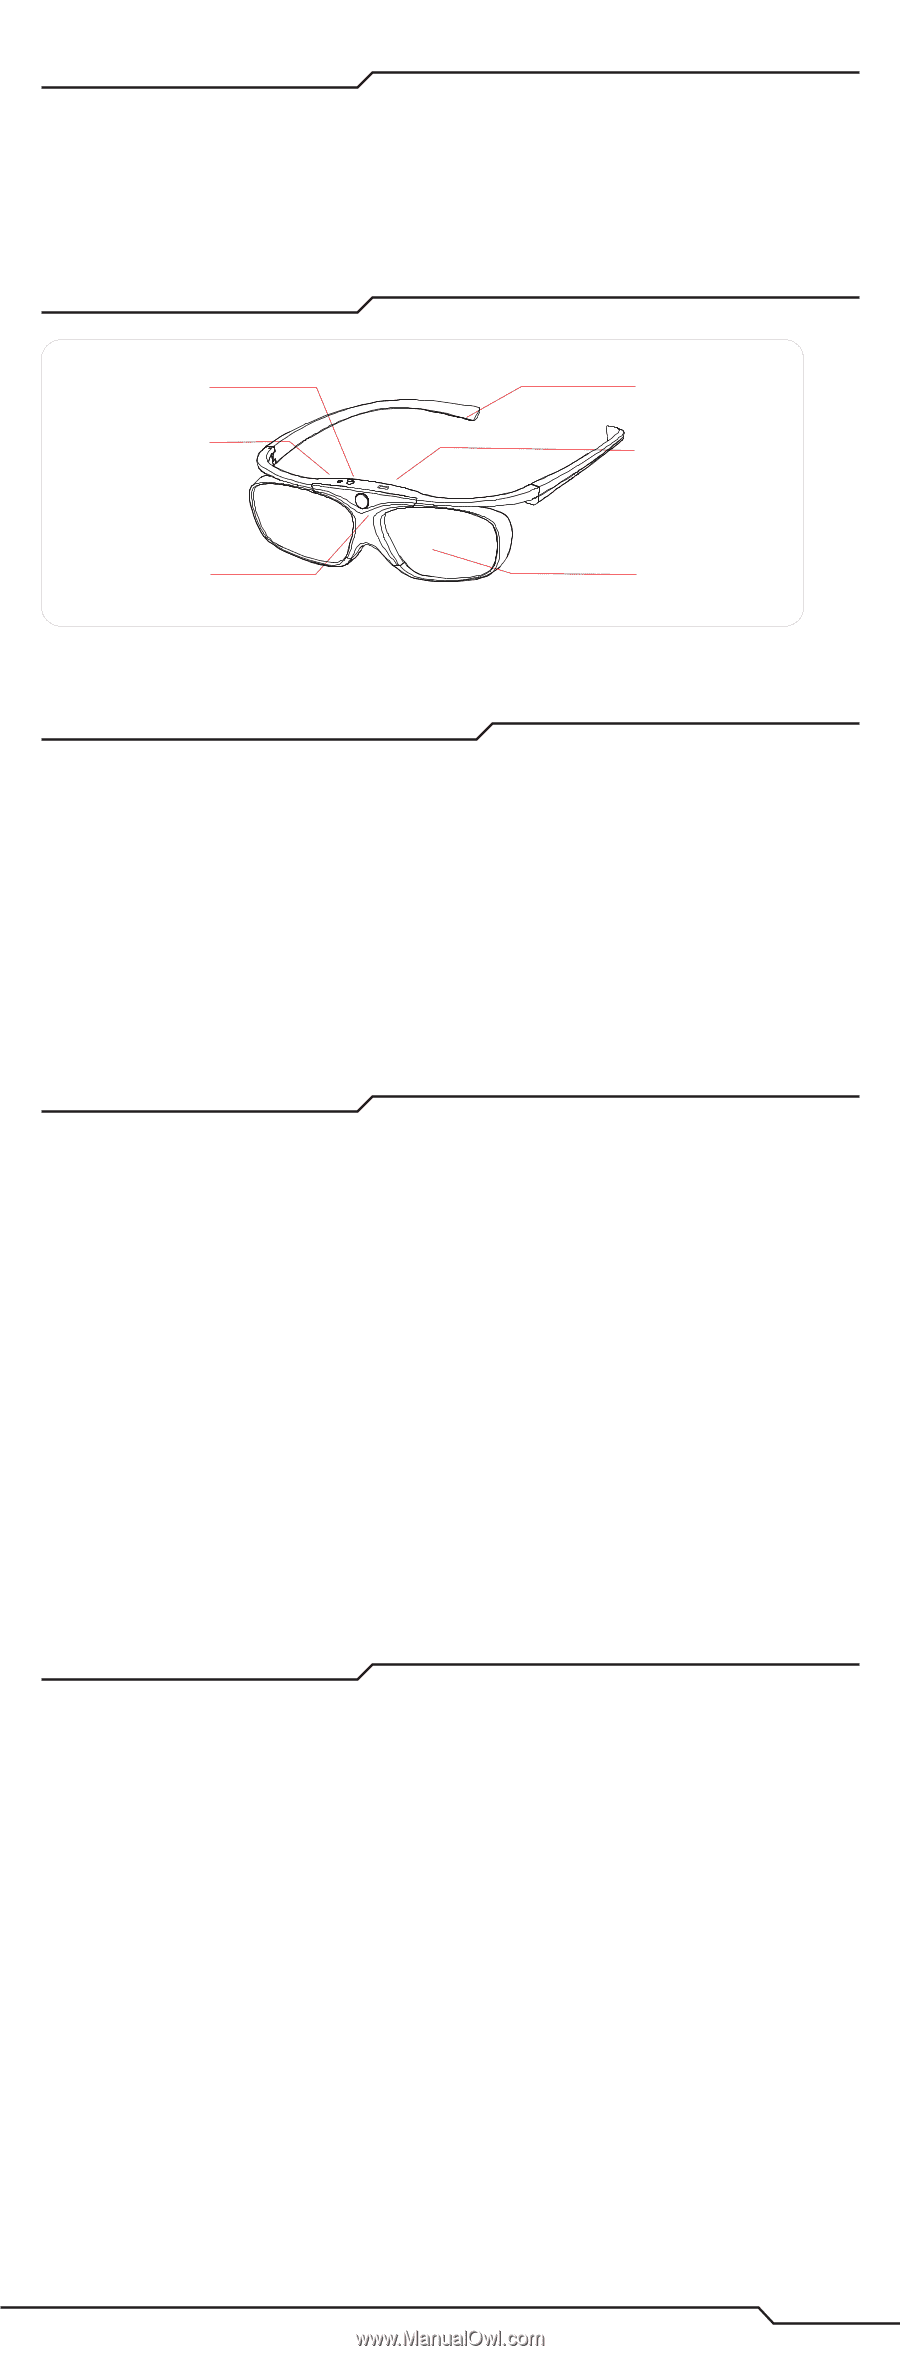
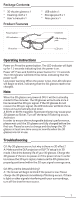
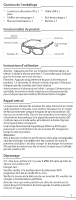
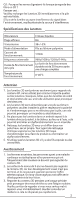
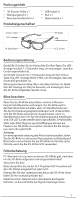
Package Contents * 3D shutter glasses x 1 * Cleaning cloth x 1 * User's manual x 1 Product Features Power button LED indicator IR receiver * USB cable x 1 * Storage pouch x 1 * Nose piece x 1 Earpieces USB charging port LCD Lens Operating Instructions Power on: Press the power button. The LED indicator will light up for 1.5 seconds indicating that the power is on. Power off: Press and hold the power button for 1.5 seconds. The LED indicator will blink three times indicating that the power is off. Low power warning: When the power is low, the LED indicator will begin to blink, indicating that the 3D glasses need to be charged. Note When the 3D glasses are powered ON, it will be in standby mode for five minutes. The 3D glasses will activate once it has received the 3D sync signal. If the 3D glasses do not receive the 3D sync signal, the LED indicator will blink three times and automatically shut down. A 50 Hz or 60 Hz magnetic fluorescent lamp may cause your 3D glasses to flicker. Turn off the lamp if flickering occurs. Attention: In order to ensure the rechargeable battery's performance, please wait until the 3D glasses are fully charged before the first use. Please be sure to charge and discharge the 3D glasses at least one time every six months when the 3D glasses are not in use. Troubleshooting Q1: My 3D glasses are on, but why is there no 3D effect? A: Make sure the DLP projector or DLP TV setup is in 3D mode. Check the battery life of your 3D glasses. Charge the 3D glasses if there is no power or if the power is low. In order to receive the 3D sync signal, make sure the 3D glasses are properly positioned within the 3D sync signal coverage area. Q2: Why are the lenses blinking? A: The lenses will begin to blink if the power is low. Please charge the 3D glasses immediately if blinking occurs. If there is light or other signals interfering with your surroundings, turn off the interference source. 1
-
 1
1 -
 2
2 -
 3
3 -
 4
4 -
 5
5 -
 6
6 -
 7
7 -
8
-
9
-
10
-
11
-
12
-
13
-
14
-
15
-
16
-
17
-
18
-
19
-
20
-
21
-
22
-
23
-
24
-
25
-
26
-
27
-
28
-
29
-
30
-
31
-
32
-
33
-
34
-
35
-
36
-
37
-
38
-
39
-
40
-
41
-
42
-
43
-
44
-
45
-
46
-
47
-
48
-
49
-
50
-
51
-
52
-
53
-
54
-
55
-
56
-
57
-
58
-
59
-
60
-
61
-
62
-
63
-
64
 |
 |