Asus DVD-E616P2 English User Manual - Page 21
front panel. The holes on
 |
View all Asus DVD-E616P2 manuals
Add to My Manuals
Save this manual to your list of manuals |
Page 21 highlights
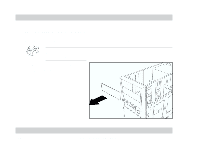
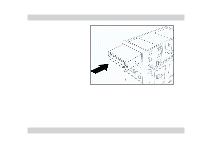
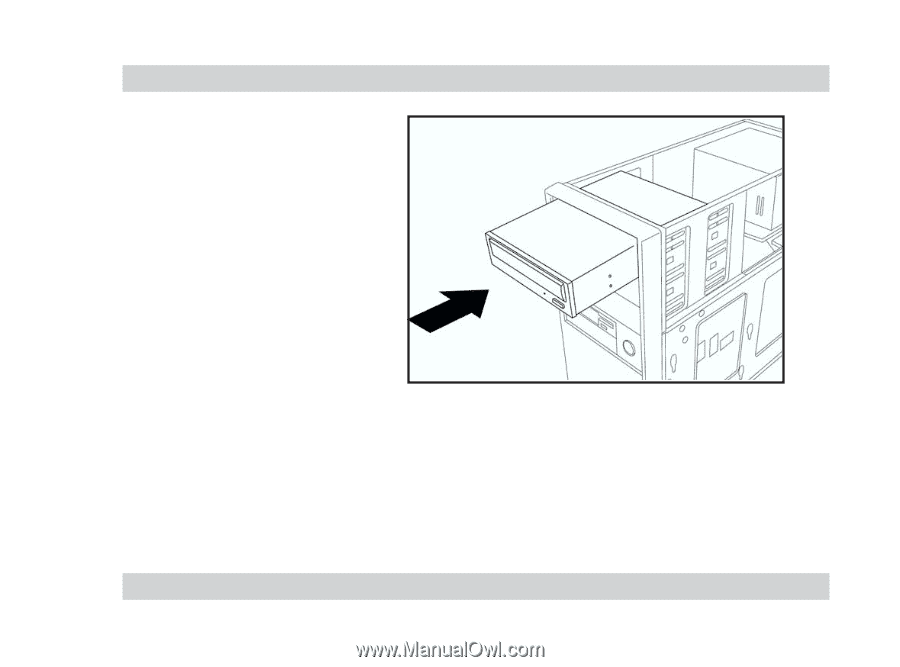
2. Carefully insert the drive into the bay and push it inward until it is flushed to the chassis front panel. The holes on the sides of the drive should align with the holes on the drive bay. ASUS DVD-E616P2 21
-
 1
1 -
2
-
3
-
4
-
5
-
6
-
7
-
8
-
9
-
10
-
11
-
12
-
13
-
14
-
15
-
 16
16 -
 17
17 -
 18
18 -
 19
19 -
 20
20 -
 21
21 -
 22
22 -
 23
23 -
 24
24 -
 25
25 -
 26
26 -
27
-
28
-
29
-
30
-
31
-
32
-
33
-
34
 |
 |
ASUS DVD-E616P2
21
2.
Carefully insert the drive into
the bay and push it inward
until it is flushed to the chassis
front panel. The holes on the
sides of the drive should align
with the holes on the drive
bay.