Asus Genie Installation Guide
Asus Genie Manual
 |
View all Asus Genie manuals
Add to My Manuals
Save this manual to your list of manuals |
Asus Genie manual content summary:
- Asus Genie | Installation Guide - Page 1
® Genie Book Size PC System Installation Guide - Asus Genie | Installation Guide - Page 2
, LOSS OF USE OR DATA, INTERRUPTION OF BUSINESS AND THE LIKE), EVEN IF ASUS HAS BEEN ADVISED OF THE POSSIBILITY OF SUCH DAMAGES ARISING FROM ANY DEFECT OR ERROR IN THIS MANUAL OR PRODUCT. Product warranty or service will not be extended if: (1) the product is repaired, modified or altered, unless - Asus Genie | Installation Guide - Page 3
Center, Building 2 Newark, CA 94560, USA +1-510-608-4555 [email protected] Technical Support Fax: +1-510-608-4555 BBS: +1-510-739-3774 Email: [email protected] WWW: www.asus.com FTP: ftp.asus.com.tw/pub/ASUS ASUS COMPUTER GmbH (Europe) Marketing Address: Fax: Email: Harkortstr. 25, 40880 - Asus Genie | Installation Guide - Page 4
. This equipment generates, uses and can radiate radio frequency energy and, if not installed and used in accordance with manufacturer's instructions, may cause harmful interference to radio communications. However, there is no guarantee that interference will not occur in a particular installation - Asus Genie | Installation Guide - Page 5
6 Introduction About This Guide 7 Audience 8 Contents Description 8 Chapter 1 System Assembly 9 Opening the Chassis 10 Installing Disk Drives 11 Installing Optional Components 13 I/O Plate 13 PCI Expansion Card 13 Installing an IR-USB Module 14 Installing the Motherboard 15 Closing the - Asus Genie | Installation Guide - Page 6
Support CD 11) CD-ROM Drive Support Disk 12) (1) UltraDMA/33/66 IDE Cable 13) (1) UltraDMA/33 IDE Cable 14) (1) Floppy Cable 15) (1) IR Cable (5-pin) 16) (1) USB Cable (10-pin) 17) ASUS Name Plate 18) Motherboard User's Manual 19) CD-ROM Drive Manual 20) Genie Book Size PC System Installation Guide - Asus Genie | Installation Guide - Page 7
Size PC System Installation Guide. This reference guide provides general information about the Genie Book Size PC System. "About This Guide" contains an introduction on the contents of this document that include target audience and chapter description. About This Guide Genie Book Size PC System - Asus Genie | Installation Guide - Page 8
installation guide contains the following parts: 1. Introduction: About This Guide This chapter includes step-by-step instructions on how to install components in the Genie Book Size PC System. components and perform optional assembly procedures in the Genie Book Size PC System. 4. Chapter 3: System - Asus Genie | Installation Guide - Page 9
1 This chapter includes step-by-step instructions on how to install components in the Genie Book Size PC System. IMPORTANT: The Genie Book Size PC System chassis is suitable only for Flex ATX motherboards up to 20cm wide. Before installing your motherboard and other components, make sure that they - Asus Genie | Installation Guide - Page 10
Opening the Chassis 1. Remove the two screws (indicated by black circles) on the back panel that secure the top cover to the chassis. 2. Slide the top cover towards the back panel, then lift it off the chassis. 3. Detach the front panel by lifting the holding tabs on top. 4. Remove the whole disk - Asus Genie | Installation Guide - Page 11
the slim CD-ROM drive with two screws (one on each side). 4. Attach the slim CD-ROM adapter board to the back of the drive. Genie Book Size PC System 11 - Asus Genie | Installation Guide - Page 12
Installing Disk Drives 5. Secure the board with two screws. 6. Insert a floppy disk drive into the FDD bay as shown. 7. Secure the floppy drive to the frame using four screws (two on each side). 8. Carefully turn the disk drive frame over and place a hard disk drive on the HDD bay as shown. 12 - Asus Genie | Installation Guide - Page 13
I/O plate. PCI Expansion Card The chassis can accommodate one expansion card through a PCI riser card. Install the PCI expansion card after you have installed the motherboard. Refer to Chapter 2 for instructions on expansion card installation. Genie Book Size PC System 13 - Asus Genie | Installation Guide - Page 14
Installing an IR-USB Module 1. Attach the L-type fastening bracket to the IR-USB module. 2. Install the IR-USB module to the USB slot on the front of the chassis. 3. Secure the IR-USB module with a screw. 14 Chapter 1: System Assemby - Asus Genie | Installation Guide - Page 15
that measures 19.05cm (7.5in) x 19.05am (7.5in) fits into the Genie Book Size PC chassis. 1. Remove the riser card holder by lifting it up and unhooking it from the back panel frame. 2. Place the motherboard into the chassis as shown, and making sure that the I/O connectors fit the holes on - Asus Genie | Installation Guide - Page 16
Closing the Chassis 1. Replace the disk drive frame into the chassis as shown. 2. Check the drive frame tab on the front and make sure it fits in place. 3. Re-install the riser card holder by inserting the hooks (indicated by circles) into the holes on top of the slot frame. 4. Push down the riser - Asus Genie | Installation Guide - Page 17
that the holding tabs on top are secure. 8. Replace the chassis top cover by sliding it towards the front panel until it fits in place. Genie Book Size PC System 17 - Asus Genie | Installation Guide - Page 18
Closing the Chassis 9. Ensure that the lock tab (indicated by circle) on the back panel goes through the hole at the back of the top cover. 10. Secure the top cover to the chassis using two screws. 18 Chapter 1: System Assemby - Asus Genie | Installation Guide - Page 19
Optional Procedures Chapter 2 This chapter tells how to install optional components and perform optional assembly procedures in the Genie Book Size PC System. Genie Book Size PC System 19 - Asus Genie | Installation Guide - Page 20
The tabs that secure it are tight.) After removing the existing I/O plate, the back panel exposes an opening for the new I/O plate to fit your motherboard I/O connectors. 2. Install a new I/O plate by fitting it to the I/O opening and sliding it to the left until it completely fits in place. 3. Make - Asus Genie | Installation Guide - Page 21
the PCI expansion slot. 2. Remove the expansion slot metal cover by sliding it to the right. 3. Install the riser card to the connector on the motherboard. 4. Insert the golden fingers of the PCI expansion card into the riser card slot and push in firmly to seat the card - Asus Genie | Installation Guide - Page 22
Installing a PCI Expansion Card 5. For card stability, make sure that the card bracket end goes into the cleft on the slot frame. 6. Make sure that the notched end of the card bracket fits the protruding tabs on the slot frame. 7. Push down the card locking tab to secure the expansion card in place. - Asus Genie | Installation Guide - Page 23
Chapter 3 This chapter describes the different system placement options to allow you to maximize your working area and afford you more convenience. System Placement Genie Book Size PC System 23 - Asus Genie | Installation Guide - Page 24
Horizontal Placement Normally, you place the Genie Book PC system flat (horizontal) on the desk. The chassis comes with four rubber feet that prevent direct contact with the surface. 24 Chapter 3: System Placement - Asus Genie | Installation Guide - Page 25
. 3) Position the foot stands opposite the foot marks on the panel cover. 4) Stabilize the system by making sure that the foot stands are properly attached. Genie Book Size PC System 25 - Asus Genie | Installation Guide - Page 26
(This page was intentionally left blank.) 26 Chapter 3: System Placement
-
 1
1 -
 2
2 -
 3
3 -
 4
4 -
 5
5 -
 6
6 -
 7
7 -
8
-
9
-
10
-
11
-
12
-
13
-
14
-
15
-
16
-
17
-
18
-
19
-
20
-
21
-
22
-
23
-
24
-
25
-
26
 |
 |
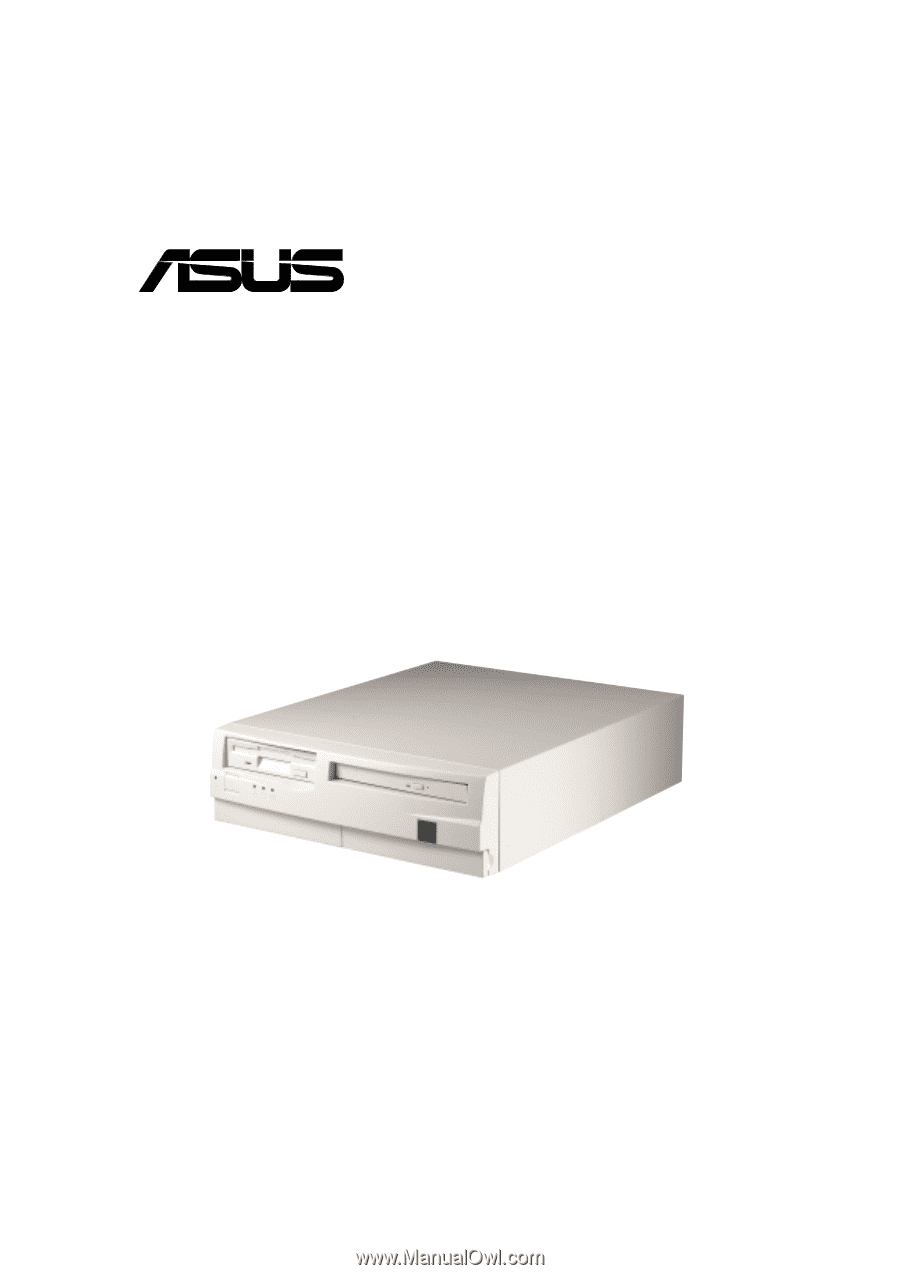
Book Size PC System
®
Genie
Installation Guide