Asus LS201A User Guide
Asus LS201A Manual
 |
View all Asus LS201A manuals
Add to My Manuals
Save this manual to your list of manuals |
Asus LS201A manual content summary:
- Asus LS201A | User Guide - Page 1
LS201 Series LCD Monitor User Guide - Asus LS201A | User Guide - Page 2
, without the express written permission of ASUSTeK COMPUTER INC. ("ASUS"). Product warranty or service will not be extended if: (1) the AS A COMMITMENT BY ASUS. ASUS ASSUMES NO RESPONSIBILITY OR LIABILITY FOR ANY ERRORS OR INACCURACIES THAT MAY APPEAR IN THIS MANUAL, INCLUDING THE PRODUCTS AND - Asus LS201A | User Guide - Page 3
the monitor 2-2 2.5 Installing the monitor to a VESA wall mount 2-2 Chapter 3: General instruction 3.1 OSD (On-Screen Display) menu 3-1 3.1.1 How to reconfigure 3-1 3.1.2 OSD Function Introduction 3-1 3.2 Specifications summary 3-4 3.3 Troubleshooting (FAQ 3-5 3.4 Supported operating - Asus LS201A | User Guide - Page 4
, if not installed and used in accordance with manufacturer's instructions, may cause harmful interference to radio communications. However, there technician for help. The use of shielded cables for connection of the monitor to the graphics card is required to assure compliance with FCC regulations. - Asus LS201A | User Guide - Page 5
cabinet. • To ensure satisfactory operation, use the monitor only with UL listed computers which have appropriate configured receptacles marked between 100-240V AC. • If you encounter technical problems with the monitor, contact a qualified service technician or your retailer. This symbol of the - Asus LS201A | User Guide - Page 6
LCD. Never spray cleaner directly on the screen, as it may drip inside the monitor and cause an electric shock. The following symptoms are normal with the monitor your dealer or service center to fix it. Do not repair the screen by yourself! Conventions used in this guide WARNING: Information to - Asus LS201A | User Guide - Page 7
sources for additional information and for product and software updates. 1. ASUS websites The ASUS websites worldwide provide updated information on ASUS hardware and software products. Refer to http://www.asus.com 2. Optional documentation Your product package may include optional documentation - Asus LS201A | User Guide - Page 8
viii - Asus LS201A | User Guide - Page 9
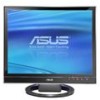
Check your LS201 Series LCD package for the following items: LCD monitor Quick start guide 1 x Power cord 1 x Power adapter 1 x VGA cable 1 x DVI cable 1 x Support CD 1 x Cleaning cloth If any of the above items is damaged or missing, contact your retailer immediately. ASUS LCD Monitor LS201 Series - Asus LS201A | User Guide - Page 10
1.3 Monitor introduction 1.3.1 Front view Light In Motion Stand 1234 5 1. button: • Use this hotkey to switch from five video preset modes (Game Mode, Night View Mode, Scenery - Asus LS201A | User Guide - Page 11
function indicates the status of the monitor. The color definition of the light PC VGA connection. 2. DVI port. This 24-pin port is for PC (Personal Computer) DVI-D digital signal connection. 3. DC-IN port. This port connects the power connector from the bundled power adapter. ASUS LCD Monitor LS201 - Asus LS201A | User Guide - Page 12
1-12 Chapter 1: Product introduction - Asus LS201A | User Guide - Page 13
your computer's VGA/ DVI port. c. Tighten the two screws to secure the VGA/DVI connector. 2.3 Turning the monitor on Gently press the power button . See page 1-2 for the location of the power buton. The power indicator lights up in blue to show that the monitor is ON. ASUS LCD Monitor LS201 2-13 - Asus LS201A | User Guide - Page 14
its angle. • You can adjust the monitor's angle from -5º to 20º. -5º~20º It is normal that the monitor slightly shakes while you adjust the the viewing angle. 2.5 Installing the monitor to a VESA wall mount The foldable stand of the LS201 LCD monitor is specially designed for a VESA wall mount - Asus LS201A | User Guide - Page 15
Enhancement. • In the Standard Mode, the Satuation and Sharpness functions are not user-configurable. • In the other modes, the sRGB function is not user-configurable. ASUS LCD Monitor LS201 3-15 - Asus LS201A | User Guide - Page 16
the image. The adjusting range is from 0 to 100. • ASCR: turns on/off the ASCR(ASUS Smart Contrast Ratio) function. • Focus: reduces Horizonal-line noise and Vertical-line noise of the image and B (Bluee) are userconfigurable; the adjusting range is from 0-100. 3-16 Chapter 3: General Instruction - Asus LS201A | User Guide - Page 17
are ten languages for your selection, including English, German, Italian, French, Dutch, Spanish, Russian, Traditional Chinese, Simplified Chinese, and Japanese. • Information: shows the monitor information. • Reset: "Yes" allows you to revert to the preset mode. ASUS LCD Monitor LS201 3-17 - Asus LS201A | User Guide - Page 18
LCD 20" standard screen Yes (LS201 only) SXGA+ 1400 x 1050 0.291mm 300 nits 2000:1 (Dynamic Contrast Rate) 170º (H)/160º (V) 16.7M 5ms Yes 5 video preset modes (by hotkey) 5 color temperatures 3 skin-tones DVI-D D-Sub Black Blue (On)/ Amber (Standby) 100mm x 100mm (switch board) +20 start guide, - Asus LS201A | User Guide - Page 19
OSD. No sound or sound is low • Ensure that the audio cable is properly connected to the monitor and the computer • Adjust the volume settings of both your monitor and computer. • Ensure that the computer sound card driver is properly installed and activated. ASUS LCD Monitor LS201 3-19 - Asus LS201A | User Guide - Page 20
3.4 Supported operating modes Display resolution 640 x 350 640 x 400 640 x 480 640 x 480 640 x 480 640 x 480 60Hz 60Hz * Modes not listed in the table may not be supported. For optimal resolution, we recommend that you choose a mode listed in the table above. 3-20 Chapter 3: General Instruction
-
 1
1 -
 2
2 -
 3
3 -
 4
4 -
 5
5 -
 6
6 -
 7
7 -
8
-
9
-
10
-
11
-
12
-
13
-
14
-
15
-
16
-
17
-
18
-
19
-
20
 |
 |
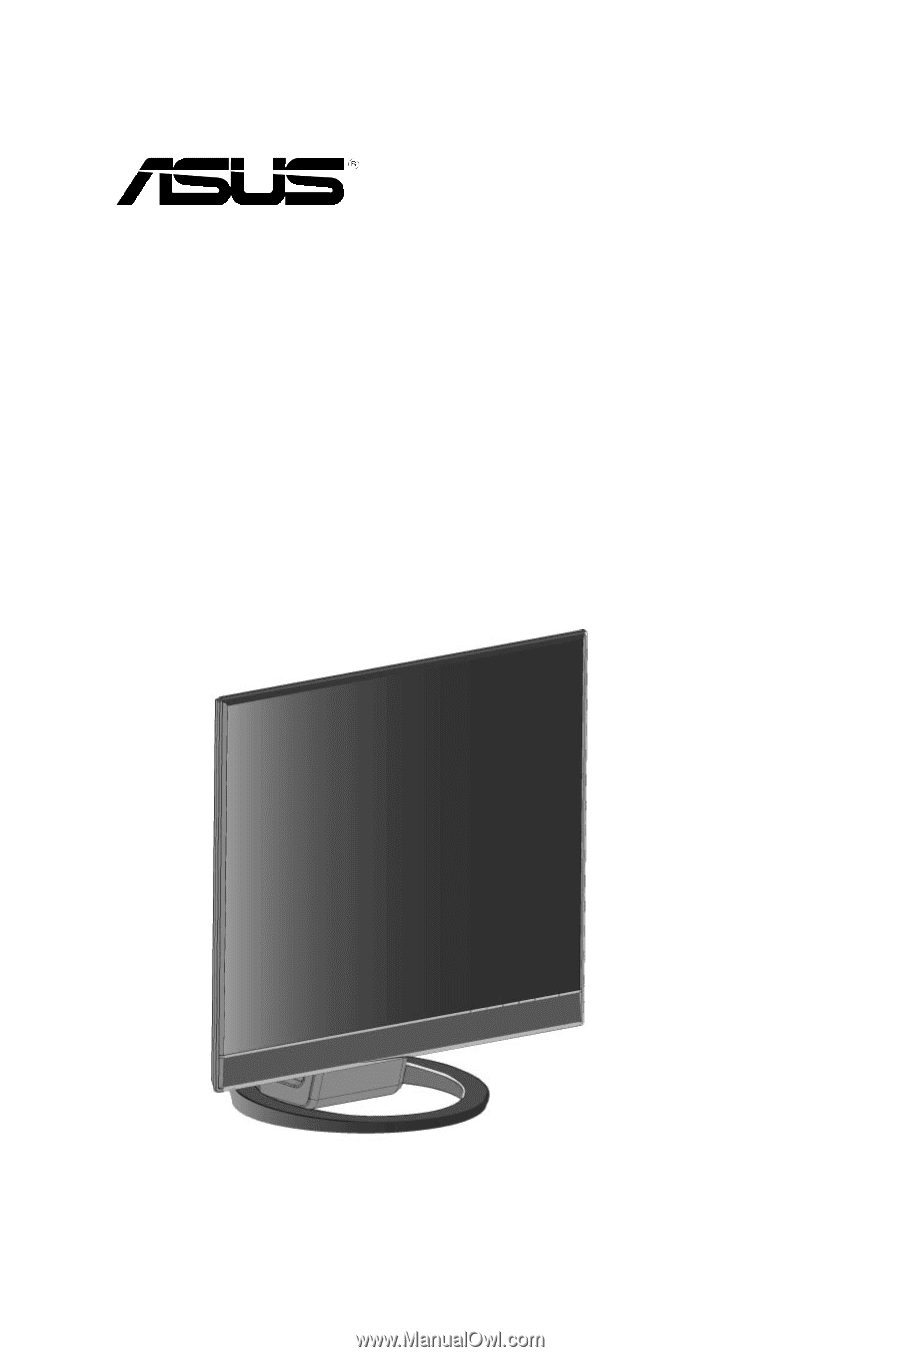
LS201 Series
LCD Monitor
User Guide