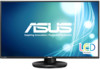
Asus VN279QLB VN279QLB Series User Guide for English Edition
Asus VN279QLB Manual
 |
View all Asus VN279QLB manuals
Add to My Manuals
Save this manual to your list of manuals |
Asus VN279QLB manual content summary:
- Asus VN279QLB | VN279QLB Series User Guide for English Edition - Page 1
VN279 series LCD Monitor User Guide - Asus VN279QLB | VN279QLB Series User Guide for English Edition - Page 2
the express written permission of ASUSTeK COMPUTER INC. ("ASUS"). Product warranty or service will not be extended if: TIME WITHOUT NOTICE, AND SHOULD NOT BE CONSTRUED AS A COMMITMENT BY ASUS. ASUS ASSUMES NO RESPONSIBILITY OR LIABILITY FOR ANY ERRORS OR INACCURACIES THAT MAY APPEAR IN THIS MANUAL - Asus VN279QLB | VN279QLB Series User Guide for English Edition - Page 3
.the.cables 2-4 2.6. Turning.on.the.monitor 2-5 Chapter.3:.....General.instructions 3.1. OSD.(On-Screen.Display).menu 3-1 3.1.1 How to reconfigure 3-1 3.1.2 OSD function introduction 3-1 3.2. Specifications.summary 3-5 3.3. Troubleshooting.(FAQ 3-7 3.4. Supported.operating.modes 3-8 iii - Asus VN279QLB | VN279QLB Series User Guide for English Edition - Page 4
undesired operation. This equipment has been tested and found to comply with the accordance with manufacturer's instructions, may cause harmful shielded cables for connection of the monitor to the graphics card is required expressly approved by the party responsible for compliance could void the - Asus VN279QLB | VN279QLB Series User Guide for English Edition - Page 5
cabinet. • To ensure satisfactory operation, use the monitor only with UL listed computers which have appropriate configured receptacles marked between 100-240V AC. • If you encounter technical problems with the monitor, contact a qualified service technician or your retailer. This symbol of the - Asus VN279QLB | VN279QLB Series User Guide for English Edition - Page 6
the stand or the cord. • Cleaning. Turn your monitor off and unplug the power cord. Clean the monitor surface with a lint-free, non-abrasive cloth. , contact your dealer or service center to fix it. Do not repair the screen by yourself! Conventions used in this guide WARNING: Information to prevent - Asus VN279QLB | VN279QLB Series User Guide for English Edition - Page 7
These documents are not part of the standard package. Takeback Services ASUS recycling and takeback programs come from our commitment to the highest able to responsibly recycle our products, batteries and other components as well as the packaging materials. Please go to http://csr.asus.com/english/ - Asus VN279QLB | VN279QLB Series User Guide for English Edition - Page 8
viii - Asus VN279QLB | VN279QLB Series User Guide for English Edition - Page 9
: LCD monitor Monitor Base Quick start guide Warranty card Power cord VGA cable MHL cable (optional) HDMI cable (optional) HDMI-DVI cable (optional) DisplayPort cable (optional) USB 3.0 cable Audio cable If any of the above items is damaged or missing, contact your retailer immediately. ASUS VN279 - Asus VN279QLB | VN279QLB Series User Guide for English Edition - Page 10
1.3 Monitor introduction 1.3.1 Front view 1 2 3 4 5 6 7 1. QuickFit Button: • Activates the Button: • Use this hotkey to switch from six video preset modes (Scenery, Standard, Theater, Game, Night View, and sRGB Mode) with SPLENDID™ Video Intelligence Technology • Exits the OSD menu - Asus VN279QLB | VN279QLB Series User Guide for English Edition - Page 11
values or moves your selection right/up. Brightness hotkey. Input Select Button: Selects an available input source. Press Button (Input Select Button) to display VGA, HDMI/MHL, DisplayPort signals device. 6. VGA port. This 15-pin port is for PC VGA connection. ASUS VN279 Series LCD Monitor 1-3 - Asus VN279QLB | VN279QLB Series User Guide for English Edition - Page 12
7. Audio-in port. This port connects PC audio source by the bundled audio cable. 8. Earphone jack. This port is only available when an HDMI/DisplayPort cable is connected. 9. Kensington lock slot. 10. - Asus VN279QLB | VN279QLB Series User Guide for English Edition - Page 13
, 5x7 When QuickFit is activated, press the control Buttons to make adjustments. The QuickFit OSD displayed in the lower right corner of the screen will guide users to make selections. The QuickFit OSD shown on the screen is not accessible by tapping on it - Asus VN279QLB | VN279QLB Series User Guide for English Edition - Page 14
1-6 Chapter 1: Product introduction - Asus VN279QLB | VN279QLB Series User Guide for English Edition - Page 15
arm/base To assemble the monitor base: 1. Have the front of the monitor face down on a table. 2. Rotate the arm anti-clockwise 90 degrees. (Figure 1) 3. Fix the table surface with soft cloth to prevent damage to the monitor. Figure 1 Figure 3 Figure 2 160˚ 160˚ 0˚ Figure 4 ASUS VN279 Series LCD - Asus VN279QLB | VN279QLB Series User Guide for English Edition - Page 16
• For optimal viewing, we recommend that you look at the full face of the monitor, then adjust the monitor to the angle that is most comfortable for you. • Hold the stand to prevent the monitor from falling when you change its angle. • The recommended adjusting angle is +22˚ to -5˚ (for tilt)/+160 - Asus VN279QLB | VN279QLB Series User Guide for English Edition - Page 17
monitor is specially designed for VESA wall mount. To detach the arm/base: 1. Have the front of the monitor face down on a table. 2. Use a screwdriver to remove the four screws on the arm (Figure 1), and then detach the arm/base from the monitor prevent damage to the monitor. • Hold the stand - Asus VN279QLB | VN279QLB Series User Guide for English Edition - Page 18
position. 2.5 Connecting the cables 1. Connect the cables as the following instructions: USB DP USB HDMI VGA Earphone jack Audio-in • To connect the power cord: connect one end of the power cord securely to the monitor's AC input port, the other end to a power outlet. • To connect the - Asus VN279QLB | VN279QLB Series User Guide for English Edition - Page 19
end (type A) to your computer's USB 3.0 port. Make sure your computer is installed with the lastest Windows 7/Windows 8 operating system. That will enable the USB ports on the monitor to work. When these cables are connected, you can choose the desired signal from the Input Select item in the OSD - Asus VN279QLB | VN279QLB Series User Guide for English Edition - Page 20
2-6 Chapter 2: Setup - Asus VN279QLB | VN279QLB Series User Guide for English Edition - Page 21
and graphics from PCs. • In the Standard Mode, the ASCR, Saturation ,Sharpness functions and Skin Tone are not user-configurable. • In the sRGB Mode, the Saturation, Color Temp., Skin Tone, Sharpness, Brightness, Contrast and ASCR functions are not userconfigurable. ASUS VN279 LCD Monitor 3-1 - Asus VN279QLB | VN279QLB Series User Guide for English Edition - Page 22
response time of the monitor. • Aspect Control: adjusts the aspect ratio to "Full", "4:3", or "OverScan" (only available for the HDMI input ASUS Smart Contrast Ratio) function. • Position (Only available for VGA input • Focus (Only available for VGA input): reduces Horizonal-line noise and Vertical- - Asus VN279QLB | VN279QLB Series User Guide for English Edition - Page 23
games. In addition, Aimpoint function is specially designed for new gamers or beginners interested in First Person Shooter (FPS) games. Press and function. to select between Aimpoint and Timer Press MENU to confirm the function you choose, and and exit. to go back, off, ASUS VN279 LCD Monitor - Asus VN279QLB | VN279QLB Series User Guide for English Edition - Page 24
5 seconds on the MENU Button to disable the key lock function. • Information: shows the monitor information. • Language: there are 21 languages for your selection, including English, French, German, • All Reset: "Yes" allows you to restore the default settings. 3-4 Chapter 3: General Instructions - Asus VN279QLB | VN279QLB Series User Guide for English Edition - Page 25
Response time SPLENDID™ Video Enhancement SPLENDID™ selection Auto adjustment Color temperature selection Analog input Digital input Earphone jack Colors Speaker (Built-in) Power LED Tilt Swivel Height Adjustment Kensington lock Voltage rating start guide, Warranty card ASUS VN279 LCD Monitor 3-5 - Asus VN279QLB | VN279QLB Series User Guide for English Edition - Page 26
9241307, J-MOSS, RoHS, WEEE, PSE, WHQL for Windows 7 and Windows 8 *Without audio and USB hub connection. **Specifications are subject to change without notice. 3-6 Chapter 3: General Instructions - Asus VN279QLB | VN279QLB Series User Guide for English Edition - Page 27
Troubleshooting (FAQ) Problem Possible Solution Power LED is not ON • Press the Button to check if the monitor is in the ON mode. • Check if the power cord is properly connected to the monitor and the power outlet. The power LED lights amber and there is no screen image • Check if the monitor - Asus VN279QLB | VN279QLB Series User Guide for English Edition - Page 28
may not be supported. For optimal resolution, we recommend that you choose a mode listed in the table above. * This monitor supports full HD (480p, 576p, 720p, 1080i/p) video content from game consoles, DVD players and other consumer video devices via HDMI. 3-8 Chapter 3: General Instructions
-
 1
1 -
 2
2 -
 3
3 -
 4
4 -
 5
5 -
 6
6 -
 7
7 -
8
-
9
-
10
-
11
-
12
-
13
-
14
-
15
-
16
-
17
-
18
-
19
-
20
-
21
-
22
-
23
-
24
-
25
-
26
-
27
-
28
 |
 |
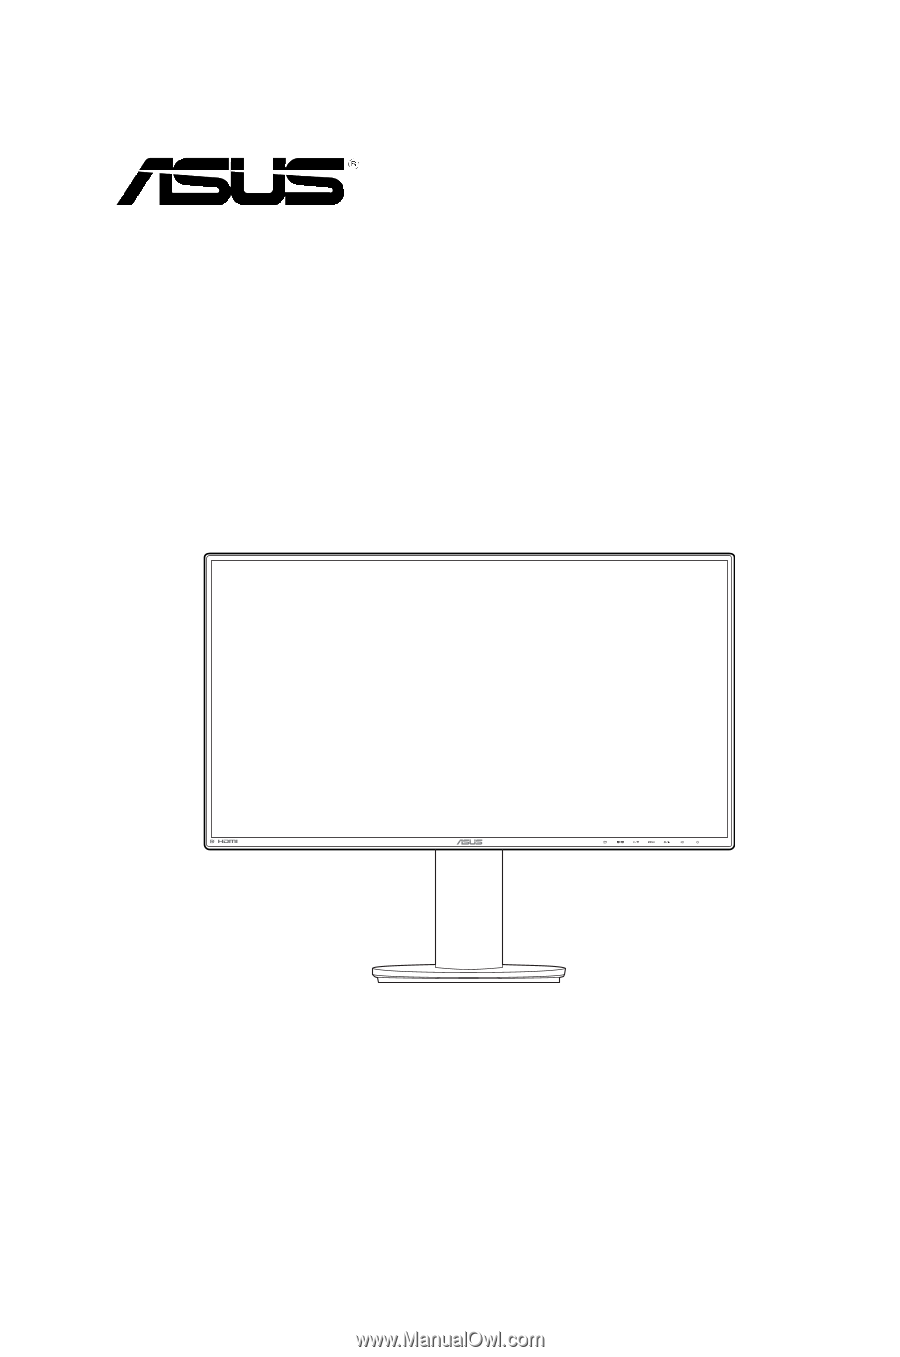
VN279 series
LCD Monitor
User Guide