Audiovox VBP2000 Owners Manual - Page 5
Watching a Movie, Playing a Video Game
 |
UPC - 044476001499
View all Audiovox VBP2000 manuals
Add to My Manuals
Save this manual to your list of manuals |
Page 5 highlights
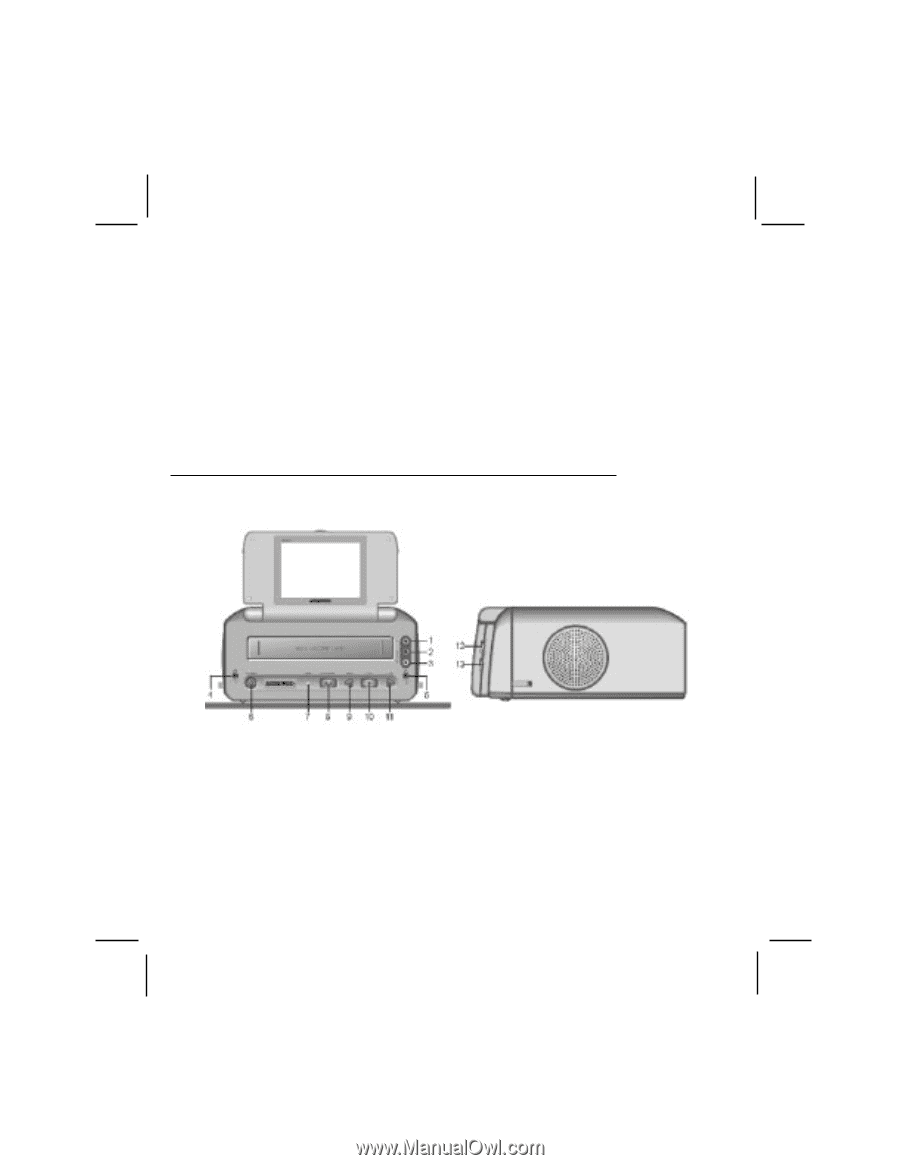
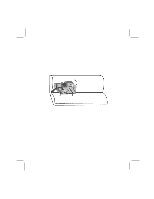
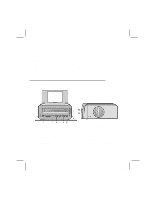
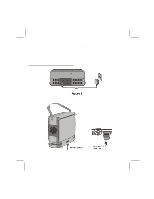
D. Watching a Movie To watch a movie, simply insert the video tape into the Video Cassette Player. Adjust the volume control and the brightness control for individual preference. A description of each button is listed under Controls, Connectors and Indicators. E. Playing a Video Game There are three jacks on the Video Cassette Player. The jacks are labeled: Video, Audio L and Audio R. Plug the video output from your game into the yellow video jack and the Audio L and Audio R into the applicable jacks. Prior to video game or camcorder use always stop video tape. Video Cassette Player Controls Indicators and Connectors (Refer to Figure 3) FRONT VIEW 1. Video Input Jack 2. Audio L Input Jack 3. Audio R Input Jack 4. Headphone 1 Jack 5. Headphone 2 Jack 6. Power Button 7. DEW Indicator Figure 3 SIDE VIEW 8. Stop/Eject Button 9. (Fast) Rewind Button 10. Play Button 11. (Fast) Forward Button 12. Brightness Up/Down Knob 13. Volume Up/Down Knob 4 128-6168A 5 of 8
-
 1
1 -
 2
2 -
 3
3 -
 4
4 -
 5
5 -
 6
6 -
 7
7 -
 8
8
 |
 |