Bernina 215 User Guide - Page 24
Straight stitch No. 1, Zig-zag stitch No. 2
 |
View all Bernina 215 manuals
Add to My Manuals
Save this manual to your list of manuals |
Page 24 highlights
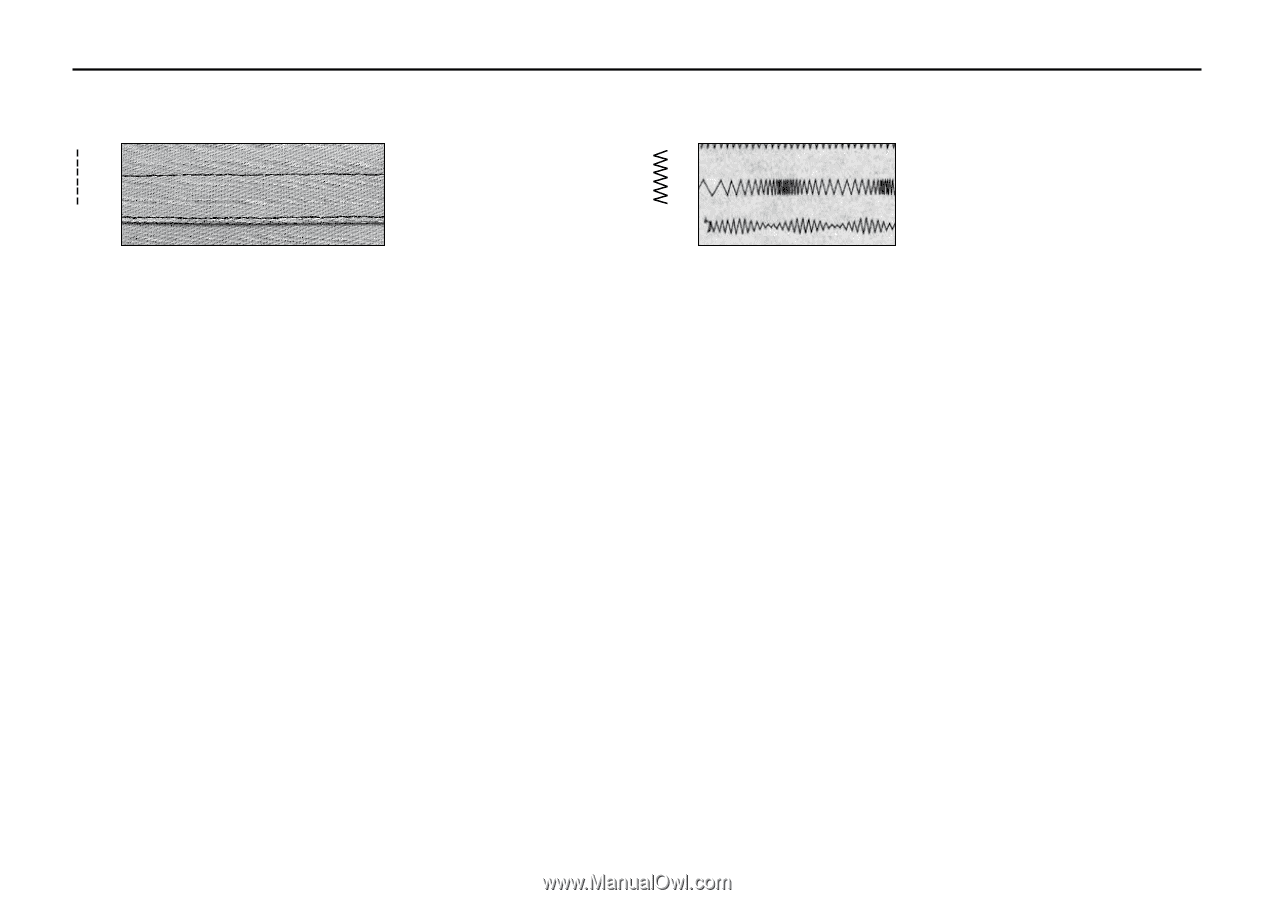
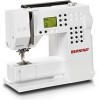
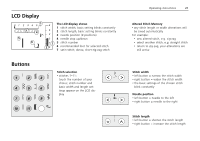
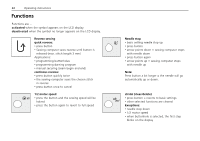
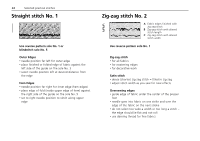
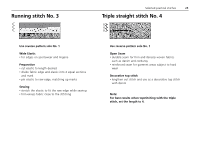
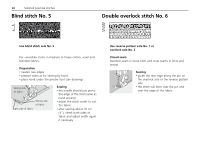
24 Selected practical stitches Straight stitch No. 1 Use reverse pattern sole No. 1 or blindstitch sole No. 5 Outer Edges • needle position far left for outer edge • place finished or folded edge of fabric against the left side of the guide on the sole No. 5 • select needle position left at desired distance from the edge Hem Edges • needle position far right for inner edge (hem edges) • place edge of fold (inside upper edge of hem) against the right side of the guide on the sole No. 5 • set to right needle position to stitch along upper edge Zig-zag stitch No. 2 A Fabric edges finished with zig-zag stitch B Zig-zag stitch with altered stitch length C Zig-zag stitch with altered stitch width Use reverse pattern sole No. 1 Zig-zag stitch • for all fabrics • for neatening edges • for decorative work Satin stitch • dense (shorter) zig-zag stitch = filled in zig-zag • adjust stitch width as you sew for new effects Oversewing edges • guide edge of fabric under the center of the presser foot • needle goes into fabric on one strike and over the edge of the fabric on the next stroke • do not select too wide a width or too long a stitch - the edge should lie flat and not roll • use darning thread for fine fabrics
-
 1
1 -
2
-
3
-
4
-
5
-
6
-
7
-
8
-
9
-
10
-
11
-
12
-
13
-
14
-
15
-
16
-
17
-
18
-
 19
19 -
 20
20 -
 21
21 -
 22
22 -
 23
23 -
 24
24 -
 25
25 -
 26
26 -
 27
27 -
 28
28 -
 29
29 -
30
-
31
-
32
-
33
-
34
-
35
-
36
 |
 |