Canon MultiPASS MP700 MultiPASS MP700 Set-Up Sheet - Page 7
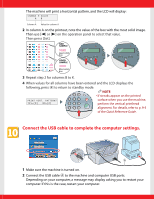
Connect the USB cable to complete the computer settings.
 |
View all Canon MultiPASS MP700 manuals
Add to My Manuals
Save this manual to your list of manuals |
Page 7 highlights
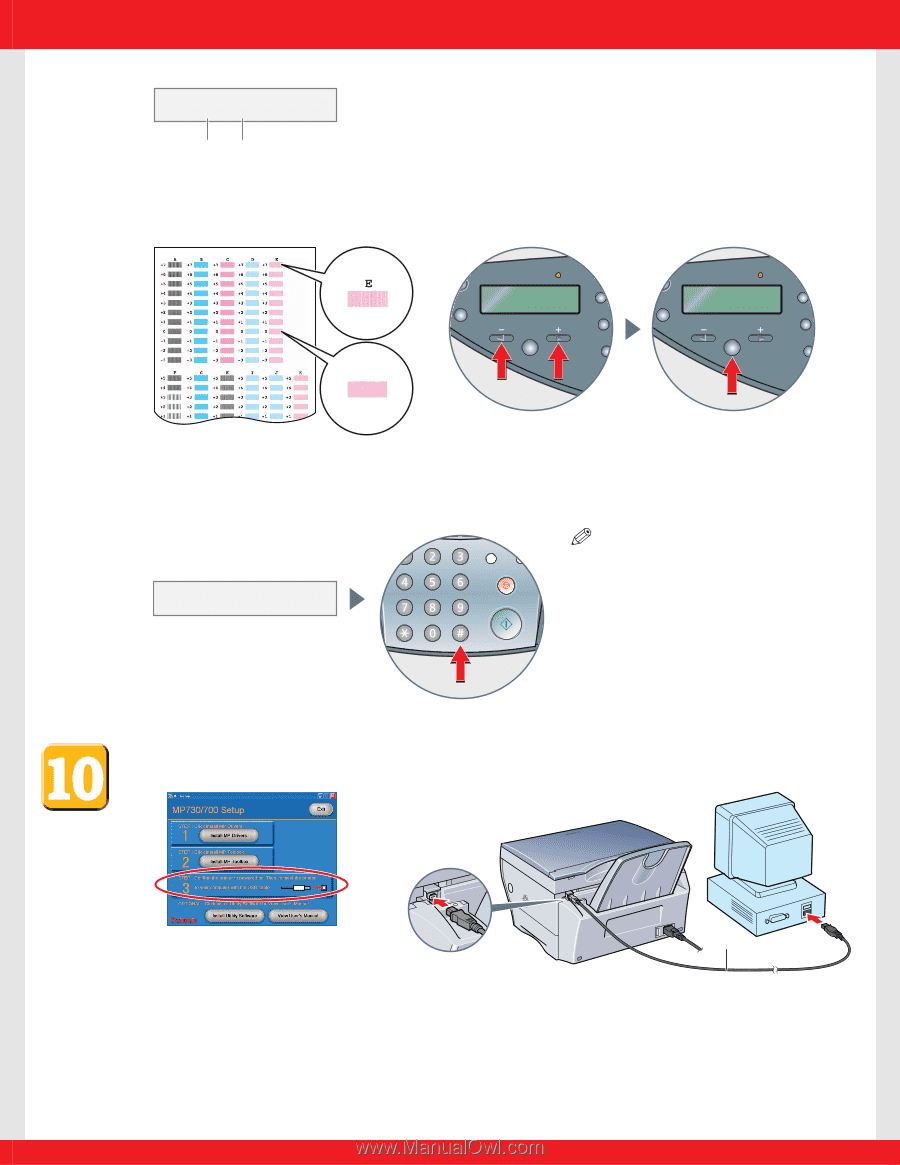
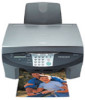
The machine will print a horizontal pattern, and the LCD will display: CHANGE H VALUE A 0 Column A Value for column A 2 In column A on the printout, note the value of the box with the most solid image. Then use [2] or [3] on the operation panel to select that value. Then press [Set]. BAD SAMPLE Least solid box GOOD SAMPLE Most solid box 3 Repeat step 2 for columns B to K. 4 When values for all columns have been entered and the LCD displays the following, press [#] to return to standby mode. NOTE • If streaks appear on the printed PRINT VERT. PATTERN? YES=(A) NO=(#) surface when you use the machine, perform the vertical printhead alignment. For details, refer to p. 9-5 of the Quick Reference Guide. Connect the USB cable to complete the computer settings. A 1 Make sure the machine is turned on. 2 Connect the USB cable A to the machine and computer USB ports. Depending on your computer, a message may display asking you to restart your computer. If this is the case, restart your computer.
-
 1
1 -
 2
2 -
 3
3 -
 4
4 -
 5
5 -
 6
6 -
 7
7 -
 8
8
 |
 |