Canon PowerShot G5 Direct Print User Guide - Page 20
Selecting the Paper Settings - pro
 |
View all Canon PowerShot G5 manuals
Add to My Manuals
Save this manual to your list of manuals |
Page 20 highlights
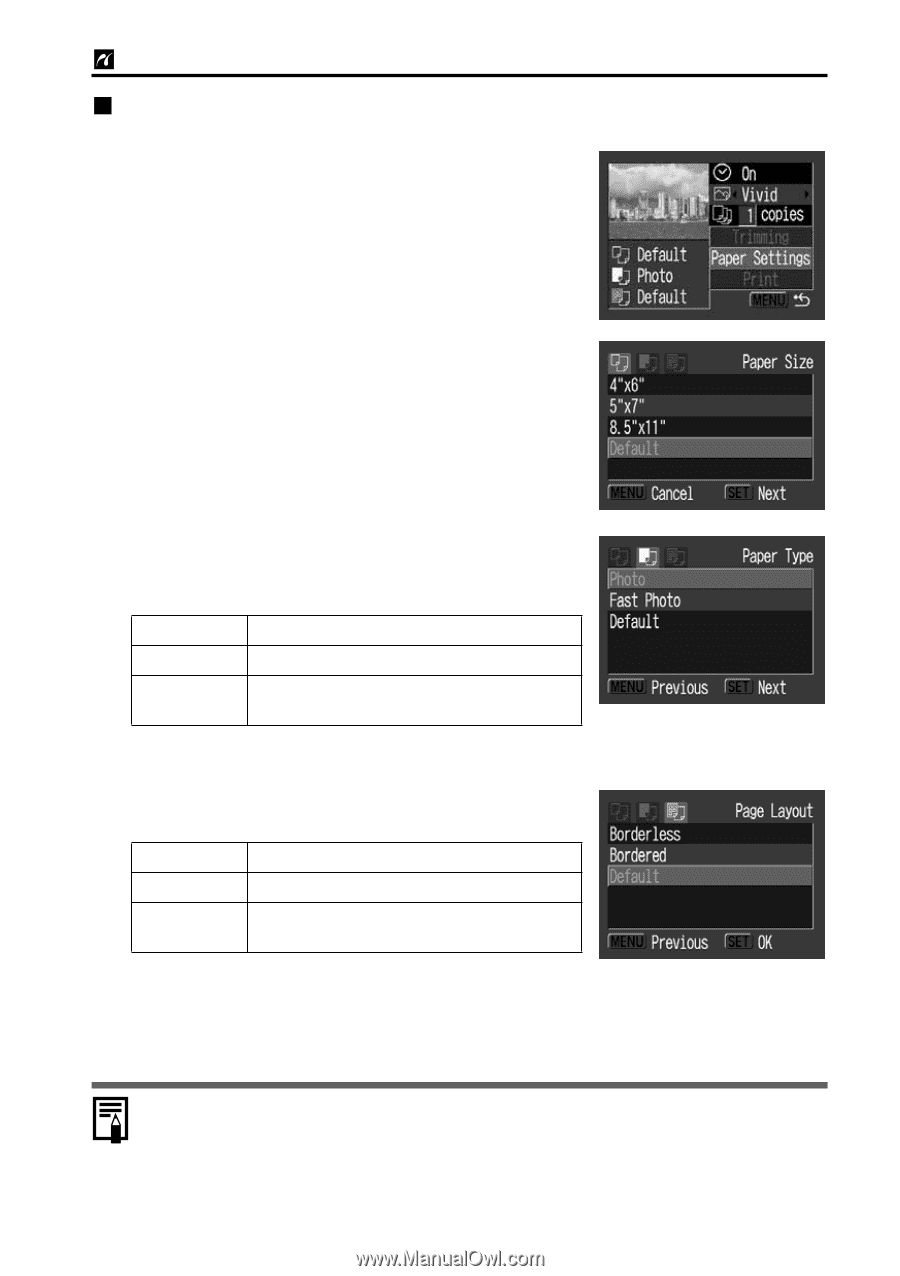
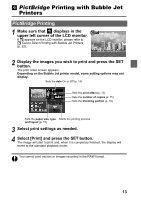
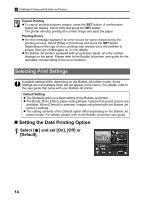
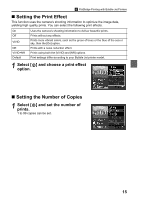
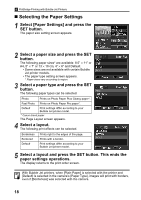
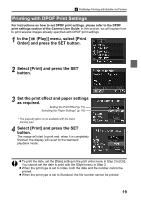
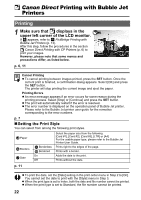
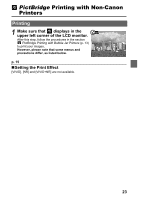
PictBridge Printing with Bubble Jet Printers „ Selecting the Paper Settings 1 Select [Paper Settings] and press the SET button. The paper size setting screen appears. 2 Select a paper size and press the SET button. The following paper sizes* are available: 8.5" × 11" or A4, 5" × 7" or 13 × 18 cm, 4" × 6" and Default. • Some sizes are not available with certain Bubble Jet printer models. • The paper type setting screen appears. * Paper sizes vary according to region. 3 Select a paper type and press the SET button. The following paper types can be selected. Photo Prints on Photo Paper Plus Glossy paper*. Fast Photo Prints on Photo Paper Pro paper*. Default Print settings differ according to your Bubble Jet printer model. * Canon brand paper The Page Layout screen appears. 4 Select a layout. The following print effects can be selected. Borderless Bordered Default Prints right to the edges of the page. Prints with a border. Print settings differ according to your Bubble Jet printer model. 5 Select a layout and press the SET button. This ends the paper settings operations. The display returns to the print order screen. With Bubble Jet printers, when [Plain Paper] is selected with the printer and [Default] is selected in the camera's [Paper Type], images will print with borders, even if [Borderless] was selected with the camera. 18
-
 1
1 -
2
-
3
-
4
-
5
-
6
-
7
-
8
-
9
-
10
-
11
-
12
-
13
-
14
-
 15
15 -
 16
16 -
 17
17 -
 18
18 -
 19
19 -
 20
20 -
 21
21 -
 22
22 -
 23
23 -
 24
24 -
 25
25 -
26
-
27
-
28
-
29
-
30
-
31
-
32
-
33
-
34
-
35
-
36
-
37
-
38
-
39
-
40
-
41
-
42
-
43
-
44
-
45
-
46
-
47
-
48
-
49
-
50
-
51
-
52
-
53
-
54
-
55
-
56
-
57
-
58
-
59
-
60
-
61
-
62
-
63
-
64
-
65
-
66
-
67
-
68
-
69
-
70
-
71
-
72
-
73
-
74
-
75
-
76
 |
 |