Canon imageCLASS MF4270 MF4200 Series Scanner Driver Guide - Page 22
Specify the required settings., Click [Start]., Click [Scan - driver cd
 |
View all Canon imageCLASS MF4270 manuals
Add to My Manuals
Save this manual to your list of manuals |
Page 22 highlights
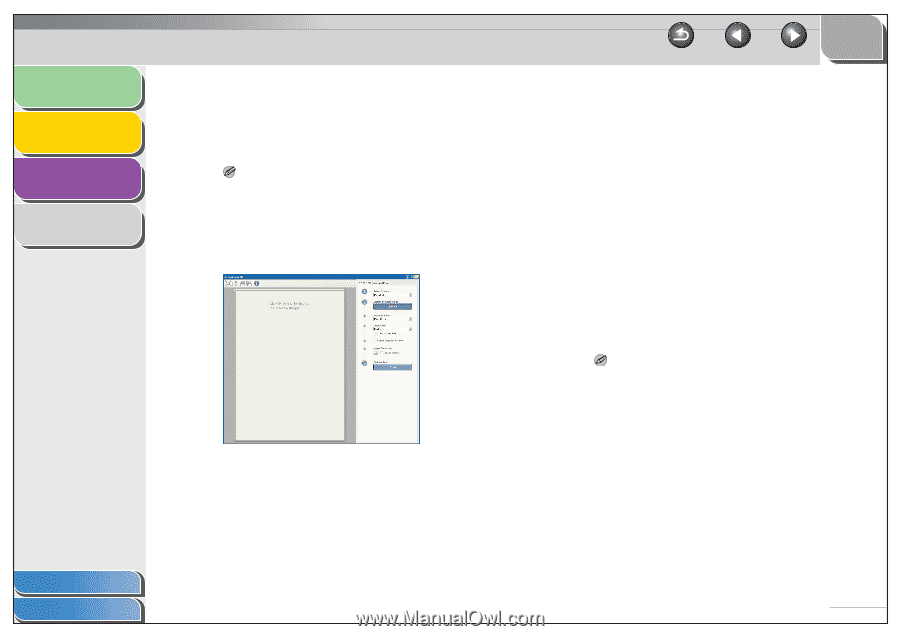
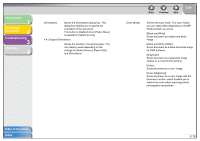
Introduction 1 Scanning a Document 2 Troubleshooting 3 Appendix 4 4. Specify the required settings. For details, see "MF Toolbox Settings," on p. 2-9. If you want to keep the same settings for future scans, click [Apply] before clicking [Start]. NOTE With [Scan-1] and [Scan-2] buttons, you can set the different settings for each. If you save the settings by clicking [Apply], the settings will be effective next time. 5. Click [Start]. If you select [Display the Scanner Driver] in step 4, the [ScanGear MF] dialog box will appear. 6. Specify the required settings. For details, see "Setting Preferences and Scanning with ScanGear MF," on p. 2-18. Back Previous Next TOP 7. Click [Scan]. When scanning is completed, a folder with the scanning date will be created in the [My Pictures] folder in the [My Documents] folder, and your document will be saved in this folder.(In VISTA, the folder will be created in the [Pictures] folder.) If you have applications registered to the [Mail], [OCR], [PDF], [Scan-1], or [Scan-2] buttons, the scanned image will be displayed in the application or attached to an e-mail message after scanning. For details, see "External Program (Mail Program)," on p. 2-13. For some models, the CD-ROM provided with the machine contains the following applications which can be used with the MF Toolbox. They will be registered in the MF Toolbox buttons at the time of installation. [OCR]: ScanSoft OmniPage SE [PDF]: Presto! PageManager NOTE ScanSoft OmniPage and Presto! PageManager are not supported on Windows XP 64-bit version. Table of Contents Index 2-8
-
 1
1 -
2
-
3
-
4
-
5
-
6
-
7
-
8
-
9
-
10
-
11
-
12
-
13
-
14
-
15
-
16
-
 17
17 -
 18
18 -
 19
19 -
 20
20 -
 21
21 -
 22
22 -
 23
23 -
 24
24 -
 25
25 -
 26
26 -
 27
27 -
28
-
29
-
30
-
31
-
32
-
33
-
34
-
35
-
36
-
37
-
38
-
39
-
40
-
41
-
42
-
43
-
44
-
45
-
46
-
47
-
48
-
49
-
50
-
51
-
52
-
53
-
54
-
55
-
56
-
57
-
58
-
59
-
60
-
61
-
62
-
63
-
64
-
65
-
66
-
67
-
68
-
69
-
70
-
71
-
72
-
73
-
74
-
75
-
76
-
77
-
78
-
79
-
80
 |
 |