Canon imageFORMULA ScanFront 220 Setup Guide
Canon imageFORMULA ScanFront 220 Manual
 |
View all Canon imageFORMULA ScanFront 220 manuals
Add to My Manuals
Save this manual to your list of manuals |
Canon imageFORMULA ScanFront 220 manual content summary:
- Canon imageFORMULA ScanFront 220 | Setup Guide - Page 1
Setup Guide Read This First Please read this manual before using the scanner. After you finish reading this manual, keep it in a safe place for future reference. - Canon imageFORMULA ScanFront 220 | Setup Guide - Page 2
the Network Scanner. ScanFront 220: Model M11058 ScanFront 220P: Model M11062 Trademarks • Canon and the Canon logo are registered trademarks of Canon Inc this permission notice appear in all copies of the software and related documentation, and (ii) the names of Sam Leffler and Silicon Graphics may - Canon imageFORMULA ScanFront 220 | Setup Guide - Page 3
2007 by CANON ELECTRONICS INC. All rights reserved. No part of this publication NOT LIMITED TO, PROCUREMENT OF SUBSTITUTE GOODS OR SERVICES; LOSS OF USE, DATA, OR PROFITS; OR Disclaimers The information in this document is subject to change without notice. CANON ELECTRONICS INC. MAKES NO WARRANTY - Canon imageFORMULA ScanFront 220 | Setup Guide - Page 4
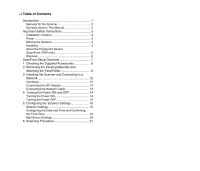
Handling 4 About the Fingerprint Sensor (ScanFront 220P only 6 Disposal 6 ScanFront Setup Overview 7 1. Checking the Supplied Accessories 8 2. Removing the Packing Materials and Attaching the Feed Roller 9 3. Installing the Scanner and Connecting to a Network 12 Interfaces 12 Connecting the - Canon imageFORMULA ScanFront 220 | Setup Guide - Page 5
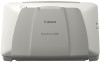
functions. After reading this manual, store it in a safe place for future reference. About ScanFront 220/220P The ScanFront 220/220P is a network scanner that you can use without connecting to a computer. You can transfer the data of an image scanned with the ScanFront 220/220P to a shared folder on - Canon imageFORMULA ScanFront 220 | Setup Guide - Page 6
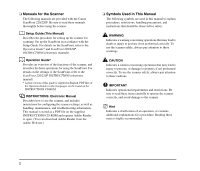
) Describes the procedure for setting up the scanner for scanning. Set up the ScanFront in accordance with the Setup Guide. For details on the ScanFront, refer to the Operation Guide* and ScanFront 220/220P INSTRUCTIONS (electronic manuals). Operation Guide* Provides an overview of the functions of - Canon imageFORMULA ScanFront 220 | Setup Guide - Page 7
the scanner. This may result in a noticeable degradation in scanning quality. The following conditions are recommended for optimal scanning quality: power supply frequency (220-240 V, 50/60 Hz). ● Do not connect other electrical equipment to the same power outlet to which the scanner is connected. - Canon imageFORMULA ScanFront 220 | Setup Guide - Page 8
local authorized Canon dealer or service representative for further information. ❏ Moving the Scanner ● When moving the scanner, always hold it with both hands to avoid dropping it. The weight of the scanner unit is approximately 3.4 kg. ● Before moving the scanner, make sure the document tray is - Canon imageFORMULA ScanFront 220 | Setup Guide - Page 9
turn the power OFF, and disconnect the power plug from the power outlet. Then, contact your local authorized Canon dealer or service representative to have the unit serviced. ■ Do not install the scanner in a humid or dusty location. Doing so may result in a fire or electric shock. ■ Do not place - Canon imageFORMULA ScanFront 220 | Setup Guide - Page 10
❏ About the Fingerprint Sensor (ScanFront 220P only) ● The following actions may damage the sensor or cause it to malfunction: - Dropping an object on the fingerprint sensor, or otherwise subjecting it to a strong impact - Scratching the surface of the fingerprint sensor, or poking it with a pointed - Canon imageFORMULA ScanFront 220 | Setup Guide - Page 11
details on other settings, refer to the Operation Guide and ScanFront 220/220P INSTRUCTIONS (electronic manual). * For a Web browser, use Microsoft Internet Explorer 6.0 or later. • Network Settings From the [Administrator setting] screen on the scanner, configure the [Device Name] and [IP Address - Canon imageFORMULA ScanFront 220 | Setup Guide - Page 12
local authorized Canon dealer. ScanFront 220 (standard model) Power Cord* (Cord length: 1 m) ScanFront 220P (model with fingerprint sensor) Setup Guide (this manual) Feed Roller The feed roller must be attached to the scanner during installation. (See p. 9.) Operation Guide English language - Canon imageFORMULA ScanFront 220 | Setup Guide - Page 13
the packing materials protecting the scanner, and attach the feed roller. 1. Remove the orange tape (3 pieces) securing the outer case. CAUTION The open/close movement of the panel unit is linked to the up/ down movement of the document eject tray. Do not press on the document eject tray when you - Canon imageFORMULA ScanFront 220 | Setup Guide - Page 14
it in the direction of the arrow b. 9. Lower the roller lock lever to lock the feed roller into position. 7. Align the notch in the shaft of the roller with the shaft of the scanner, and place the feed roller into position. 10. Close the roller cover. Make sure you hear a click, which indicates - Canon imageFORMULA ScanFront 220 | Setup Guide - Page 15
11. Gently close the panel unit. Press on both sides of the unit until you hear a click, which indicates the unit is locked. 12. Gently close the document eject tray. 11 - Canon imageFORMULA ScanFront 220 | Setup Guide - Page 16
on installation safety, see p. 3. ❏ Interfaces The interfaces are located on the right side of the scanner. a Power Connector: Connect the plug of the supplied AC adapter. (See p. 13.) b LAN Port: Connect a network cable designed for use with an RJ-45 modular jack. (See p. 13.) c PS/2 Connector - Canon imageFORMULA ScanFront 220 | Setup Guide - Page 17
Follow the procedure shown below to connect the AC adapter. CAUTION Make sure to use only the AC adapter and power cord included with the scanner. a Connect the power cord and AC adapter. b Insert the plug of the AC adapter into the power connector. c Connect the power cord to the wall - Canon imageFORMULA ScanFront 220 | Setup Guide - Page 18
Power mode. (Refer to "Low Power Mode" on p.4-26 of the ScanFront 220/220P INSTRUCTIONS.) 14 IMPORTANT • When restarting the scanner, wait at least 5 seconds after turning the power OFF before turning it ON again. • If the scanner stops responding, press and hold the power switch to shut down the - Canon imageFORMULA ScanFront 220 | Setup Guide - Page 19
the scanner (see p. 16), and date/time configuration and time zone confirmation in the Web Menu (Administrator Mode) (see p. 18), and mail server settings for sending images via e-mail (see p. 20). For details on other settings, refer to the ScanFront 220/220P INSTRUCTIONS (electronic manual). The - Canon imageFORMULA ScanFront 220 | Setup Guide - Page 20
sure to write down both the device name and IP address in case you forget them. 1. Press [Administrator setting]. 2. Press [OK] to display the [Administrator setting] screen. No administrator password is set by default. 3. Press [Network setting]. The [Administrator Password] input box appears. 16 - Canon imageFORMULA ScanFront 220 | Setup Guide - Page 21
appears. 6. Enter the new device name (or IP address), and press [OK]. IMPORTANT • The device name is the name used to identify the scanner on the network. When changing this setting, make sure to select a unique name that is different from those of all other devices. • The device name can be - Canon imageFORMULA ScanFront 220 | Setup Guide - Page 22
the Time Zone When you finish configuring the network settings, log in to the Web Menu to set the date and time and confirm the time zone. For details on other settings, refer to the Operation Guide and ScanFront 220/220P INSTRUCTIONS (electronic manual). IMPORTANT Make sure that the time zone is - Canon imageFORMULA ScanFront 220 | Setup Guide - Page 23
6. Click [Device Configuration]. Hint To change the setting, click [Language/Timezone] or [Setting]. The [Device Configuration] screen appears. 7. Check the [Language/Timezone] setting. Language/Timezone Setting Screen IMPORTANT • If the correct time zone is not set, the time stamps that are - Canon imageFORMULA ScanFront 220 | Setup Guide - Page 24
❏ Mail Server Settings To send scanned images via e-mail, open the Server Settings screen from the Web Menu and register a mail server. For details, refer to "Server Settings" on p. 4-27 of the ScanFront 220/220P INSTRUCTIONS (electronic manual). 20 - Canon imageFORMULA ScanFront 220 | Setup Guide - Page 25
gives an overview of the procedure for sending scanned images from the Home screen. For more details, refer to the Operation Guide or the ScanFront 220/220P INSTRUCTIONS (electronic manual). 1. Place a document in the scanner. 2. Select a transfer destination by pressing a destination button. The - Canon imageFORMULA ScanFront 220 | Setup Guide - Page 26
. • Press [Complete] to go to the Send screen. 7. Press [Continue]. 8. Check the scanned image. Scanning starts, and stops when the document has been scanned. 22 : Display the image of the next page. : Display the image of the previous page. : Move the viewing area around an image when an enlarged - Canon imageFORMULA ScanFront 220 | Setup Guide - Page 27
9. Press [Send]. An address confirmation message appears. 10.Confirm the address and press [OK] to send the scanned image. The scanner sends the image file and returns to the Home screen. Hint The screen that appears after images are sent can be selected in the settings. - Canon imageFORMULA ScanFront 220 | Setup Guide - Page 28
703 WATERFORD WAY, SUITE 400 MIAMI, FLORIDA 33126, U.S.A. CANON AUSTRALIA PTY. LTD. 1 THOMAS HOLT DRIVE, NORTH RYDE, SYDNEY. N.S.W, 2113. AUSTRALIA CANON SINGAPORE PTE. LTD. 1 HARBOUR FRONT AVENUE #04-01, KEPPEL BAY TOWER, SINGAPORE 098632 CANON HONGKONG COMPANY LTD. 19TH FLOOR, THE METROPOLIS TOWER
-
 1
1 -
 2
2 -
 3
3 -
 4
4 -
 5
5 -
 6
6 -
 7
7 -
8
-
9
-
10
-
11
-
12
-
13
-
14
-
15
-
16
-
17
-
18
-
19
-
20
-
21
-
22
-
23
-
24
-
25
-
26
-
27
-
28
 |
 |
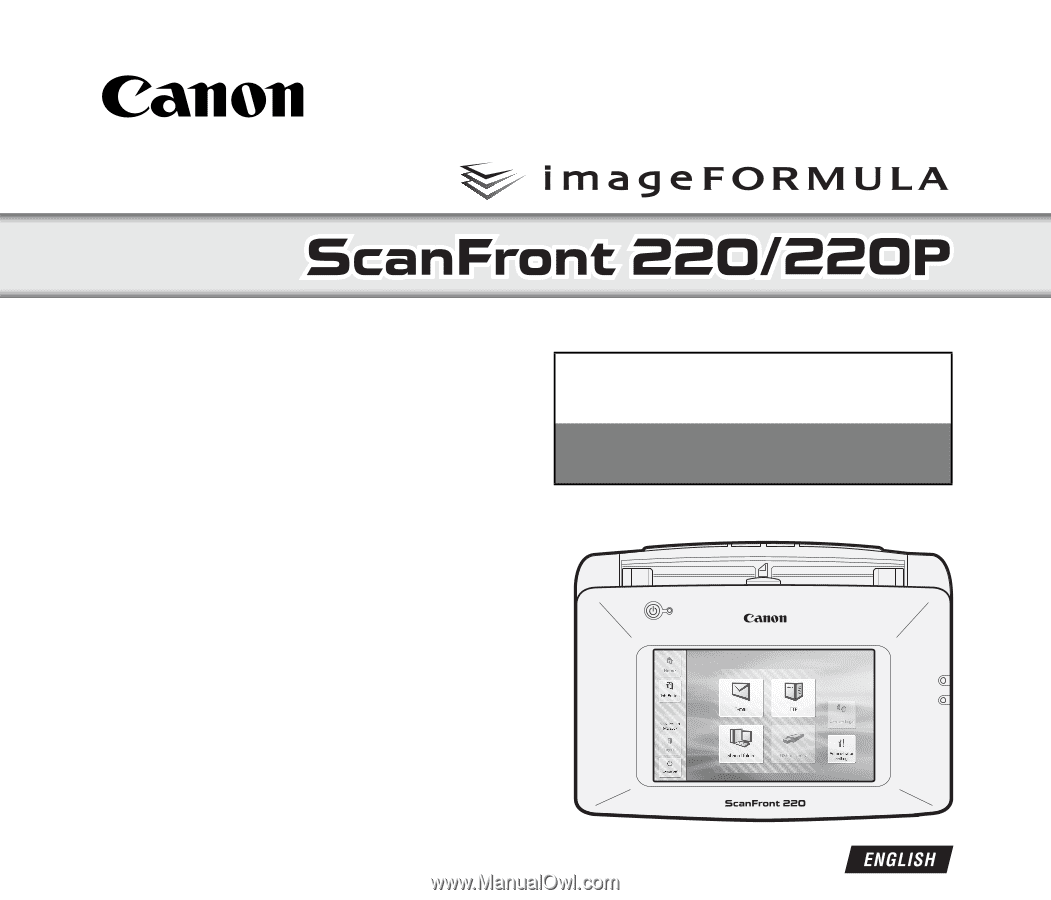
Setup Guide
Read This First
Please read this manual before using the scanner.
After you finish reading this manual, keep it in a safe place
for future reference.