Canon imagePROGRAF iPF6450 Calibration Guide - Page 19
Add and Edit Custom Paper
 |
View all Canon imagePROGRAF iPF6450 manuals
Add to My Manuals
Save this manual to your list of manuals |
Page 19 highlights
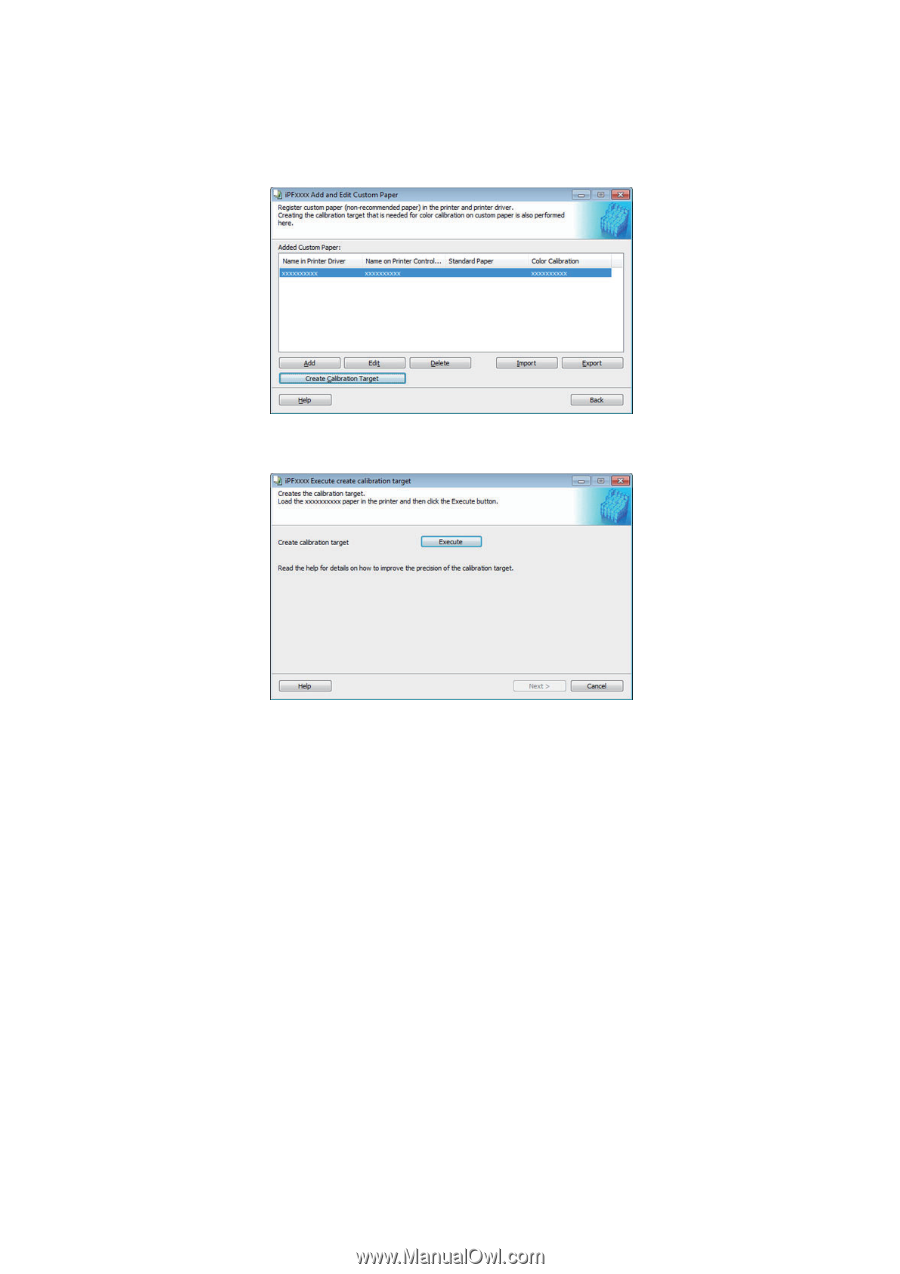
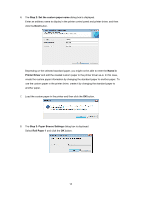
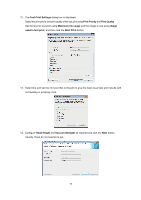
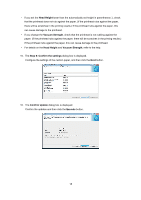
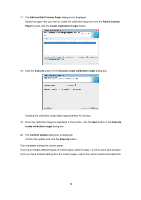
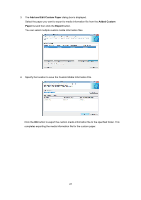
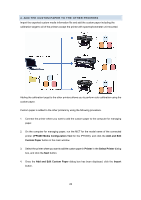
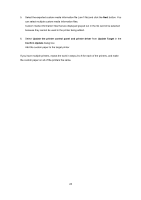
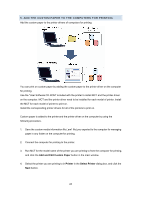
17. The Add and Edit Custom Paper dialog box is displayed. Select the paper that you want to create the calibration target for from the Added Custom Paper list and click the Create Calibration Target button. 18. Click the Execute button in the Execute create calibration target dialog box. Creating the calibration target takes approximately 40 minutes. 19. Once the calibration target is registered in the printer, click the Next button in the Execute create calibration target dialog box. 20. The Confirm Update dialog box is displayed. Confirm the update and click the Execute button. This completes adding the custom paper. If you have multiple different types of custom paper, perform steps 1 to 20 for each type of paper. Once you have finished adding all of the custom paper, export the custom media information file. 19
-
 1
1 -
2
-
3
-
4
-
5
-
6
-
7
-
8
-
9
-
10
-
11
-
12
-
13
-
 14
14 -
 15
15 -
 16
16 -
 17
17 -
 18
18 -
 19
19 -
 20
20 -
 21
21 -
 22
22 -
 23
23 -
 24
24 -
25
-
26
-
27
-
28
-
29
-
30
-
31
-
32
-
33
-
34
-
35
 |
 |