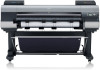
Canon imagePROGRAF iPF8300S iPF8300S Basic Guide No.3 - Page 4
Remove the, Ink Tank - printer
 |
View all Canon imagePROGRAF iPF8300S manuals
Add to My Manuals
Save this manual to your list of manuals |
Page 4 highlights
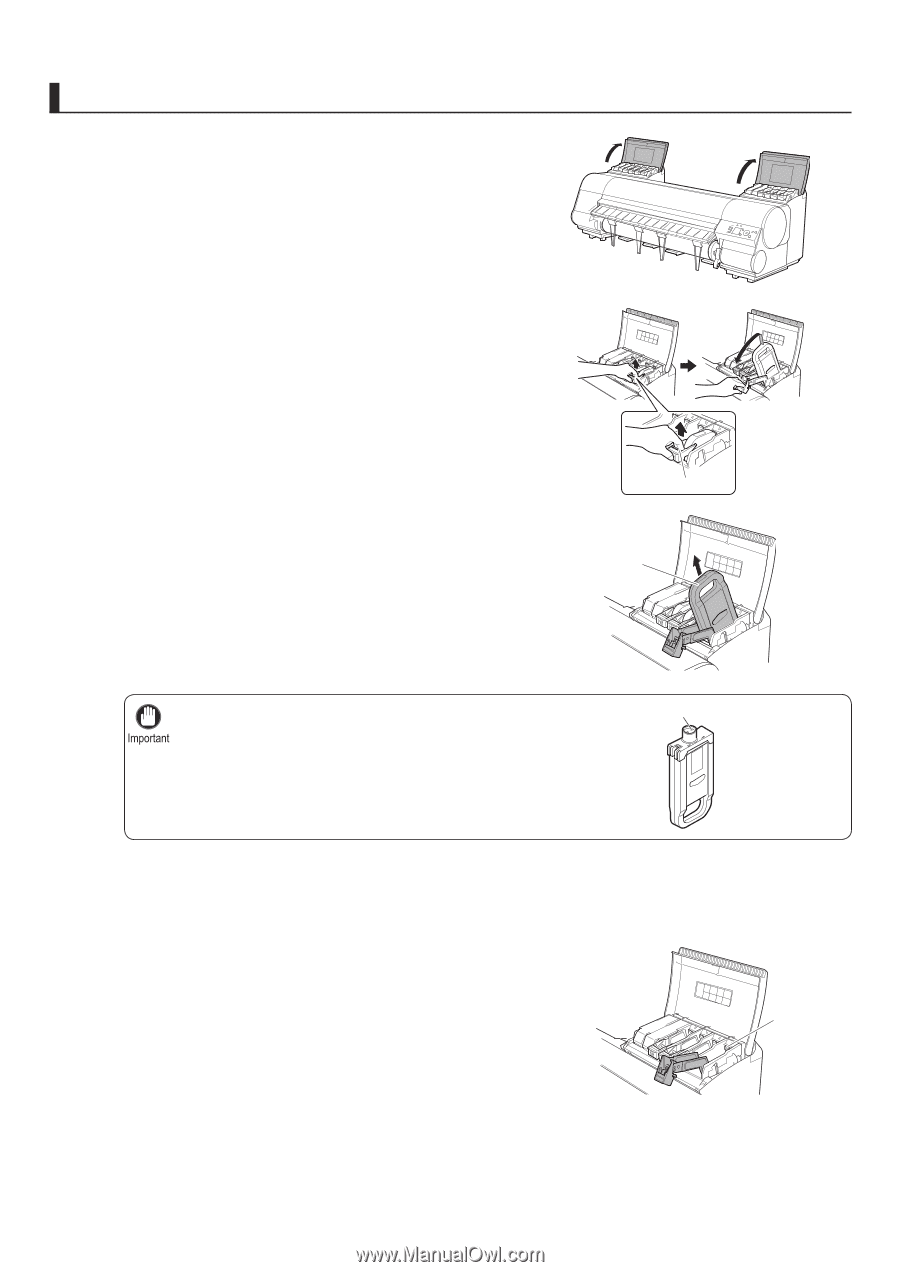
Preparing to Transfer the Printer Remove the Ink Tank 1 Open the left and right ink tank covers. 2 Lift the stopper (a) of the Ink Tank Lock Lever. Lift the Ink Tank Lock Lever until it stops, and then push it down to the front. 3 Hold the Ink Tank by the handle (a) and remove it. a a • Store the Ink Tank you removed in the box with the ink hole (a) facing up. Otherwise, ink may leak and cause stains. 4 Repeat steps 2 and 3 to remove all ink tanks. 5 Push down the release lever (a) as shown as you gently return all ink tank lock levers to the original position. a a 4
-
 1
1 -
 2
2 -
 3
3 -
 4
4 -
 5
5 -
 6
6 -
 7
7 -
 8
8 -
 9
9 -
 10
10 -
11
-
12
-
13
-
14
-
15
-
16
-
17
-
18
-
19
-
20
-
21
-
22
-
23
-
24
 |
 |
4
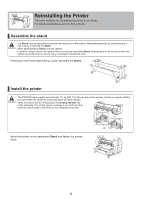
Preparing to Transfer the Printer
Store the
Ink Tank
you removed in the box with the ink
hole (a) facing up. Otherwise, ink may leak and cause
stains.
•
1
2
3
4
5
Open the left and right ink tank covers.
Lift the stopper (a) of the
Ink Tank Lock Lever
. Lift the
Ink Tank Lock Lever
until it stops, and then push it down
to the front.
Hold the
Ink Tank
by the handle (a) and remove it.
Remove the
Ink Tank
Repeat steps 2 and 3 to remove all ink tanks.
Push down the release lever (a) as shown as you gently
return all ink tank lock levers to the original position.
a
a
a
a