Cisco WAP4400N User Guide - Page 18
Placement Options - as a repeater
 |
UPC - 745883574858
View all Cisco WAP4400N manuals
Add to My Manuals
Save this manual to your list of manuals |
Page 18 highlights
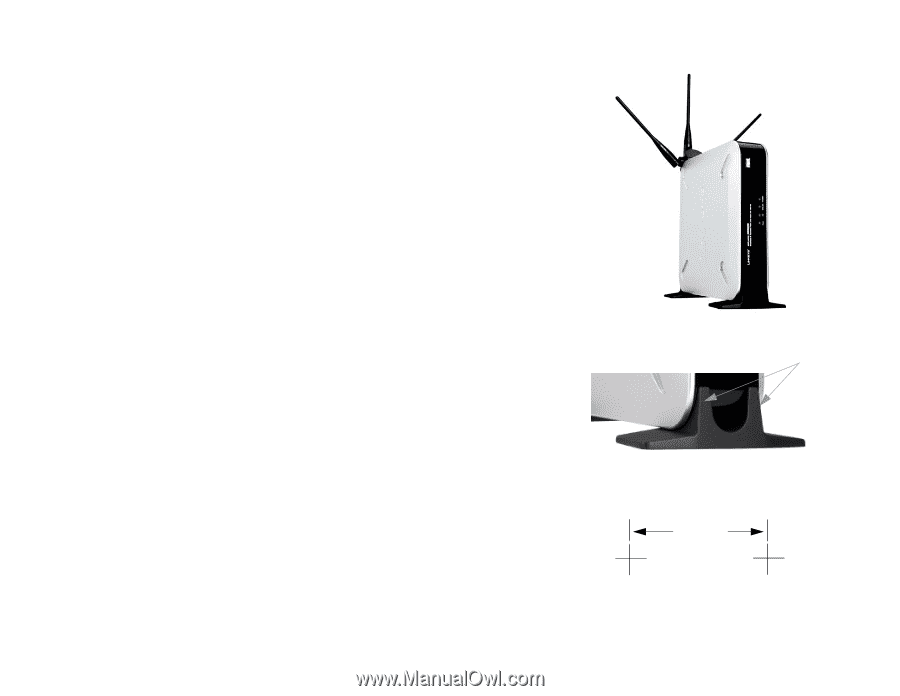
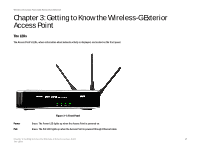
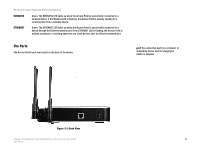
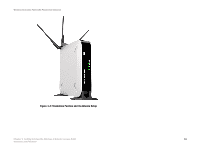
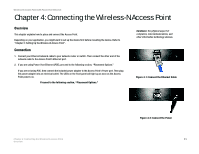
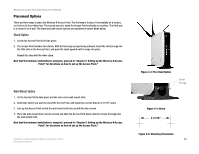
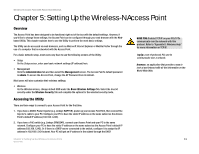
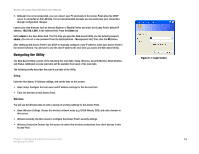
Wireless-N Access Point with Power Over Ethernet Placement Options There are three ways to place the Wireless-N Access Point. The first way is to place it horizontally on a surface, so it sits on its four rubber feet. The second way is to stand the Access Point vertically on a surface. The third way is to mount it on a wall. The stand and wall-mount options are explained in further detail below. Stand Option 1. Locate the Access Point's left side panel. 2. The Access Point includes two stands. With the two large prongs facing outward, insert the short prongs into the little slots in the Access Point, and push the stand upward until it snaps into place. Repeat this step with the other stand. Now that the hardware installation is complete, proceed to "Chapter 5: Setting up the Wireless-N Access Point," for directions on how to set up the Access Point." Wall-Mount Option 1. On the Access Point's back panel are two criss-cross wall-mount slots. 2. Determine where you want to mount the Access Point, and install two screws that are 2-15/16" apart. 3. Line up the Access Point so that the wall-mount slots line up with the two screws. 4. Place the wall-mount slots over the screws and slide the Access Point down until the screws fit snugly into the wall-mount slots. Now that the hardware installation is complete, proceed to "Chapter 5: Setting up the Wireless-N Access Point," for directions on how to set up the Access Point." Chapter 4: Connecting the Wireless-N Access Point Placement Options Figure 4-3: The Stand Option Large Prongs Figure 4-4: Stand 2-15/16" Figure 4-5: Mounting Dimensions 12
-
 1
1 -
2
-
3
-
4
-
5
-
6
-
7
-
8
-
9
-
10
-
11
-
12
-
 13
13 -
 14
14 -
 15
15 -
 16
16 -
 17
17 -
 18
18 -
 19
19 -
 20
20 -
 21
21 -
 22
22 -
 23
23 -
24
-
25
-
26
-
27
-
28
-
29
-
30
-
31
-
32
-
33
-
34
-
35
-
36
-
37
-
38
-
39
-
40
-
41
-
42
-
43
-
44
-
45
-
46
-
47
-
48
-
49
-
50
-
51
-
52
-
53
-
54
-
55
-
56
-
57
-
58
-
59
-
60
-
61
-
62
-
63
-
64
-
65
-
66
-
67
-
68
-
69
 |
 |