Compaq Evo D500 Evo Desktop Family, Small Form Factor Models, Intel Pentium 4 - Page 32
Connecting the Flat Ribbon Cable and Audio Cable, Connecting the Flat Ribbon, Audio
 |
View all Compaq Evo D500 manuals
Add to My Manuals
Save this manual to your list of manuals |
Page 32 highlights
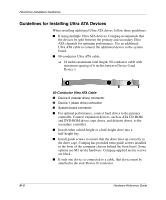
Hardware Upgrades 4. Raise the easy access drive bay to the upright position and connect the flat ribbon cable and audio cable to the system board. Connecting the Flat Ribbon Cable and Audio Cable 5. Connect the power cable 1, flat ribbon cable 2, and audio cable 3 to the rear of the CD-ROM or DVD-ROM drive. 6. Return the easy access drive bay to the normal position. Connecting the Flat Ribbon, Audio, and Power Cables to the CD-ROM or DVD-ROM Drive 7. Remove the bezel blank from the front bezel, if necessary. 2-22 Hardware Reference Guide
-
 1
1 -
2
-
3
-
4
-
5
-
6
-
7
-
8
-
9
-
10
-
11
-
12
-
13
-
14
-
15
-
16
-
17
-
18
-
19
-
20
-
21
-
22
-
23
-
24
-
25
-
26
-
 27
27 -
 28
28 -
 29
29 -
 30
30 -
 31
31 -
 32
32 -
 33
33 -
 34
34 -
 35
35 -
 36
36 -
 37
37 -
38
-
39
-
40
-
41
-
42
-
43
-
44
-
45
-
46
-
47
-
48
-
49
-
50
-
51
-
52
-
53
-
54
-
55
-
56
-
57
-
58
 |
 |

2–22
Hardware Reference Guide
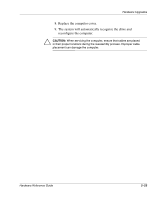
Hardware Upgrades
4. Raise the easy access drive bay to the upright position and
connect the flat ribbon cable and audio cable to the system board.
Connecting the Flat Ribbon Cable and Audio Cable
5. Connect the power cable
1
, flat ribbon cable
2
, and audio cable
3
to the rear of the CD-ROM or DVD-ROM drive.
6. Return the easy access drive bay to the normal position.
Connecting the Flat Ribbon, Audio, and Power Cables to the
CD-ROM or DVD-ROM Drive
7. Remove the bezel blank from the front bezel, if necessary.