Cub Cadet SC 100 SC 100 Operator's Manual - Page 10
Grass Catcher - who makes the engine
 |
View all Cub Cadet SC 100 manuals
Add to My Manuals
Save this manual to your list of manuals |
Page 10 highlights
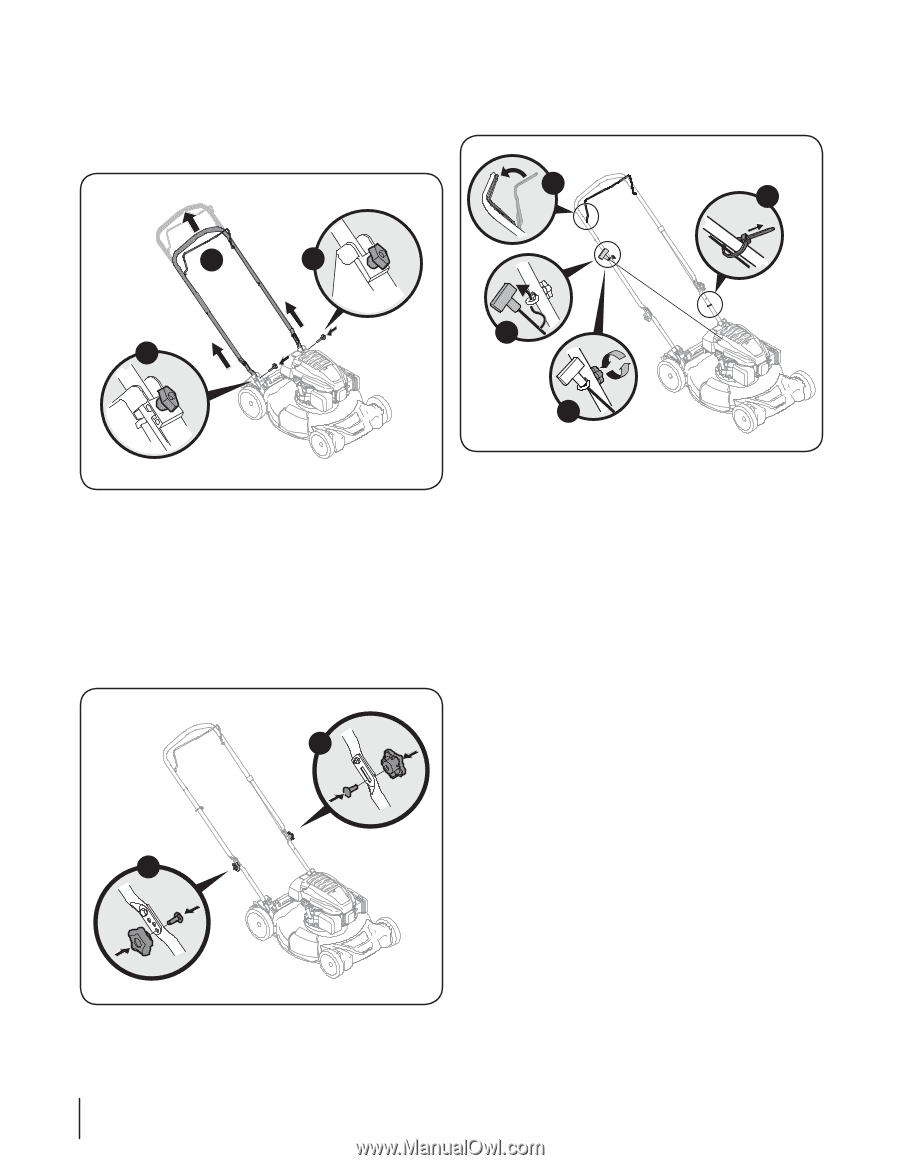
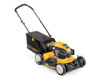
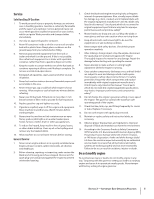
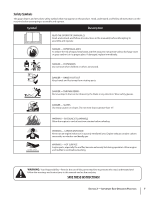
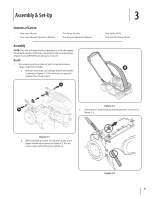
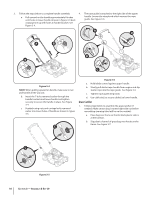
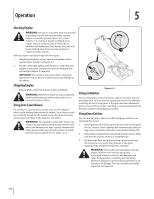
3. Follow the steps below to complete handle assembly: 4. The rope guide is attached to the right side of the upper a. Pull upward on the handle approximately 8 inches until holes in lower handle (shown in Figure 3-3 deck handle. Loosen the wing knob which secures the rope guide. See Figure 3-6. cutaway) line up with holes in handle bracket. See Figure 3-4. A D A B B B C Figure 3-4 NOTE: When pulling upward on handle, make sure to not pull handle all the way out. b. Insert the T-bolts removed earlier through the handle brackets and lower handle and tighten securely to secure the handle in place. See Figure 3-4. c. Reattach wing nuts and carriage bolts removed earlier into lower holes of handle as shown in Figure 3-5. C Figure 3-6 a. Hold blade control against upper handle. b. Slowly pull starter rope handle from engine and slip starter rope into the rope guide. See Figure 3-6. c. Tighten rope guide wing knob. d. Use cable tie(s) to secure cable(s) to lower handle. Grass Catcher 1. Follow steps below to assemble the grass catcher (if needed). Make certain bag is turned right side out before assembling (warning label will be on the outside). a. Place bag over frame so that its black plastic side is at the bottom. b. Slip plastic channel of grass bag over hooks on the frame. See Figure 3-7. C Figure 3-5 10 Section 3 - Assembly & Set-Up
-
 1
1 -
2
-
3
-
4
-
 5
5 -
 6
6 -
 7
7 -
 8
8 -
 9
9 -
 10
10 -
 11
11 -
 12
12 -
 13
13 -
 14
14 -
 15
15 -
16
-
17
-
18
-
19
-
20
-
21
-
22
-
23
-
24
 |
 |