DELPHI SA10116 User Guide - Page 16
Mounting
 |
UPC - 689604159224
View all DELPHI SA10116 manuals
Add to My Manuals
Save this manual to your list of manuals |
Page 16 highlights
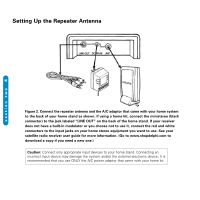
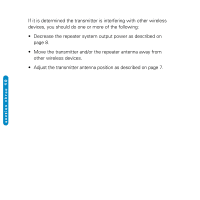
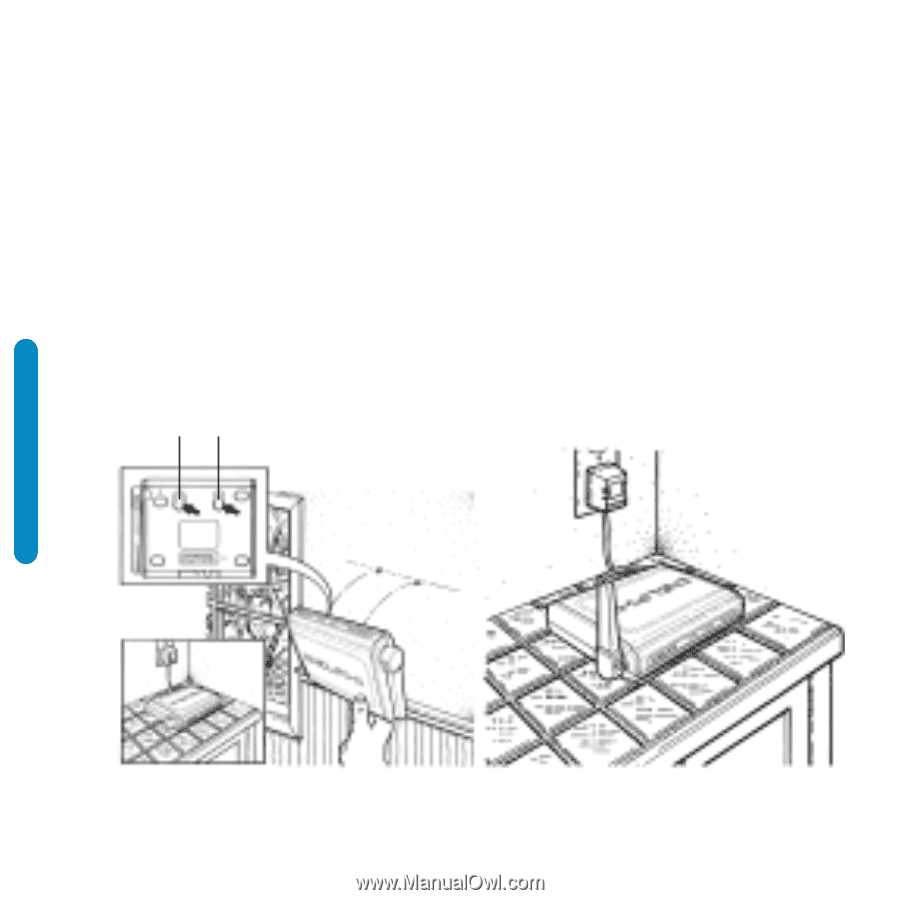
section three 6 Mounting Your transmitter may rest flat on a horizontal surface, or it may be wallmounted. To mount on a wall, insert two screws (provided) 2" apart in a horizontal line, leaving the screw heads approximately 1/4" from the wall. Slip the two holes located on the bottom of the transmitter over the screw heads and gently slide the unit down until it locks into place. (See figure 3.) Note: The screws that came with your Signal Repeater may be fastened to wallboard or wood with an ordinary Phillips screwdriver; no pre-drilling is necessary. To fasten into concrete, hollow or grout filled block, brick, or plaster, pre-drill a 3/16" hole and fasten with an ordinary Phillips screwdriver. 2" Figure 3.
-
 1
1 -
2
-
3
-
4
-
5
-
6
-
7
-
8
-
9
-
10
-
 11
11 -
 12
12 -
 13
13 -
 14
14 -
 15
15 -
 16
16 -
 17
17 -
 18
18 -
 19
19 -
 20
20 -
 21
21 -
22
-
23
-
24
-
25
-
26
-
27
-
28
 |
 |
section three
6
Mounting
Your transmitter may rest flat on a horizontal surface, or it may be wall-
mounted. To mount on a wall, insert two screws (provided) 2" apart in a
horizontal line, leaving the screw heads approximately 1/4" from the wall.
Slip the two holes located on the bottom of the transmitter over the
screw heads and gently slide the unit down until it locks into place. (See
figure 3.)
Note:
The screws that came with your Signal Repeater may be fastened to wallboard or
wood with an ordinary Phillips screwdriver; no pre-drilling is necessary. To fasten into
concrete, hollow or grout filled block, brick, or plaster, pre-drill a 3/16" hole and fasten
with an ordinary Phillips screwdriver.
Figure 3.
2"