DeLonghi TCH7090ER Owner Manual - Page 4
SAVE THESE INSTRUCTIONS, For Household use only - 24
 |
View all DeLonghi TCH7090ER manuals
Add to My Manuals
Save this manual to your list of manuals |
Page 4 highlights
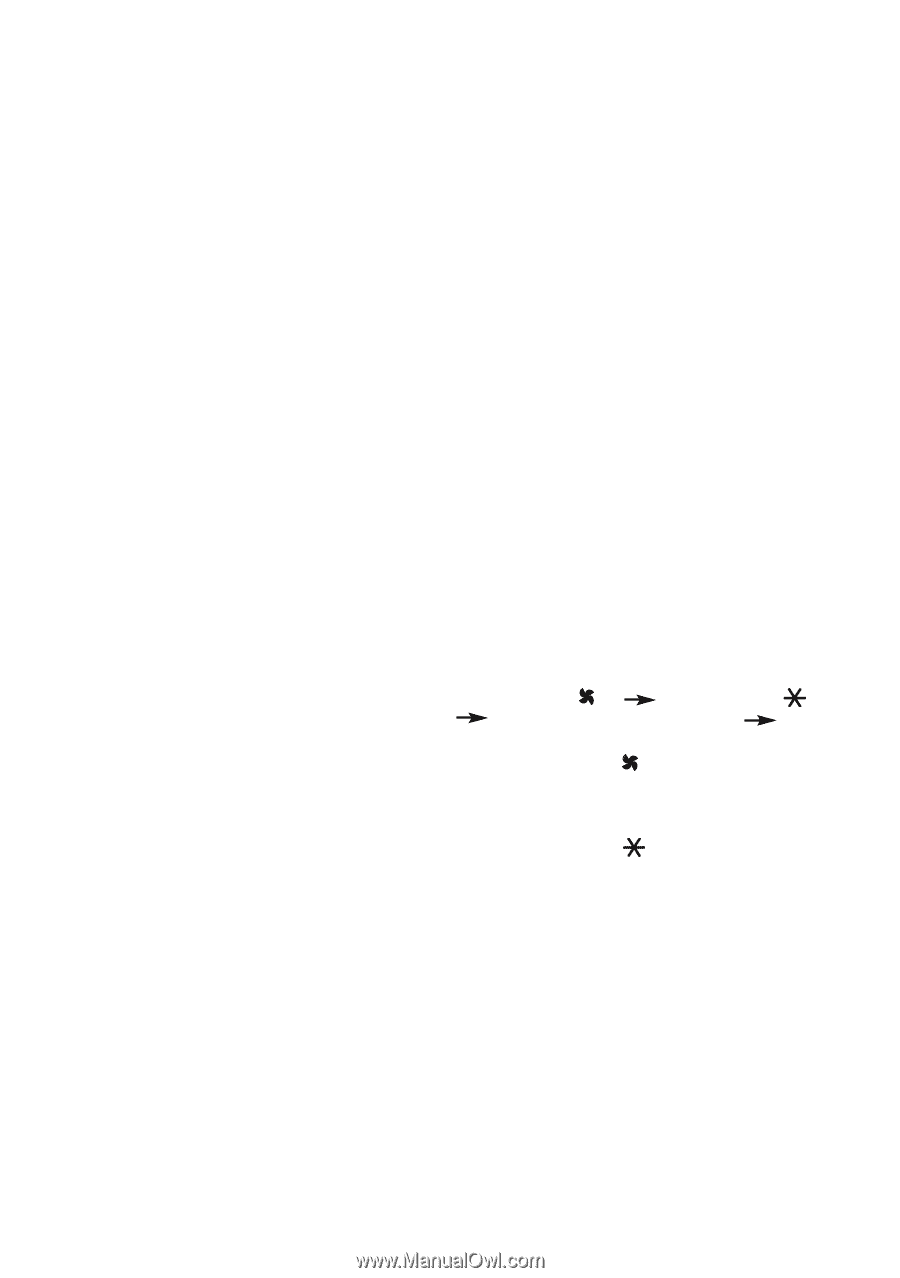
fessional. 19. Do not use this appliance with an extension cord or outlet strip. Connect the appliance directly to a suitable outlet. 20. Make sure that the plug is fully inserted into the outlet. Wall outlets may deteriorate with time, so check the plug periodically for signs of overheating or deformation. If the outlet has deteriorated, stop using it and have it repaired. 21.Check that neither the appliance nor the power cord have been damaged during shipping. 22.Make sure that no styrofoam or other packing materials remain in the appliance. 23.The first time the appliance is used, run it at the maximum power for at least two hours. During this time, ventilate the room thoroughly to eliminate the "new" smell released by the appliance. It is completely normal for the appliance to emit "creaking" sounds the first time it is run. 24. CAUTION: To prevent electric shock, make sure the wide prong of the plug is inserted in the wide slot of the outlet. 25.Do not place the heater near a bed because objects such as pillows or blankets can fall off the bed and be ignited by the heater. 26.Extreme caution is necessary whenever the heater is left operating unattended. 27.Do not open the appliance. No userserviceable parts inside. SAVE THESE INSTRUCTIONS For Household use only ELECTRICAL CONNECTION Before connecting the plug to the power outlet, make sure that the voltage of your electrical system corresponds to the voltage shown on the appliance rating label and the outlet you are going to use is in good condition. INSTALLATION The appliance may be used on any rigid horizontal surface. Do not overload the electrical circuit; avoid using the same outlet for multiple appliances. OPERATION AND USE 1. Connect the appliance to the power outlet. 2. The appliance emits a beep and the power indicator light (H) comes on and remains on as long as the appliance is powered. 3. The appliance goes into OFF position and the display shows a dot " G ". If the dot is blinking it means that the tip over switch has been activated. See para- graph: "Additional safety featu- res" page 5. 4. Press the ON/OFF button (A) to turn on the appliance. It will begin to heat with the predefined settings. 5. Press the MODE button (F) to select one of the following functions available: Ventilation ( ) Anti-freeze ( ) Heating at minimum power (1) Hea- ting at maximum power (2) 5.1 Ventilation ( ) In this operating mode only the fan operates, so the appliance does not heat the room. 5.2 Anti-freeze ( ) In this operating mode the appliance keeps the room at a temperature of 45°F (7°C) to prevent freezing tempe- ratures. 5.3 Heating 1 and Heating 2 In this operating mode you can set the desired temperature by pressing the + and - adjustment buttons (B). Heating 1 (minimum power level): The appliance operates at the mini- mum power, reducing noise and energy consumption to the minimum. Heating 2 (maximum power level): The appliance operates at the maxi- mum power for rapid heating of the room. 4
-
 1
1 -
 2
2 -
 3
3 -
 4
4 -
 5
5 -
 6
6 -
 7
7
 |
 |