Dell Precision T3400 Quick Reference Guide (Multilanguage: English, Frenc - Page 21
Setting Up Your Computer, Changing Between Tower and Desktop Orientations - quad
 |
View all Dell Precision T3400 manuals
Add to My Manuals
Save this manual to your list of manuals |
Page 21 highlights
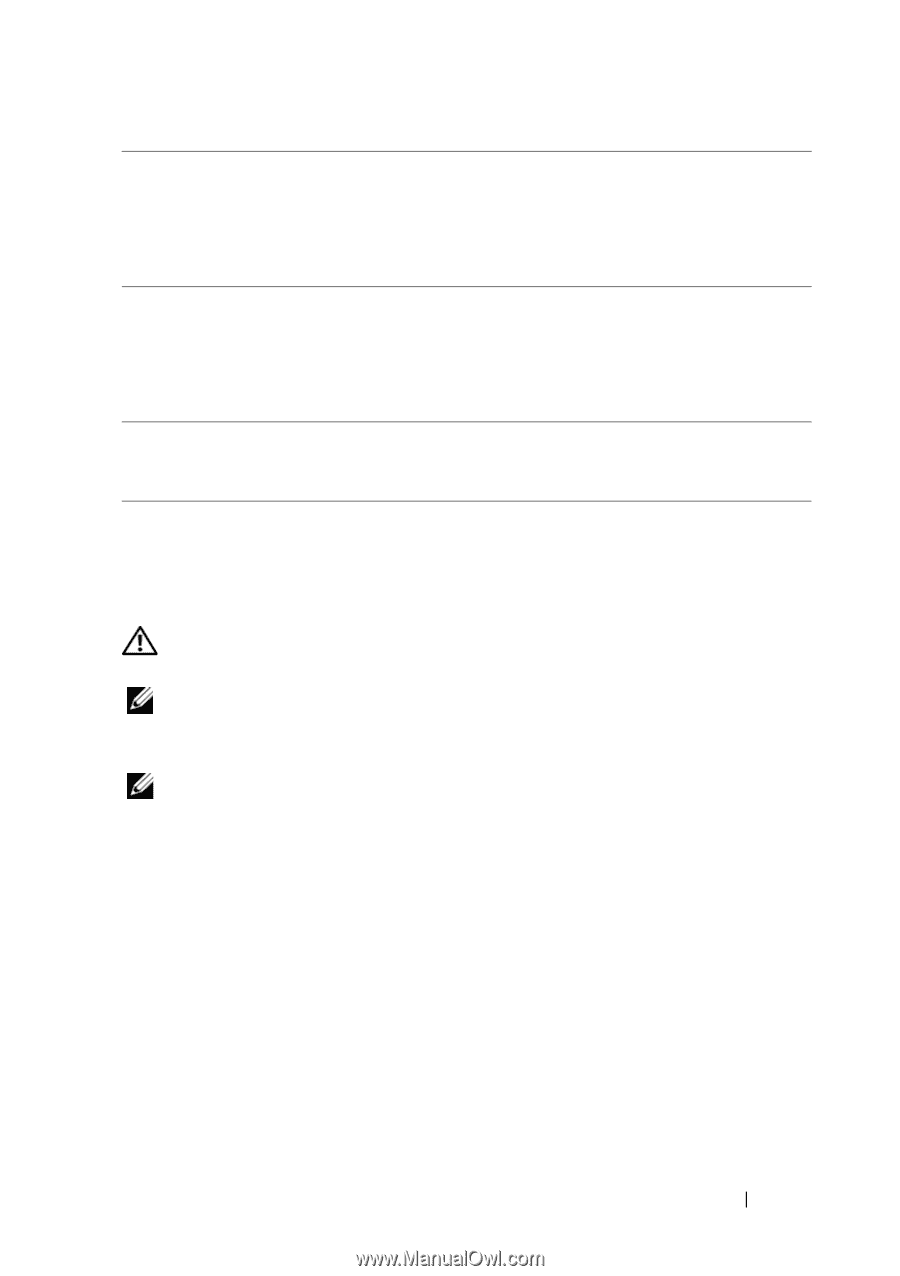
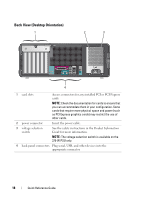
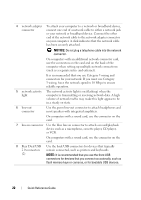
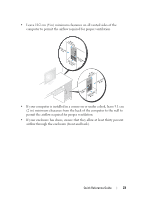
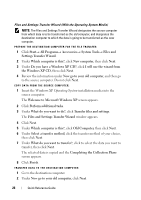
9 Rear Quad USB 2.0 connectors (4) 10 serial connector 11 keyboard connector Use the back USB connectors for devices that typically remain connected, such as printers and keyboards. NOTE: It is recommended that you use the front USB connectors for devices that you connect occasionally, such as flash memory keys or cameras, or for bootable USB devices. Connect a serial device, such as a handheld device, to the serial port. The default designations are COM1 for serial connector 1 and COM2 for the optional serial connector 2. For more information, see "System Setup Options" in your User's Guide. If you have a PS/2 keyboard, plug it into the purple keyboard connector. If you have a USB keyboard, plug it into a USB connector. Setting Up Your Computer Changing Between Tower and Desktop Orientations CAUTION: Before you begin any of the procedures in this section, follow the safety instructions in the Product Information Guide. NOTE: To change your computer to either the tower or the desktop orientation, you must use an optional kit available from Dell. See "Product Information" in your User's Guide for more details on ordering from Dell. NOTE: The tower computer supports one more 3.5-inch drive in the front than does the desktop computer. 1 Follow the procedures in "Before You Begin" in your User's Guide. 2 Remove the computer cover (see "Removing the Computer Cover" in your User's Guide). 3 Remove the front panel (see "Removing the Front Panel" in your User's Guide). 4 Remove the drive panel and prepare the drive panel by adding or removing inserts, as needed (see "Drive Panel" in your User's Guide). Quick Reference Guide 21
-
 1
1 -
2
-
3
-
4
-
5
-
6
-
7
-
8
-
9
-
10
-
11
-
12
-
13
-
14
-
15
-
 16
16 -
 17
17 -
 18
18 -
 19
19 -
 20
20 -
 21
21 -
 22
22 -
 23
23 -
 24
24 -
 25
25 -
 26
26 -
27
-
28
-
29
-
30
-
31
-
32
-
33
-
34
-
35
-
36
-
37
-
38
-
39
-
40
-
41
-
42
-
43
-
44
-
45
-
46
-
47
-
48
-
49
-
50
-
51
-
52
-
53
-
54
-
55
-
56
-
57
-
58
-
59
-
60
-
61
-
62
-
63
-
64
-
65
-
66
-
67
-
68
-
69
-
70
-
71
-
72
-
73
-
74
-
75
-
76
-
77
-
78
-
79
-
80
-
81
-
82
-
83
-
84
-
85
-
86
-
87
-
88
-
89
-
90
-
91
-
92
-
93
-
94
-
95
-
96
-
97
-
98
-
99
-
100
-
101
-
102
-
103
-
104
-
105
-
106
-
107
-
108
-
109
-
110
-
111
-
112
-
113
-
114
-
115
-
116
-
117
-
118
-
119
-
120
-
121
-
122
-
123
-
124
-
125
-
126
-
127
-
128
-
129
-
130
-
131
-
132
-
133
-
134
-
135
-
136
-
137
-
138
-
139
-
140
-
141
-
142
-
143
-
144
-
145
-
146
-
147
-
148
-
149
-
150
-
151
-
152
-
153
-
154
-
155
-
156
-
157
-
158
-
159
-
160
-
161
-
162
-
163
-
164
-
165
-
166
-
167
-
168
-
169
-
170
-
171
-
172
-
173
-
174
-
175
-
176
-
177
-
178
-
179
-
180
-
181
-
182
-
183
-
184
-
185
-
186
-
187
-
188
-
189
-
190
-
191
-
192
-
193
-
194
-
195
-
196
-
197
-
198
-
199
-
200
-
201
-
202
-
203
-
204
-
205
-
206
-
207
-
208
-
209
-
210
-
211
-
212
-
213
-
214
-
215
-
216
-
217
-
218
-
219
-
220
-
221
-
222
-
223
-
224
-
225
-
226
-
227
-
228
-
229
-
230
-
231
-
232
-
233
-
234
-
235
-
236
-
237
-
238
-
239
-
240
-
241
-
242
-
243
-
244
-
245
-
246
-
247
-
248
-
249
-
250
-
251
-
252
-
253
-
254
-
255
-
256
-
257
-
258
-
259
-
260
-
261
-
262
-
263
-
264
-
265
-
266
-
267
-
268
-
269
-
270
-
271
-
272
-
273
-
274
-
275
-
276
 |
 |