Dynex DX-46L262A12 Firmware Installation Guide (English)
Dynex DX-46L262A12 Manual
 |
View all Dynex DX-46L262A12 manuals
Add to My Manuals
Save this manual to your list of manuals |
Dynex DX-46L262A12 manual content summary:
- Dynex DX-46L262A12 | Firmware Installation Guide (English) - Page 1
Tuner Firmware Update Process for Dynex Models DX‐19E220A12, DX‐ 32L200A12 & DX‐46L262A12 1. IMPORTANT: Please completely read these instructions prior to starting your update process. 2. Determine the proper Rev id by looking at the sticker on the side of the TV (Example photo below) and write down - Dynex DX-46L262A12 | Firmware Installation Guide (English) - Page 2
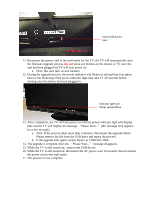
Insert USB device here 11. Reconnect the power cord to the wall outlet for the TV; the TV will automatically start the firmware upgrade process (do not press any buttons on the remote or TV once the unit has been plugged in) TV will auto power on. a. Note: this may take several minutes 12. During
-
 1
1 -
 2
2
 |
 |
Tuner Firmware Update Process for Dynex Models DX
‐
19E220A12, DX
‐
32L200A12 & DX
‐
46L262A12
1.
IMPORTANT: Please completely read these instructions prior to starting your
update process.
2.
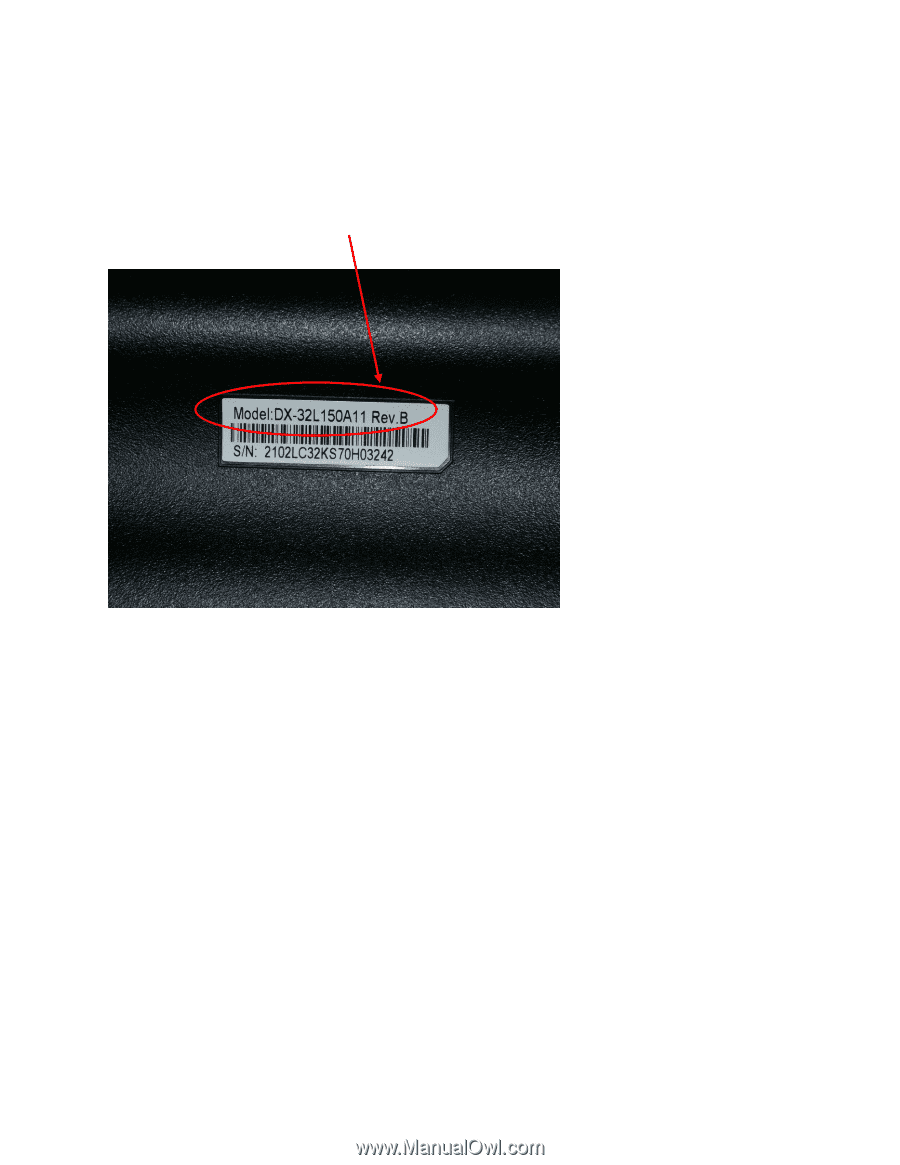
Determine the proper Rev id by looking at the sticker on the side of the TV (Example
photo below) and write down the Model and Rev id for use later in this process.
3.
Insert USB drive to your PC or Mac
4.
USB drive being used must not have any folders or additional files on the device.
5.
Download the firmware that matches the Model and Rev id of your TV.
6.
To download firmware click on the
“
Support/Downloads
”
tab; then locate the
corresponding Rev id of your TV.
7.
Click on the firmware link titled
“
Channel Scan Update Rev A
”
when the pop up box
appears select
“
Save
”
and choose the destination of your USB drive.
a.
Note: Do
NOT
change the name of the file.
b.
Note: This file is <5 Megs in size; download time should be less than 1 minute.
8.
Once down load is complete safely remove your USB drive.
9.
Disconnect the AC power from your wall outlet for the TV
10.
Insert USB device into the SERVICE PORT; located in one of 3 places, back, side or
bottom. The correct port will be labeled either Service or Service/USB. See photo below