Electrolux E36DF76EPS Installation Instructions
Electrolux E36DF76EPS Manual
 |
View all Electrolux E36DF76EPS manuals
Add to My Manuals
Save this manual to your list of manuals |
Electrolux E36DF76EPS manual content summary:
- Electrolux E36DF76EPS | Installation Instructions - Page 1
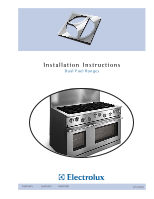
Installation Instructions Dual Fuel Ranges E30DF74EPS E36DF76EPS E48DF76EPS 5995447082 - Electrolux E36DF76EPS | Installation Instructions - Page 2
2 Safety IMPORTANT SAFETY INSTRUCTIONS Safety Precautions Do not attempt to install or operate your unit until you have read the safety precautions in this manual. Safety items throughout this manual are labeled with a Warning or Caution based on the risk type. Definitions This is the safety alert - Electrolux E36DF76EPS | Installation Instructions - Page 3
, or maintenance can cause personal injury or property damage. Refer to these instructions and the accompanying Use & Care Manual. For assistance or additional information, consult a qualified installer, service agency, manufacturer (dealer), or the gas supplier. • For your safety: - Do not store - Electrolux E36DF76EPS | Installation Instructions - Page 4
edge of the cooking utensil. • If the information in this manual is not followed exactly, a fire or explosion may result causing instructions. - If you cannot reach your gas supplier, call the fire department. • Installation of this appliance must be performed by a qualified installer, service - Electrolux E36DF76EPS | Installation Instructions - Page 5
page for future reference. Read all instructions before installing the Range. For your safety, please read and observe all safety instructions. This guide will help you anticipate all installation connections. QUESTIONS? For toll-free telephone support in the U.S. and Canada: 1-877- 4ELECTROLUX - Electrolux E36DF76EPS | Installation Instructions - Page 6
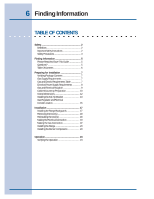
Instructions 2 Safety Precautions 3 Finding Information 5 Please Read And Save This Guide 5 Questions 5 Table Of Contents 6 Preparing for Installation Dimensions 12 Installing the Anti-Tip Bracket 13 Gas Regulator and Electrical Conduit Location 16 Installation 17 Installing the Range - Electrolux E36DF76EPS | Installation Instructions - Page 7
Preparing for Installation 7 VERIFY PACKAGE CONTENTS • Use & Care Manual • Broiler Pan/Insert • Anti-tip Bracket • Grate Pack • Griddle • LP Conversion Kit • Burner Rings • Wok Ring • Simmerplate • Stainless Steel Cleaner • Roasting Rack • Burner Cap Pack GAS SUPPLY REQUIREMENTS Check your - Electrolux E36DF76EPS | Installation Instructions - Page 8
fuse. Refer to the Gas and Electrical Requirements Table on page 7. WARNING If the gas or electric service provided does not meet the product specifications, do not proceed with the installation. Call the selling dealer, the gas supplier, or a licensed electrician. NOTES The power supply must be - Electrolux E36DF76EPS | Installation Instructions - Page 9
is installed. In addition, the junction box must be located so the range can be removed for service when the conduit supplied with the unit is attached to the junction box. Do not lengthen the conduit or wiring provided with the range. All dimensions shown are based on standard American cabinets 36 - Electrolux E36DF76EPS | Installation Instructions - Page 10
is not necessary to install non-combustible materials behind the range below the countertop height. • The minimum distance from the sides of the range above the countertop to combustible side walls must be at least 10 inches. • The E36DF76EPS and E48DF76EPS ranges are delivered with a 3" backguard - Electrolux E36DF76EPS | Installation Instructions - Page 11
Preparing for Installation 11 Plan the installation so that the electrical connection, gas shut-off valve, and pressure regulator are accessible from the front of the cabinet. Figure 1 E30DF74EPS, E36DF76EPS and E48DF76EPS Model E30DF74EPS E36DF76EPS E48DF76EPS Cutout Dimensions "A" 36" (914mm) - Electrolux E36DF76EPS | Installation Instructions - Page 12
12 Preparing for Installation OVERALL DIMENSIONS E36DF76EPS and E48DF76EPS Overall Dimensions Side View Figure 2 E30DF74EPS Overall Dimensions Side View Figure 3 - Electrolux E36DF76EPS | Installation Instructions - Page 13
THE ANTI-TIP BRACKET (FOR 30", 36" & 48" MODELS) WARNING The 30", 36" and 48" ranges require an anti-tip device. Before installing the range, you must locate and secure the anti-tip bracket to the floor. Installation of E30DF74EPS Anti-Tip Bracket Top View Figure 4 Location of the E30DF74EPS - Electrolux E36DF76EPS | Installation Instructions - Page 14
14 Preparing for Installation INSTALLING THE ANTI-TIP BRACKET (FOR 30", 36" & 48" MODELS) WARNING The 30", 36" and 48" ranges require an anti-tip device. Before installing the range, you must locate and secure the anti-tip bracket to the floor. Back wall Installation of E36DF76EPS Anti-Tip - Electrolux E36DF76EPS | Installation Instructions - Page 15
THE ANTI-TIP BRACKET (FOR 30", 36" & 48" MODELS) WARNING The 30", 36" and 48" ranges require an anti-tip device. Before installing the range, you must locate and secure the anti-tip bracket to the floor. Installation of E48DF76EPS Anti-Tip Bracket Top View Figure 8 Location of the E48DF76EPS - Electrolux E36DF76EPS | Installation Instructions - Page 16
16 Preparing for Installation GAS REGULATOR AND ELECTRICAL CONDUIT LOCATION Figure 10 Factory installed 3/4" regulator (1/2" supply ok) Power cord Gas Regulator and Electrical Conduit Location Rear View - Electrolux E36DF76EPS | Installation Instructions - Page 17
30", 36" & 48" RANGE OPTIONAL BACKGUARDS Your Electrolux IconTM range was shipped with a backguard in place. These instructions cover the installation of one of the optional backguards. WARNING Be sure that the range is not connected to gas or power before proceeding. Installing the Range Optional - Electrolux E36DF76EPS | Installation Instructions - Page 18
the door away from the oven while continuing to lift. Figure 13 To remove oven door, rotate catch as shown. Removing the Oven Door RE-INSTALLING THE OVEN DOOR(S) Grasp the oven door on opposite sides and lift it until the door hinges are aligned with the openings in the oven - Electrolux E36DF76EPS | Installation Instructions - Page 19
, or other personal injury. • Do not install a fuse in the neutral or ground circuit. A fuse in the neutral or ground circuit may result in an electrical shock hazard. Grounding Instructions This appliance must be electrically grounded. With the range positioned directly in front of the cabinet - Electrolux E36DF76EPS | Installation Instructions - Page 20
20 Installation Figure 15 WARNING Do not connect the green appliance wire to the neutral (white) supply wire unless local building codes permit. Connecting the Green Appliance - Electrolux E36DF76EPS | Installation Instructions - Page 21
Installation 21 Connecting the Green Appliance Wire to a Grounded Supply Wire or a Grounded a gas supply pipe or hot water pipe. • Do not turn on power to the appliance until the range is permanently grounded. • A grounded cold water pipe must have metal continuity to electrical ground and must not - Electrolux E36DF76EPS | Installation Instructions - Page 22
check for leaks. After verifying that there are no gas leaks, turn off the gas supply to the range by turning the gas shut-off valve to the "OFF" position. • For LP installations, the LP gas tank must have its own high pressure regulator. This is in addition to the pressure regulator provided with - Electrolux E36DF76EPS | Installation Instructions - Page 23
as required to position the top frame at the desired height, based on the cabinet and countertop installation. Carefully slide the range into position in the cutout. The rear anti-tip leg should engage the anti-tip bracket. INSTALLING THE BURNER COMPONENTS Remove the brass burner rings, porcelain - Electrolux E36DF76EPS | Installation Instructions - Page 24
CARE MANUAL FOR DETAILED INSTRUCTIONS. troubleshooting steps: • Verify that power and gas are supplied to the range. • Check the electrical connections and gas supply to ensure that the installation has been completed correctly. • If the appliance still does not work, contact an authorized service
-
 1
1 -
 2
2 -
 3
3 -
 4
4 -
 5
5 -
 6
6 -
 7
7 -
8
-
9
-
10
-
11
-
12
-
13
-
14
-
15
-
16
-
17
-
18
-
19
-
20
-
21
-
22
-
23
-
24
 |
 |
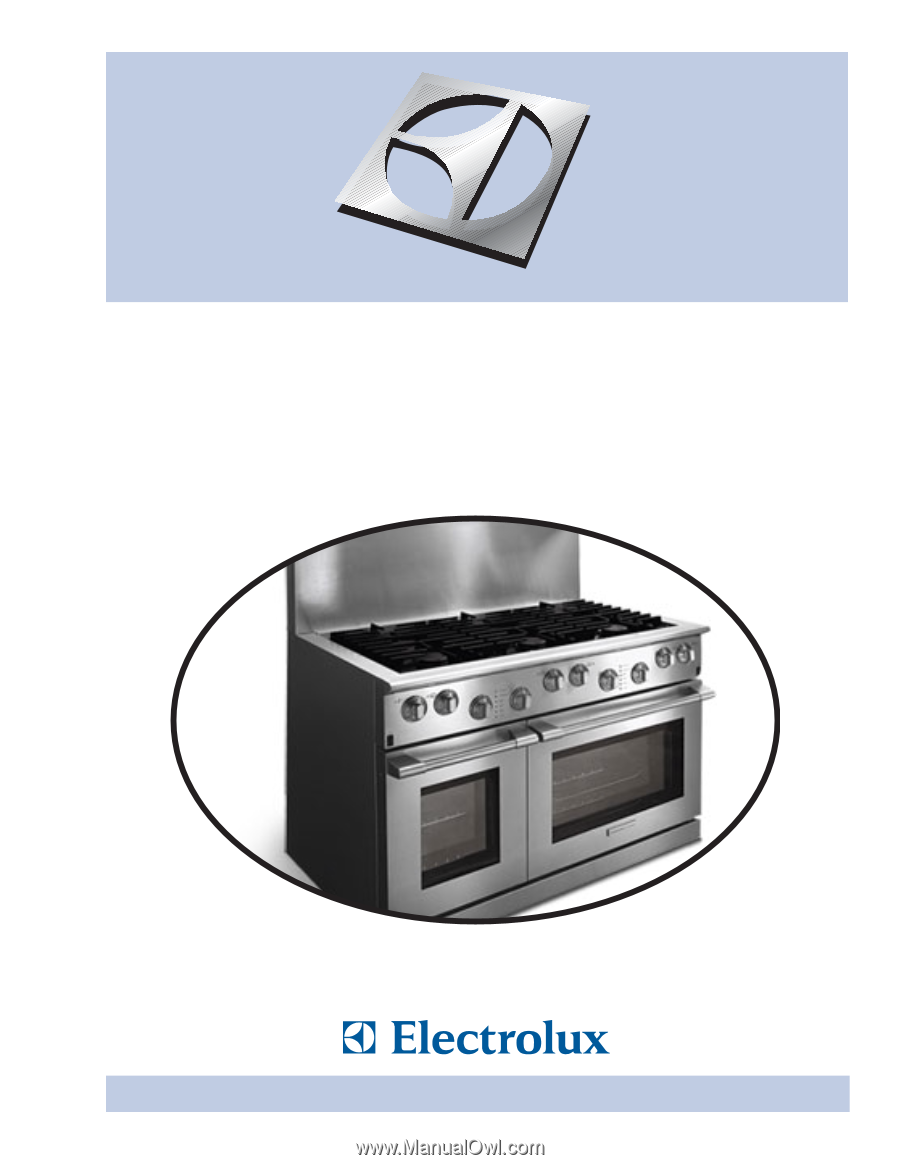
Installation Instructions
Dual Fuel Ranges
5995447082
E30DF74EPS
E36DF76EPS
E48DF76EPS