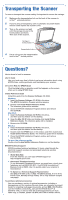
Epson 1640XL Start Here Card - Page 6
Customizing Your Scan, Scanning With Photoshop - expression adobe
 |
UPC - 010343833548
View all Epson 1640XL manuals
Add to My Manuals
Save this manual to your list of manuals |
Page 6 highlights
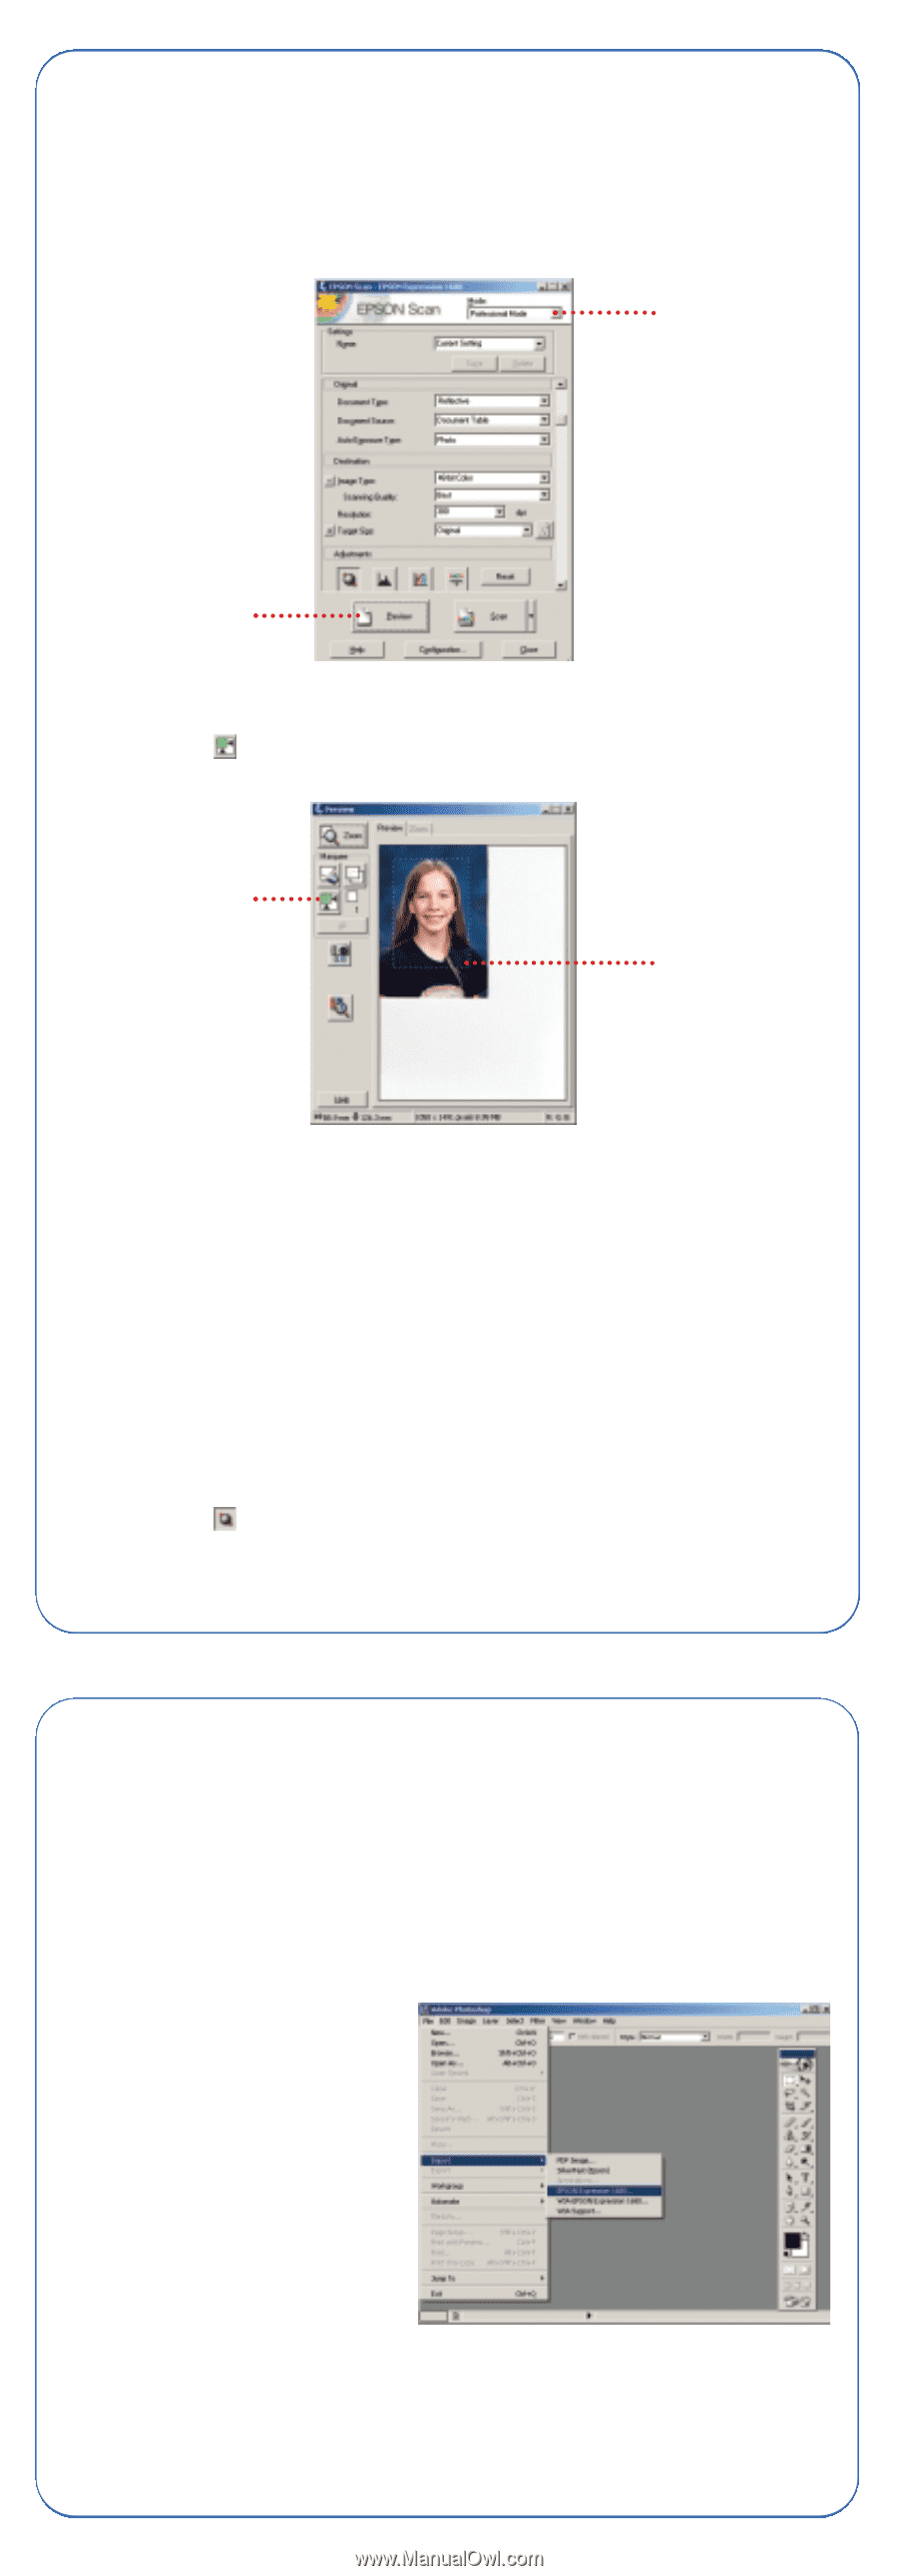
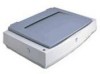
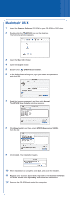
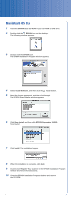
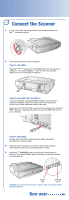
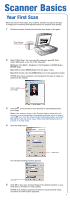
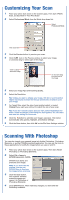
Customizing Your Scan 1 Place your photo face down on the scanner glass. Then start EPSON Scan, as described in "Your First Scan." 2 Select Professional Mode from the Mode drop-down list. Select Professional Mode Then click here 3 Click the Preview button to preview your scan. 4 Click the tool on the Preview window to select your image, or click and drag to select part of the image. Click to select the entire image Or click and drag to select part of the image 5 Select your Image Type and Scanning Quality. 6 Select the Resolution. Tip: Unless you plan to enlarge your image, 300 dpi is recommended. Higher resolutions increase the file size and the time it takes to print your image. 7 For Target Size, select the size of your printed output, or select Original if you want your printout to match the size of your scan. Tip: If you don't see the output size you want, select Customize and enter a width and height in the dialog box that appears. You can name and save this setting for future use. 8 Click the button to optimize your image's exposure. This button automatically sets gamma, highlight, and shadow settings. 9 Click the Scan button, then click OK on the File Save Settings window. Scanning With Photoshop You can also import your scanned image into Adobe Photoshop, Photoshop Elements, or another TWAIN-compliant application. You can use the tools in these applications to modify the image before you save or print it. 1 Place your photo face down on the scanner glass. Then start Adobe Photoshop or Photoshop Elements. 2 Select File > Import > EPSON Expression 1640XL. EPSON Scan starts and prescans your image. Note: If you don't like the preview, you can use EPSON Scan to fine-tune the image before scanning. 3 Click the Scan button. Your scanner software scans the image and opens it in Photoshop or Photoshop Elements. 4 Close EPSON Scan. Then make any changes you want with the Photoshop software.
-
 1
1 -
 2
2 -
 3
3 -
 4
4 -
 5
5 -
 6
6 -
 7
7 -
 8
8
 |
 |