Epson B-300 Start Here - Page 2
Install cartridges
 |
View all Epson B-300 manuals
Add to My Manuals
Save this manual to your list of manuals |
Page 2 highlights
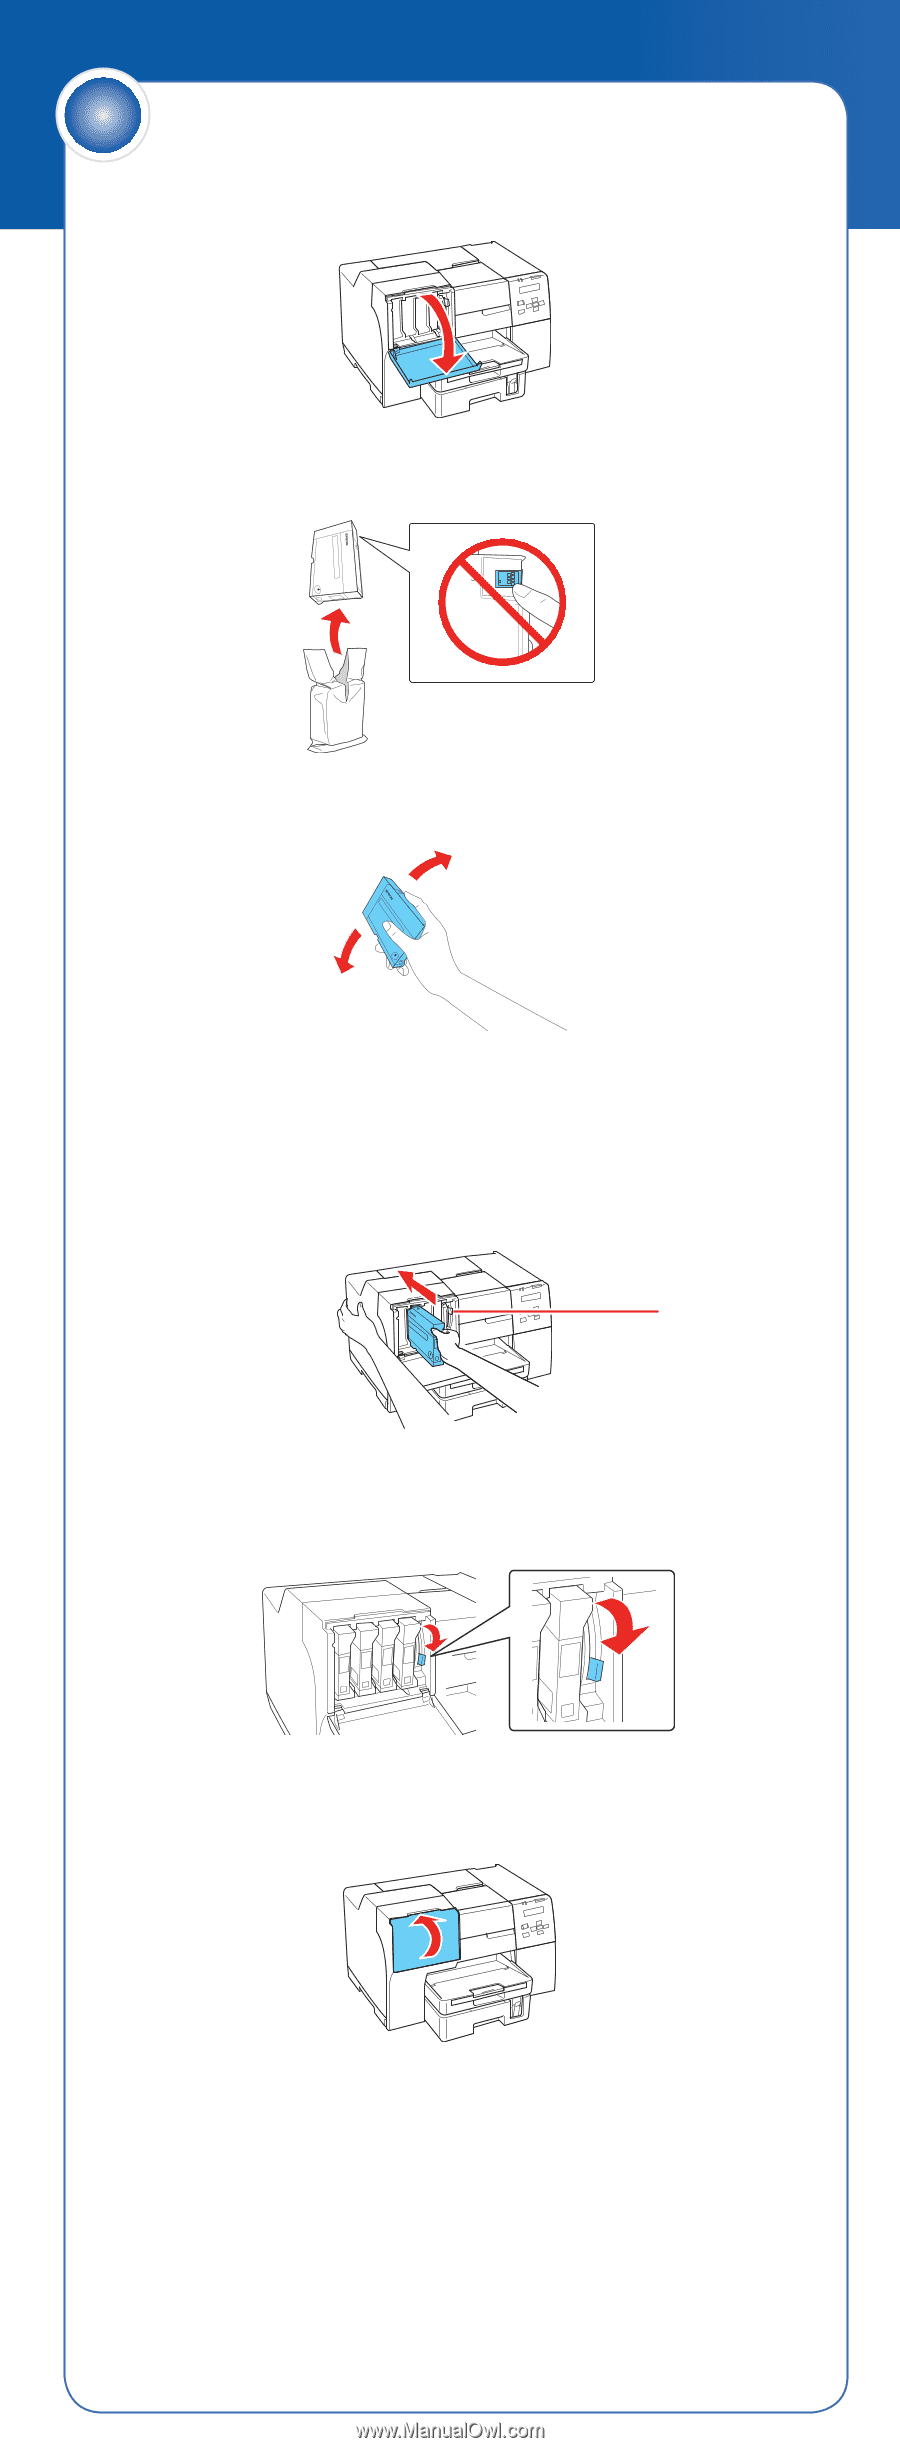
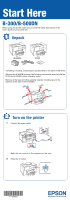
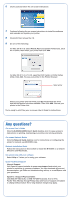
3 Install cartridges 1 Open the cartridge cover. 2 Unpack the 4 ink cartridges. 3 Shake each cartridge for about 5 seconds. 4 Make sure the cartridge lever is all the way up, then install each cartridge in the correct slot for its color. The arrow mark should be on top and pointing toward the printer. Push each cartridge in until it clicks. Cartridge lever 5 After you install all 4 cartridges, lower the cartridge lever to the locked position. 6 Close the cartridge cover. The printer starts charging the ink. This takes about 3 minutes. Caution: Don't turn off the printer or open any covers while it is charging or you'll waste ink. Note: The printer ships with full cartridges and part of the ink from this first set of cartridges is used for charging the printer.
-
 1
1 -
 2
2 -
 3
3 -
 4
4 -
 5
5 -
 6
6 -
 7
7 -
 8
8
 |
 |