Epson CX5800F Start Here Card
Epson CX5800F - Stylus Color Inkjet Manual
 |
UPC - 010343856264
View all Epson CX5800F manuals
Add to My Manuals
Save this manual to your list of manuals |
Epson CX5800F manual content summary:
- Epson CX5800F | Start Here Card - Page 1
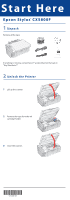
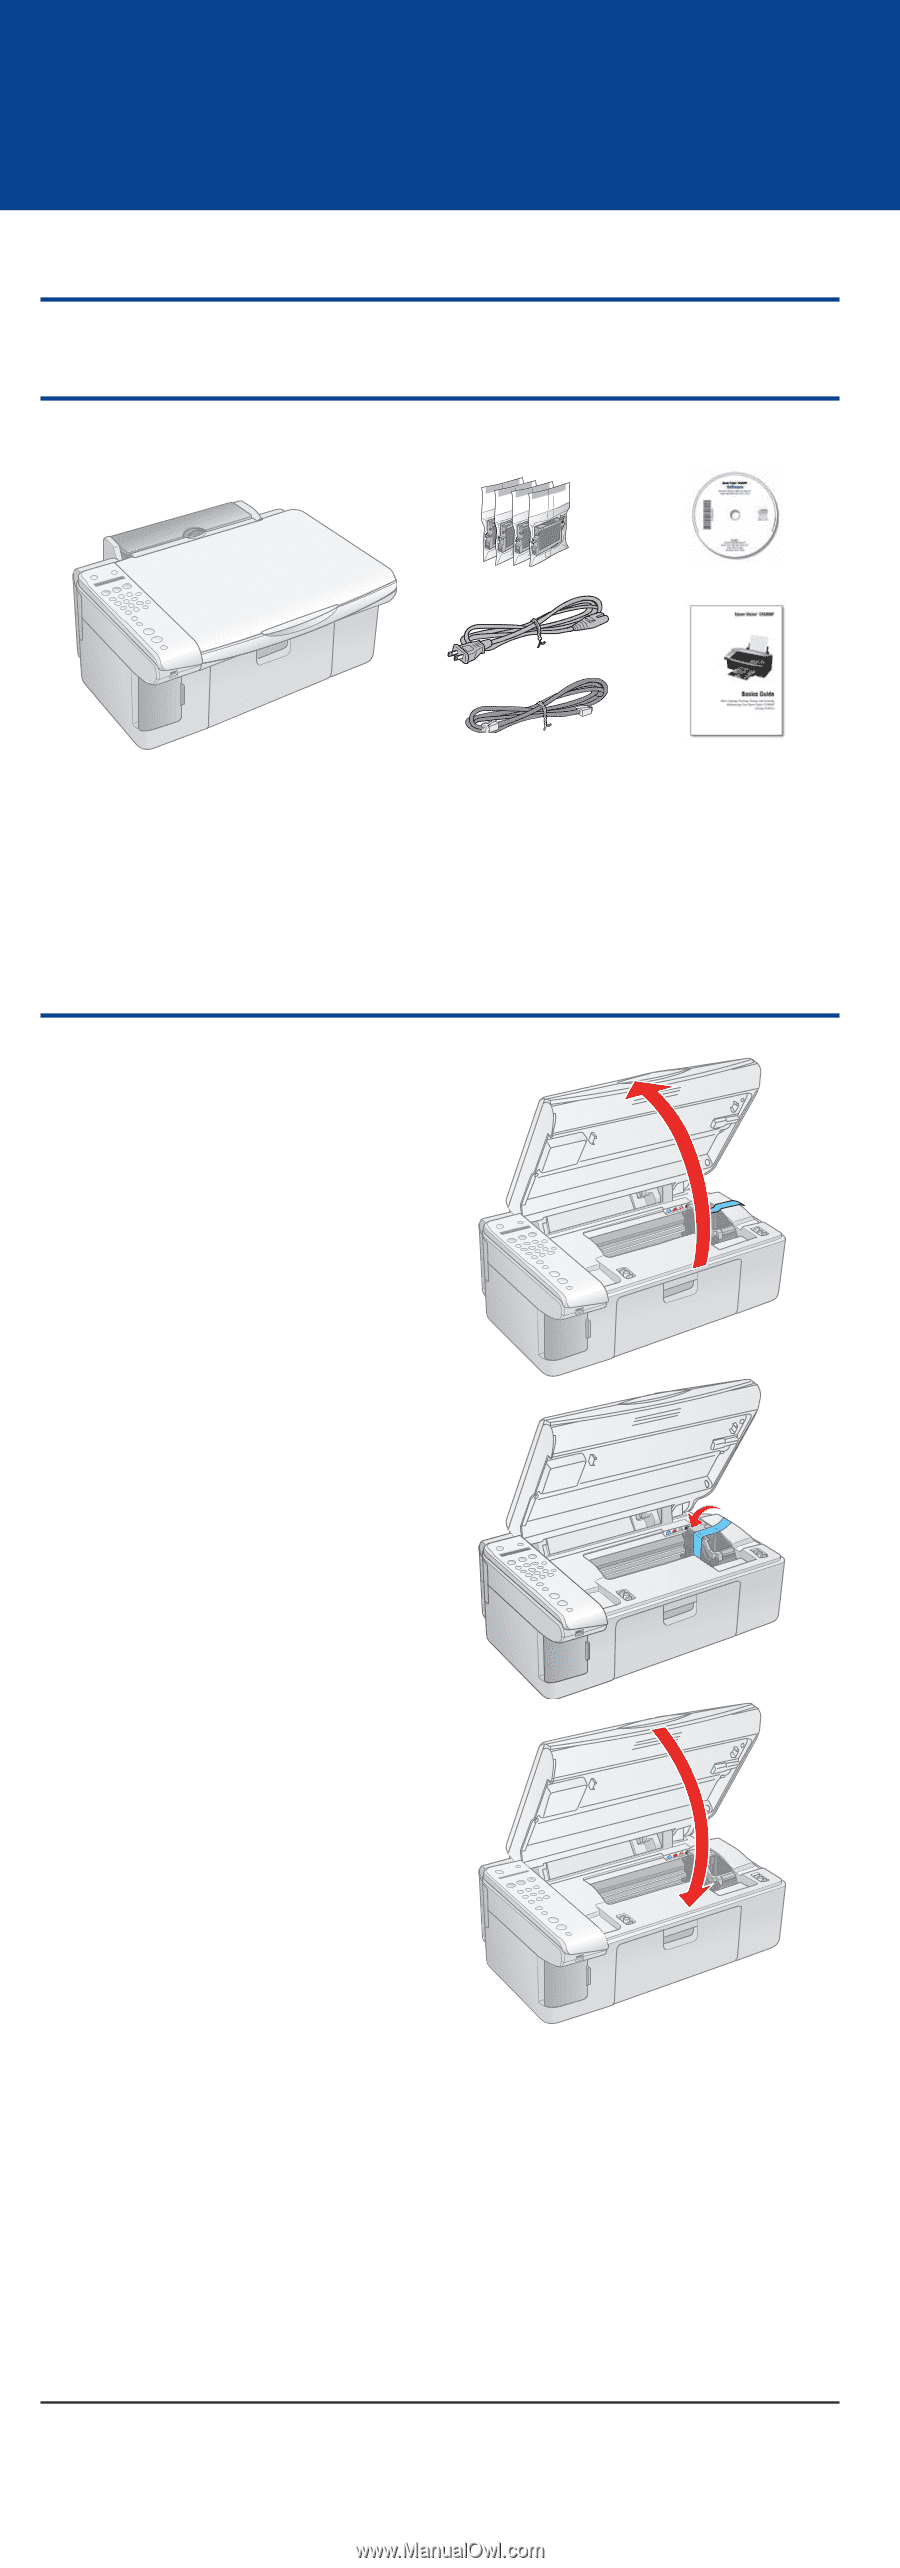
Start Here Ep s o n St y l u s® C X 5 8 0 0 F 1 Unpack Remove all the tape. If anything is missing, contact Epson® as described on the back in "Any Questions?". 2 Unlock the Printer 1 Lift up the scanner. 2 Remove the tape from the ink cartridge holder. 3 Close the scanner. *410409100* *410409100* - Epson CX5800F | Start Here Card - Page 2
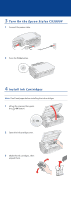
On the Epson Stylus CX5800F 1 Connect the power cable. 2 Press the On button. 4 Install Ink Cartridges Note: Don't load paper before installing the ink cartridges. 1 Lift up the scanner, then press the OK button. Start Color OK 2 Open the ink cartridge cover. 3 Shake the ink cartridges, then unpack - Epson CX5800F | Start Here Card - Page 3
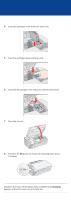
for each color. 5 Press the cartridges down until they click. 6 Close the ink cartridge cover and press it down until it clicks. 7 Close the scanner. 8 Press the OK button to charge ink. Charging takes about 2 minutes. Start Color OK Caution: Don't turn off the Epson Stylus CX5800F while Charging - Epson CX5800F | Start Here Card - Page 4
. 2 Open the output tray and pull out its extension. Paper support 3 Flip the feeder guard forward. Output tray 4 Slide the edge guide left. 5 Load paper against the right edge guide and slide the left edge guide over. Letter size 6 Flip the feeder guard back. 4 x 6-inch or 5 x 7-inch - Epson CX5800F | Start Here Card - Page 5
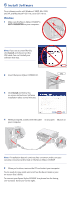
sure you securely connected and turned on the Epson Stylus CX5800F. 5 When you're done, remove the CD and restart your computer. You're ready to copy, print, and scan! See the Basics Guide or your on-screen User's Guide. To connect your Epson Stylus CX5800F to a phone line for faxing, see "Connect - Epson CX5800F | Start Here Card - Page 6
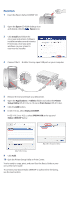
USB at the top and Stylus CX5800F below. Mac OS X 10.2.x to 10.3.x Mac® OS X 10.4.x 9 Click Add. 10 Quit the Printer Setup Utility or Print Center. You're ready to copy, print, and scan! See the Basics Guide or your on-screen User's Guide. To connect your Epson Stylus CX5800F to a phone line for - Epson CX5800F | Start Here Card - Page 7
connect a telephone or answering machine, see the Basics Guide for instructions. Connect the phone cable leading from your telephone wall jack to the LINE port on the back of the Epson Stylus CX5800F. LINE SB EXT. Note: If you connected the Epson Stylus CX5800F to a DSL phone line, you must install - Epson CX5800F | Start Here Card - Page 8
CX5800F. On-screen User's Guide Double-click the desktop shortcut for easy access to Epson Stylus CX5800F information. On-screen help with your software Select Help or ? when you're using your software. Epson Technical Support World Wide Web http://support.epson.com Automated Telephone Services
-
 1
1 -
 2
2 -
 3
3 -
 4
4 -
 5
5 -
 6
6 -
 7
7 -
8
 |
 |
1
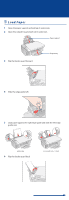
Unpack
Remove all the tape.
If anything is missing, contact Epson® as described on the back in
“Any Questions?”.
2
Unlock the Printer
1
Lift up the scanner.
2
Remove the tape from the ink
cartridge holder.
3
Close the scanner.
*410409100*
*410409100*
Epson Stylus
®
CX5800F
Start Here