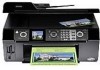
Epson CX9400Fax Start Here
Epson CX9400Fax - Stylus Color Inkjet Manual
 |
UPC - 010343865815
View all Epson CX9400Fax manuals
Add to My Manuals
Save this manual to your list of manuals |
Epson CX9400Fax manual content summary:
- Epson CX9400Fax | Start Here - Page 1
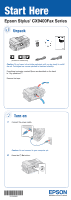
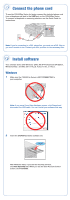
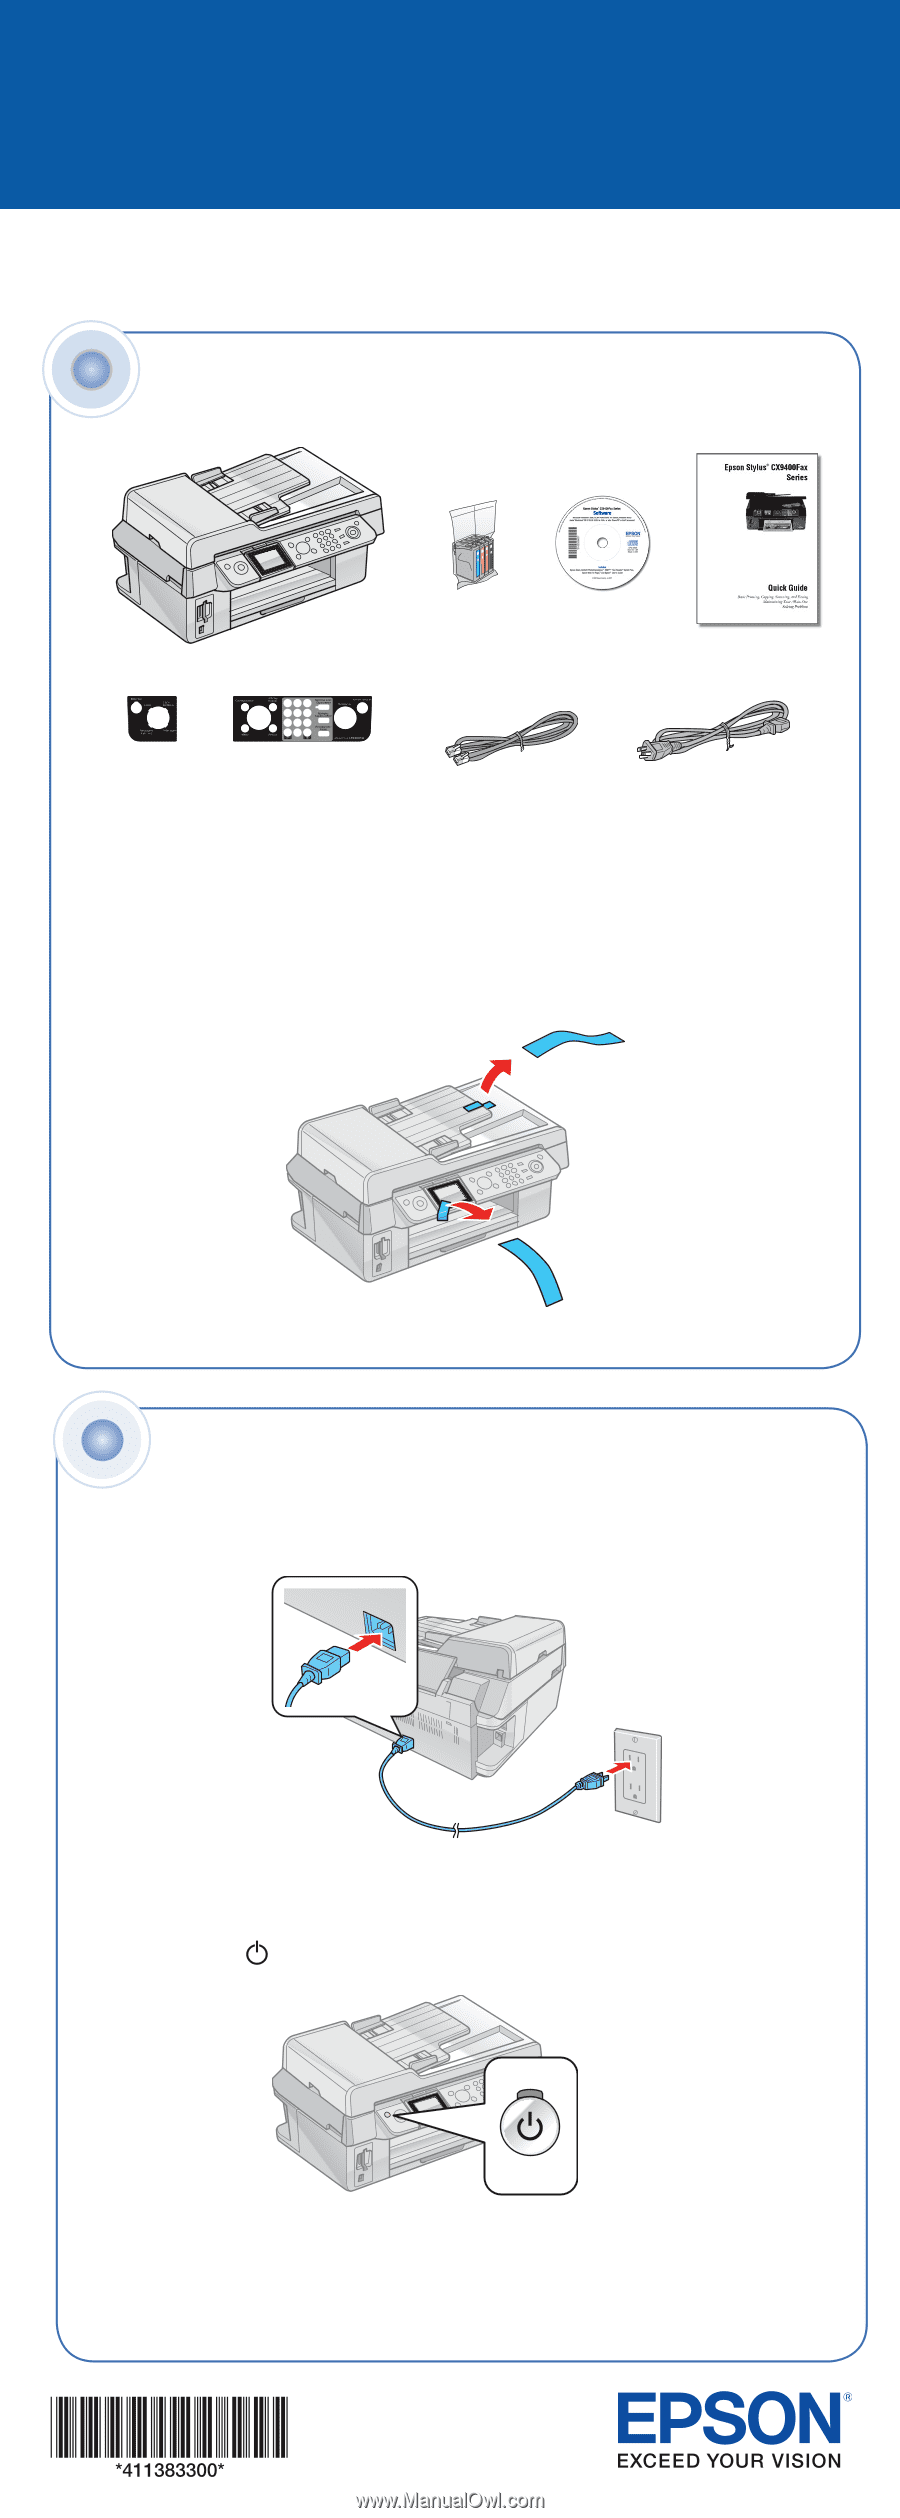
Start Here Epson Stylus® CX9400Fax Series 1 Unpack (Included for Canada only) Caution: Do not open ink cartridge packages until you are ready to install the ink. Cartridges are vacuum packed to maintain reliability. If anything is missing, contact Epson as described on the back in "Any questions?". - Epson CX9400Fax | Start Here - Page 2
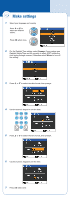
3 Make settings 1 Select your language and country. Press or to select the desired option. Press OK when done. 2 For the Daylight Time setting, select Summer if your region uses Daylight Saving Time and it's currently in effect. (DST is effective from spring through summer.) Otherwise select Winter - Epson CX9400Fax | Start Here - Page 3
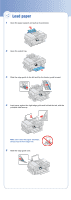
4 Install ink cartridges Note: Don't load paper before installing the ink cartridges. 1 Lift up the scanner. 2 Open the cartridge cover. 3 Shake the ink cartridges, then unpack them. 4 Remove only the yellow tape from each cartridge. Caution: Don't remove any other seals from the cartridges. 5 - Epson CX9400Fax | Start Here - Page 4
5 Load paper 1 Open the paper support and pull up its extension. 2 Open the output tray. 3 Slide the edge guide to the left and flip the feeder guard forward. 4 Load paper against the right edge guide and behind the tab, with the printable side face up. Note: Don't load the paper sideways; always - Epson CX9400Fax | Start Here - Page 5
the CX9400Fax Series. To connect a telephone or answering machine, see the Quick Guide for instructions. Note: If you're connecting to a DSL phone line, you must use a DSL filter or you won't be able to fax. Contact your DSL provider for the necessary filter. 7 Install software Your software works - Epson CX9400Fax | Start Here - Page 6
remove the CD. You're ready to print, copy, scan, and fax! See your Quick Guide or on-screen User's Guide. Macintosh® 1 Insert the CX9400Fax Series software CD. 2 Double-click the Epson icon. 3 Click Install and follow the on-screen instructions. 4 When prompted, connect the USB cable. Use any open - Epson CX9400Fax | Start Here - Page 7
? Quick Guide Basic instructions for printing, copying, scanning, and faxing. On-screen Epson Information Center Click the desktop shortcut for easy access to the CX9400Fax Series User's Guide, FAQs, online troubleshooting advice, and software downloads. You can also purchase paper and ink. On - Epson CX9400Fax | Start Here - Page 8
it with you when purchasing replacement ink cartridges. Printed in XXXXXX Epson® CX9400Fax Series Ink Cartridges 69 Black 69 Magenta 69 Cyan 69 Yellow 68 High Capacity 68 black cartridges are also available at www.epson.com/highcapacity (U.S. sales) or www.epson.ca (Canadian sales) or at your
-
 1
1 -
 2
2 -
 3
3 -
 4
4 -
 5
5 -
 6
6 -
 7
7 -
8
 |
 |
Caution:
Do not open ink cartridge packages until you are ready to install
the ink. Cartridges are vacuum packed to maintain reliability.
If anything is missing, contact Epson as described on the back
in “Any questions?”.
Remove the tape.
Unpack
1
Start Here
(Included for Canada only)
Epson Stylus
®
CX9400Fax Series
1
Connect the power cable.
Caution:
Do not connect to your computer yet.
2
Press the
On
button.
Turn on
2