Epson PictureMate Dash Start Here - Page 5
Install a Memory Card - review
 |
UPC - 683728127114
View all Epson PictureMate Dash manuals
Add to My Manuals
Save this manual to your list of manuals |
Page 5 highlights
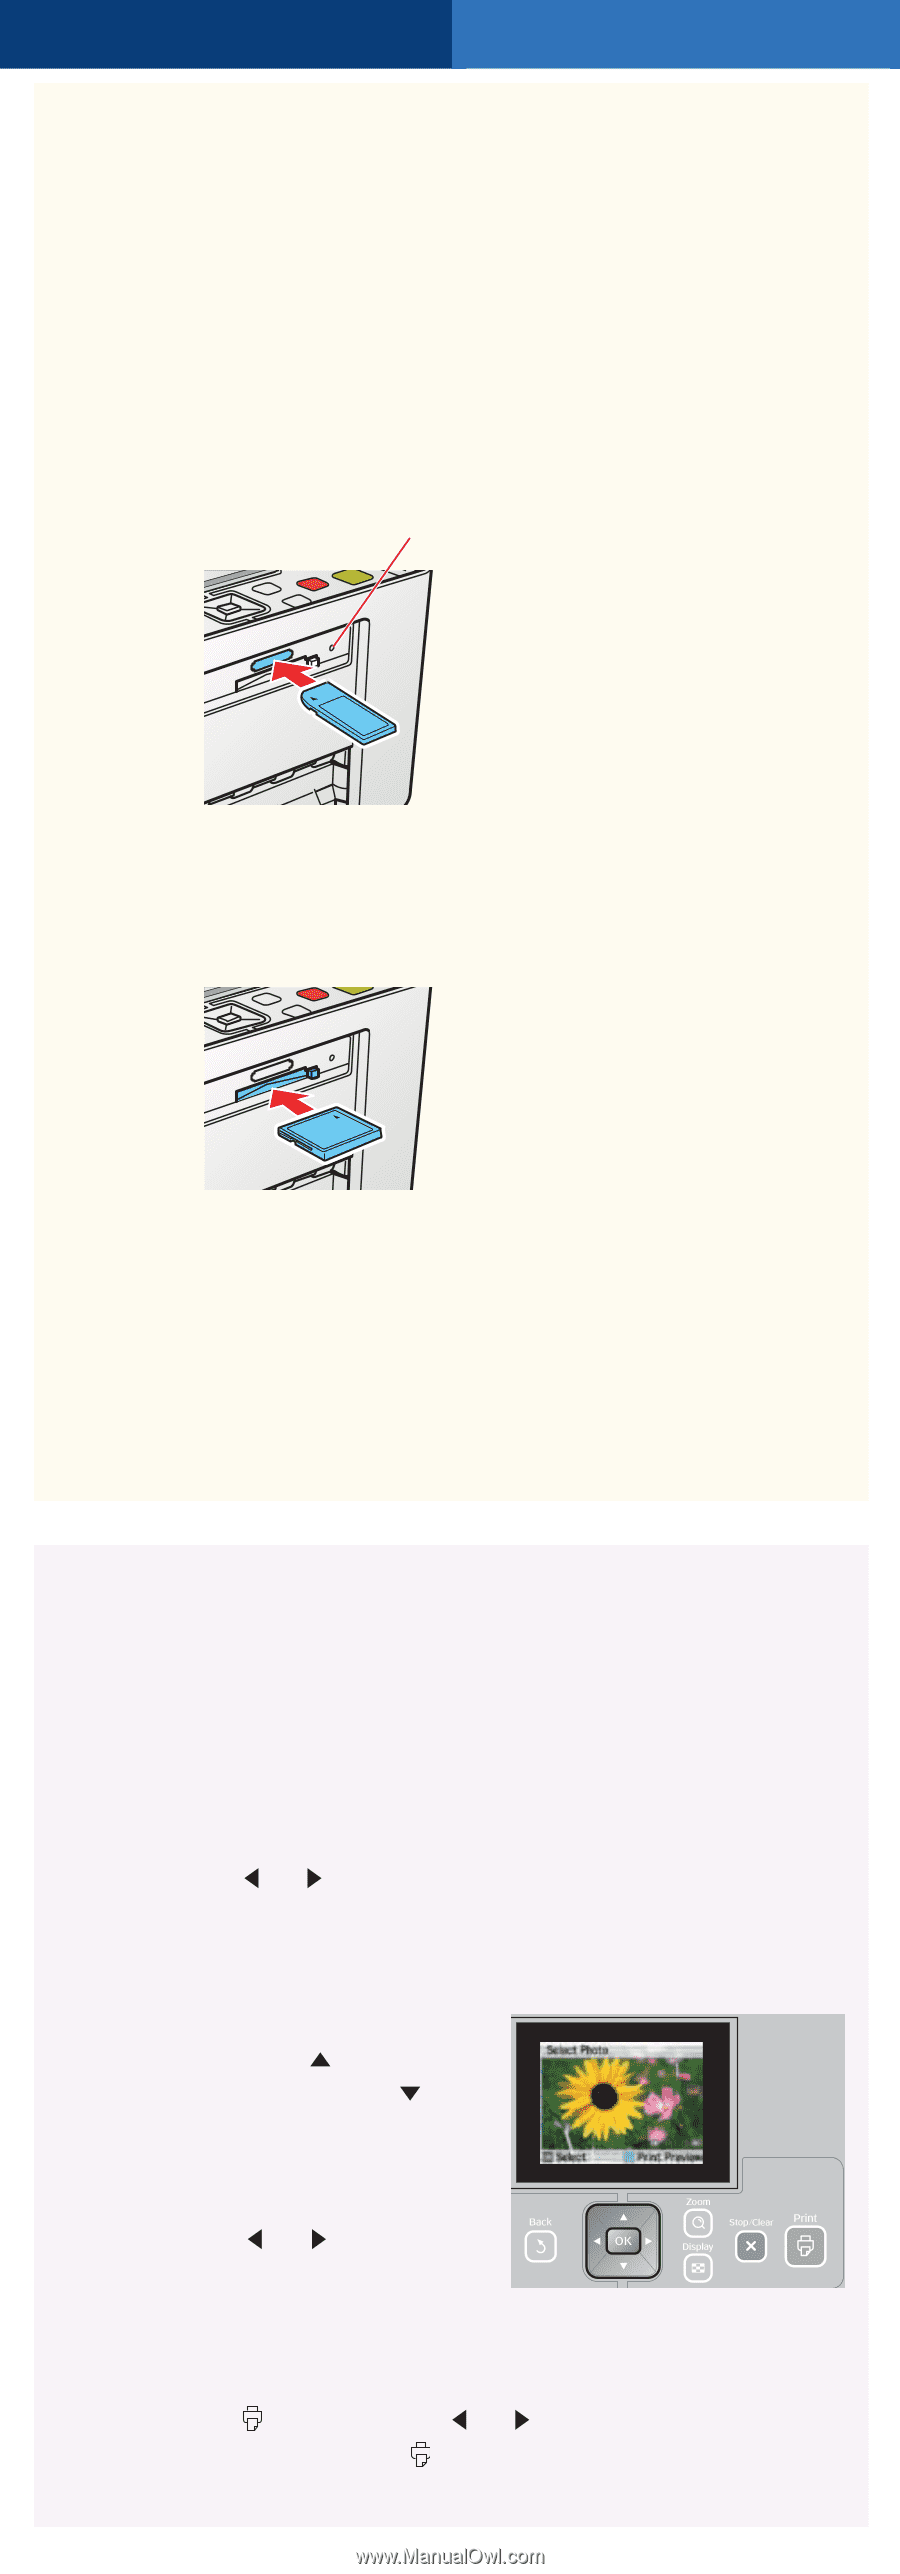
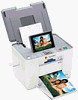
5 Insert a Memory Card 1 Remove the memory card containing photos from your digital camera. 2 Insert your memory card into the correct slot on PictureMate. Memory card light SD™ (Secure Digital) SDHC™ (High Capacity) mini SD™ * Top mini SDHC * micro SD * micro SDHC * MMC™ (MultiMediaCard™) xD Picture Card™ xD Picture Card (Type M and Type H) Sony Memory Stick® ** Memory Stick Duo™ * Memory Stick Micro * Memory Stick PRO™ Memory Stick PRO Duo™ * MagicGate™ Memory Stick ** MagicGate Memory Stick Duo™ * Microdrive™ CompactFlash® (Type I and II) Bottom * Adapter required ** Maximum capacity 128MB 3 Push the card in until it stops (it won't go in all the way). The memory card light flashes and PictureMate tells you how many photos are on the card. Note: Insert just one card at a time. PictureMate will not read multiple cards at once. 6 Print Your Photos PictureMate's photo viewer screen makes it easy to select the photos you want to print, choose a layout, and even crop. Select Some Photos 1 Press or to view your photos. 2 Press OK to select a photo for printing. 3 To print more than one copy, press to increase the number. Press to decrease it. 4 To select more photos, press or to view them and press OK to select one. Repeat step 3 to select more copies, if necessary. 5 Press Print and use or to review your selected photos. Then press Print again to print.
-
 1
1 -
 2
2 -
 3
3 -
 4
4 -
 5
5 -
 6
6
 |
 |