Epson PictureMate Show - PM 300 Start Here
Epson PictureMate Show - PM 300 - PictureMate Show Digital Frame Manual
 |
View all Epson PictureMate Show - PM 300 manuals
Add to My Manuals
Save this manual to your list of manuals |
Epson PictureMate Show - PM 300 manual content summary:
- Epson PictureMate Show - PM 300 | Start Here - Page 1
book and your CD after completing these steps. 1 Unpack PictureMate Show™ comes with all these items in the box. PictureMate Basics book Printer Software CD Output tray PictureMate photo paper Initial PictureMate photo cartridge Remote control Power adapter Power cable 1 Remove all the - Epson PictureMate Show - PM 300 | Start Here - Page 2
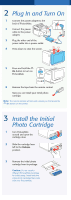
work unless you first press the On button on the printer. 3 Install the Initial Photo Cartridge 1 Turn PictureMate around and open the cartridge door. 2 Slide the cartridge lever left to the Release position. 3 Remove the initial photo cartridge from its package. Caution: Do not install a different - Epson PictureMate Show - PM 300 | Start Here - Page 3
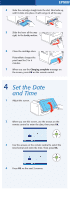
it clicks into place. It will not go in all the way. 5 Slide the lever all the way right, to the Lock position. 6 Close the cartridge door. PictureMate charges the print head for 3 to 4 minutes. 7 When you see the Charging complete message on the screen, press OK on the remote control. 4 Set - Epson PictureMate Show - PM 300 | Start Here - Page 4
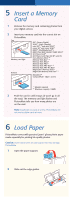
will not read multiple cards at once. 6 Load Paper PictureMate comes with genuine Epson® glossy photo paper made especially for printing lab quality photos. Caution: Don't load or print on plain paper; this may damage PictureMate. 1 Open the paper support. 2 Slide out the edge guides. - Epson PictureMate Show - PM 300 | Start Here - Page 5
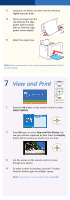
the glossy side up. Slide the edge guides inward slightly. 5 Attach the output tray. Note: Keep unused paper in the original package and store it flat to prevent curling. 7 View and Print 1 Press the OK button on the remote control to select PRINT PHOTOS. 2 Press OK again to select View and - Epson PictureMate Show - PM 300 | Start Here - Page 6
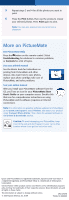
photos, replace your photo cartridge, take care of PictureMate, and solve problems. See your online manual After you install your PictureMate software from the CD, you'll see an icon for your PictureMate Show User's Guide on your computer screen. Double-click that icon for comprehensive instructions
-
 1
1 -
 2
2 -
 3
3 -
 4
4 -
 5
5 -
 6
6
 |
 |
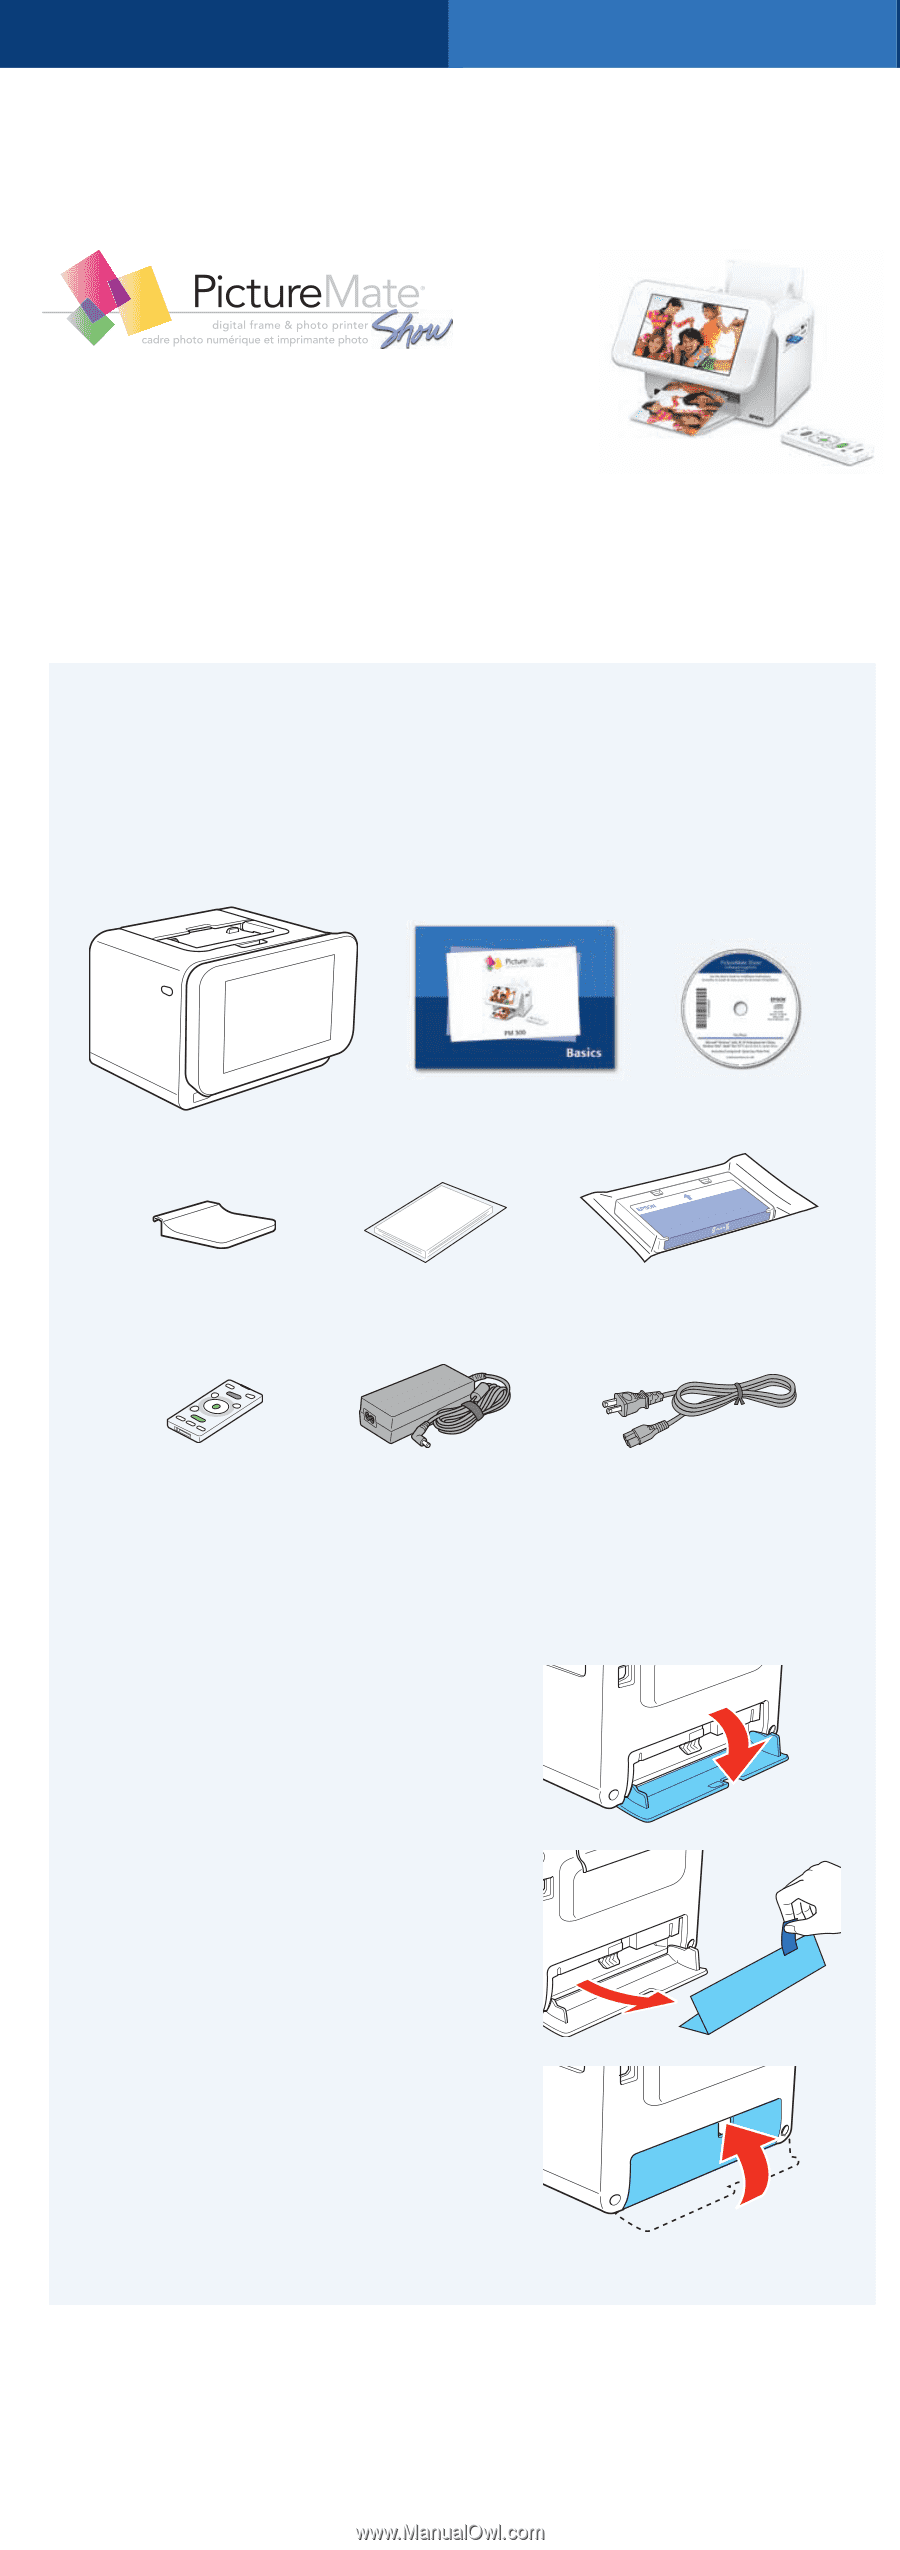
1
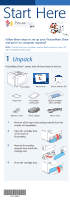
Unpack
PictureMate Show™ comes with all these items in the box.
1
Remove all the tape and packing material from the
outside of PictureMate.
2
Open the cartridge door
on the back of
PictureMate.
3
Remove the packing
material from inside the
cartridge slot.
4
Close the cartridge door.
*411718800*
*411718800*
Start Here
Follow these steps to set up your PictureMate Show
and print–no computer required!
Note:
To print from your computer, see the
Basics
book and your CD
after completing these steps.
PictureMate
Initial PictureMate
photo cartridge
PictureMate
photo paper
Basics
book
Printer Software
CD
Power adapter
Power cable
Remote control
Output tray