Epson PowerLite Pro Cinema 6040UB Users Guide - Page 76
Available Picture in Picture Options, Adjusting the Color Convergence (Panel Alignment)
 |
View all Epson PowerLite Pro Cinema 6040UB manuals
Add to My Manuals
Save this manual to your list of manuals |
Page 76 highlights
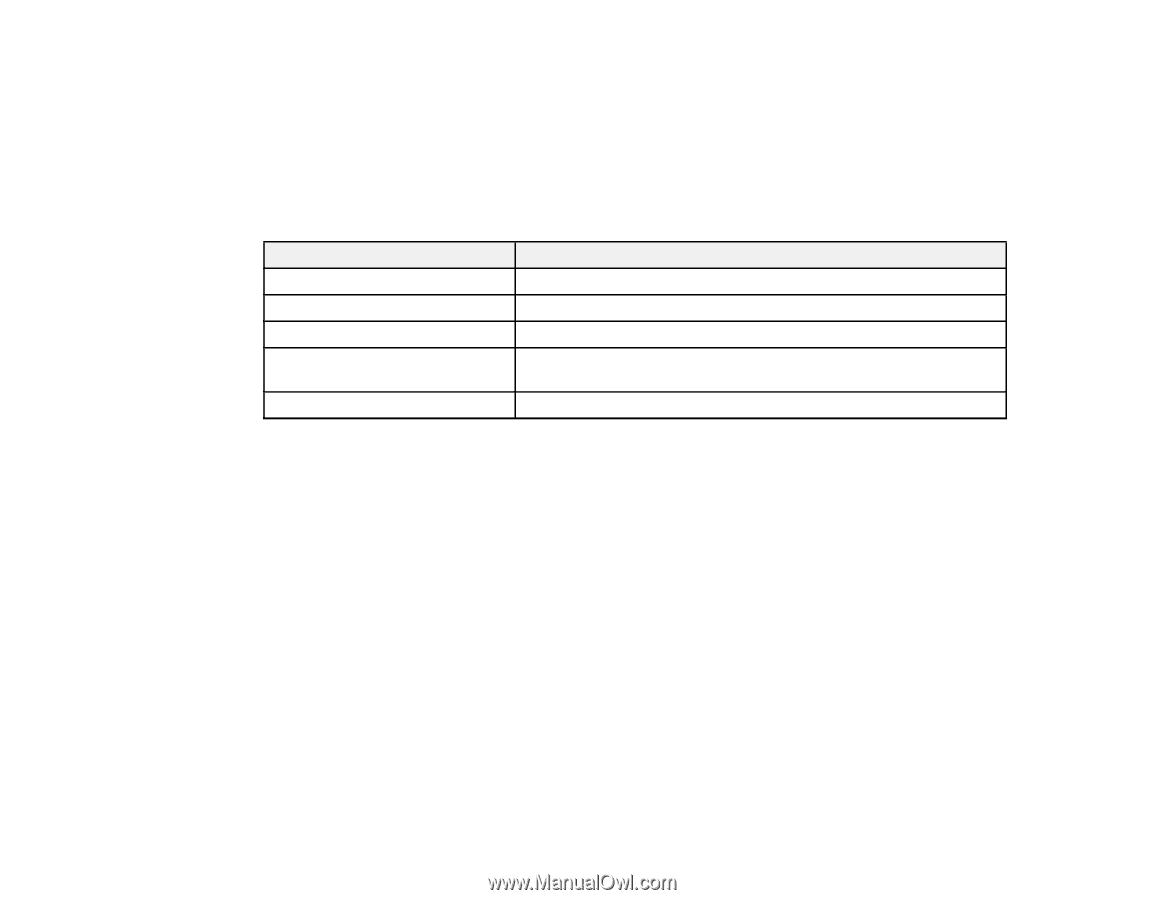
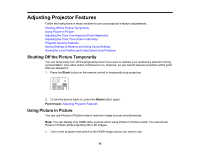
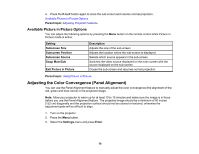
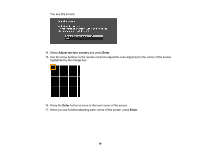
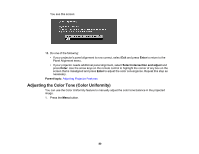
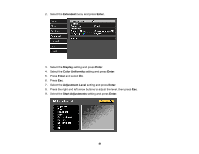
4. Press the P-in-P button again to close the sub-screen and resume normal projection. Available Picture in Picture Options Parent topic: Adjusting Projector Features Available Picture in Picture Options You can adjust the following options by pressing the Menu button on the remote control while Picture in Picture mode is active: Setting Subscreen Size Subscreen Position Subscreen Source Swap Main/Sub Exit Picture in Picture Description Adjusts the size of the sub-screen Adjusts the location where the sub-screen is displayed Selects which source appears in the sub-screen Switches the video source displayed on the main screen with the source displayed on the sub-screen Closes the sub-screen and resumes normal projection Parent topic: Using Picture in Picture Adjusting the Color Convergence (Panel Alignment) You can use the Panel Alignment feature to manually adjust the color convergence (the alignment of the red, green and blue colors) in the projected image. Note: Allow your projector to warm up for at least 10 to 15 minutes and make sure the image is in focus before you use the Panel Alignment feature. The projected image should be a minimum of 60 inches (152 cm) diagonally and the projection surface should not be colored or textured, otherwise the adjustment grids will be difficult to align. 1. Turn on the projector. 2. Press the Menu button. 3. Select the Settings menu and press Enter. 76
-
 1
1 -
2
-
3
-
4
-
5
-
6
-
7
-
8
-
9
-
10
-
11
-
12
-
13
-
14
-
15
-
16
-
17
-
18
-
19
-
20
-
21
-
22
-
23
-
24
-
25
-
26
-
27
-
28
-
29
-
30
-
31
-
32
-
33
-
34
-
35
-
36
-
37
-
38
-
39
-
40
-
41
-
42
-
43
-
44
-
45
-
46
-
47
-
48
-
49
-
50
-
51
-
52
-
53
-
54
-
55
-
56
-
57
-
58
-
59
-
60
-
61
-
62
-
63
-
64
-
65
-
66
-
67
-
68
-
69
-
70
-
 71
71 -
 72
72 -
 73
73 -
 74
74 -
 75
75 -
 76
76 -
 77
77 -
 78
78 -
 79
79 -
 80
80 -
 81
81 -
82
-
83
-
84
-
85
-
86
-
87
-
88
-
89
-
90
-
91
-
92
-
93
-
94
-
95
-
96
-
97
-
98
-
99
-
100
-
101
-
102
-
103
-
104
-
105
-
106
-
107
-
108
-
109
-
110
-
111
-
112
-
113
-
114
-
115
-
116
-
117
-
118
-
119
-
120
-
121
-
122
-
123
-
124
-
125
-
126
-
127
-
128
-
129
-
130
-
131
-
132
-
133
-
134
-
135
-
136
-
137
-
138
-
139
-
140
-
141
-
142
-
143
-
144
-
145
-
146
-
147
-
148
-
149
-
150
-
151
-
152
-
153
-
154
-
155
-
156
-
157
-
158
-
159
-
160
-
161
-
162
-
163
-
164
-
165
-
166
-
167
-
168
-
169
-
170
-
171
-
172
-
173
-
174
-
175
-
176
-
177
-
178
-
179
-
180
-
181
-
182
-
183
-
184
-
185
-
186
-
187
-
188
-
189
-
190
-
191
-
192
-
193
-
194
-
195
-
196
-
197
-
198
-
199
-
200
-
201
-
202
-
203
-
204
-
205
-
206
-
207
-
208
 |
 |