Epson Stylus Pro 4880 ColorBurst Edition Printer Guide - Page 120
Start Here, Make sure the print head is in the home far right position. Then lock
 |
View all Epson Stylus Pro 4880 ColorBurst Edition manuals
Add to My Manuals
Save this manual to your list of manuals |
Page 120 highlights
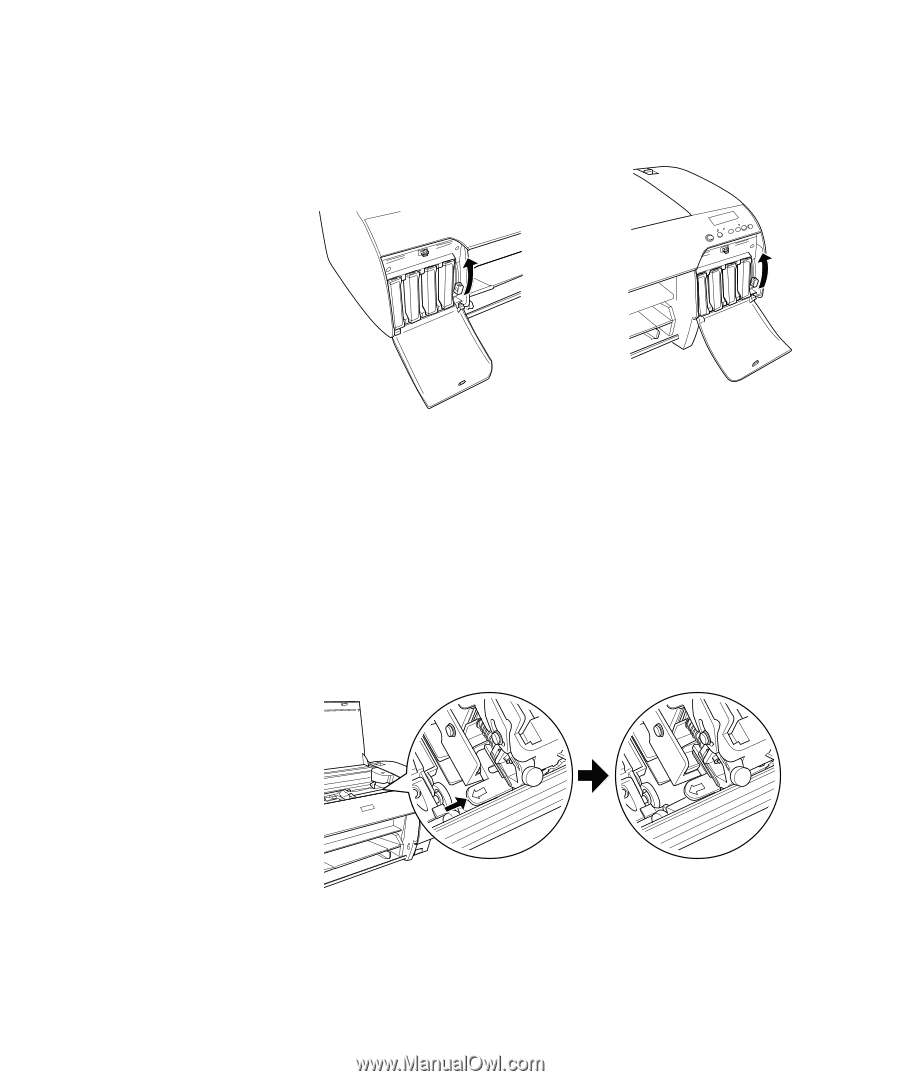
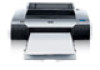
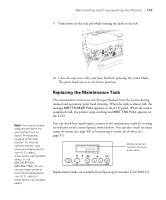
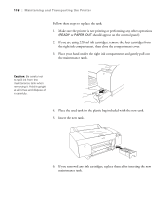
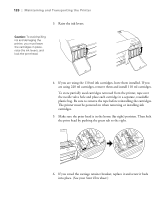
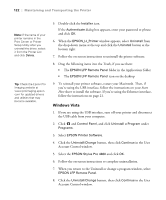
120 | Maintaining and Transporting the Printer 3. Raise the ink levers. Caution: To avoid spilling ink and damaging the printer, you must leave the cartridges in place, raise the ink levers, and lock the print head. 4. If you are using the 110 ml ink cartridges, leave them installed. If you are using 220 ml cartridges, remove them and install 110 ml cartridges. To store partially used cartridges removed from the printer, tape over the needle valve hole and place each cartridge in a separate, resealable plastic bag. Be sure to remove the tape before reinstalling the cartridges. The printer must be powered on when removing or installing ink cartridges. 5. Make sure the print head is in the home (far right) position. Then lock the print head by pushing the green tab to the right. 6. If you saved the carriage retainer bracket, replace it and screw it back into place. (See your Start Here sheet.) 120
-
 1
1 -
2
-
3
-
4
-
5
-
6
-
7
-
8
-
9
-
10
-
11
-
12
-
13
-
14
-
15
-
16
-
17
-
18
-
19
-
20
-
21
-
22
-
23
-
24
-
25
-
26
-
27
-
28
-
29
-
30
-
31
-
32
-
33
-
34
-
35
-
36
-
37
-
38
-
39
-
40
-
41
-
42
-
43
-
44
-
45
-
46
-
47
-
48
-
49
-
50
-
51
-
52
-
53
-
54
-
55
-
56
-
57
-
58
-
59
-
60
-
61
-
62
-
63
-
64
-
65
-
66
-
67
-
68
-
69
-
70
-
71
-
72
-
73
-
74
-
75
-
76
-
77
-
78
-
79
-
80
-
81
-
82
-
83
-
84
-
85
-
86
-
87
-
88
-
89
-
90
-
91
-
92
-
93
-
94
-
95
-
96
-
97
-
98
-
99
-
100
-
101
-
102
-
103
-
104
-
105
-
106
-
107
-
108
-
109
-
110
-
111
-
112
-
113
-
114
-
 115
115 -
 116
116 -
 117
117 -
 118
118 -
 119
119 -
 120
120 -
 121
121 -
 122
122 -
 123
123 -
 124
124 -
 125
125 -
126
-
127
-
128
-
129
-
130
-
131
-
132
-
133
-
134
-
135
-
136
-
137
-
138
-
139
-
140
-
141
-
142
-
143
-
144
-
145
-
146
-
147
-
148
-
149
-
150
-
151
-
152
-
153
-
154
-
155
-
156
 |
 |