Epson Stylus Pro GS6000 Setup and User's Guide - Page 19
Setting Up the Printer, Assemble the left leg and base in the same way.
 |
View all Epson Stylus Pro GS6000 manuals
Add to My Manuals
Save this manual to your list of manuals |
Page 19 highlights
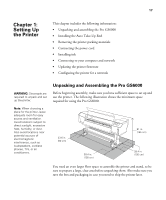
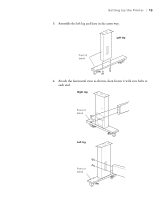
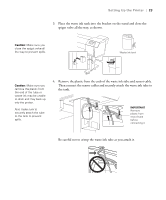
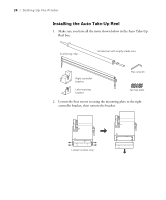
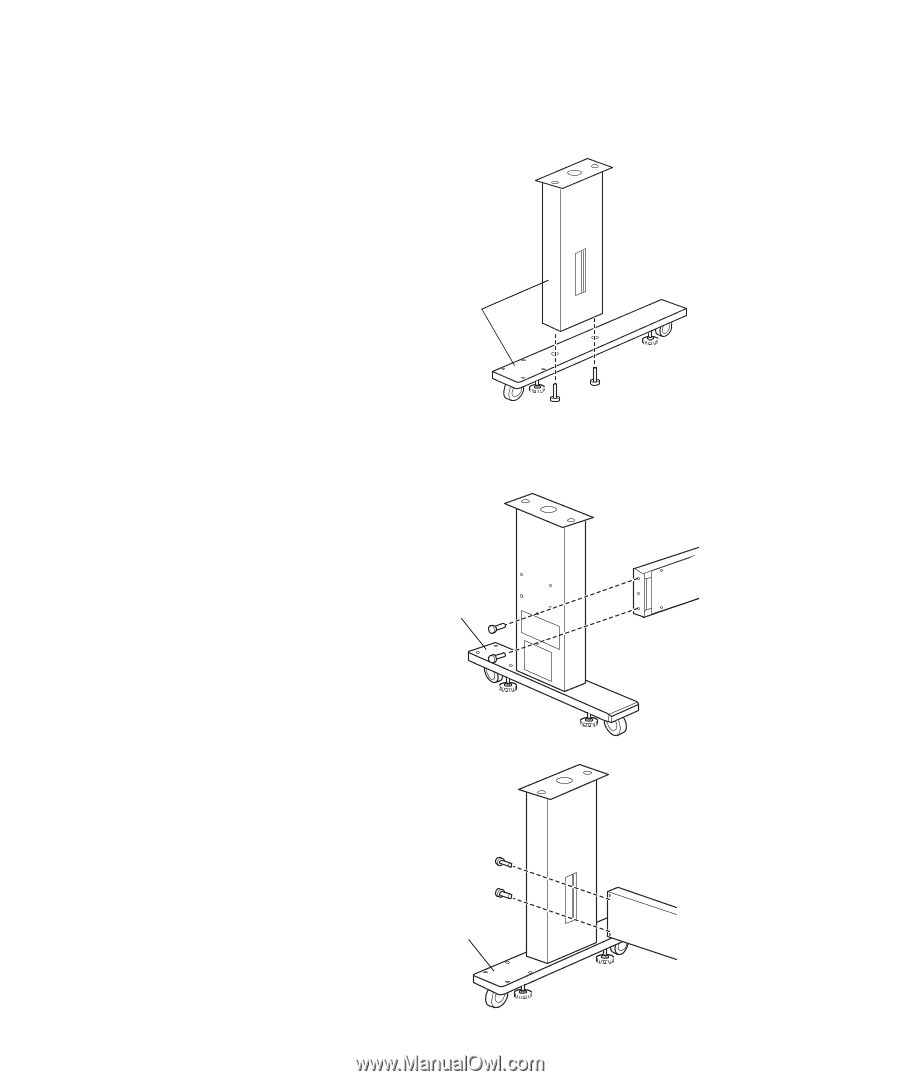
Setting Up the Printer | 19 3. Assemble the left leg and base in the same way. Left leg Front of stand 4. Attach the horizontal strut as shown, then fasten it with two bolts at each end. Right leg Front of stand Left leg Front of stand 19
-
 1
1 -
2
-
3
-
4
-
5
-
6
-
7
-
8
-
9
-
10
-
11
-
12
-
13
-
 14
14 -
 15
15 -
 16
16 -
 17
17 -
 18
18 -
 19
19 -
 20
20 -
 21
21 -
 22
22 -
 23
23 -
 24
24 -
25
-
26
-
27
-
28
-
29
-
30
-
31
-
32
-
33
-
34
-
35
-
36
-
37
-
38
-
39
-
40
-
41
-
42
-
43
-
44
-
45
-
46
-
47
-
48
-
49
-
50
-
51
-
52
-
53
-
54
-
55
-
56
-
57
-
58
-
59
-
60
-
61
-
62
-
63
-
64
-
65
-
66
-
67
-
68
-
69
-
70
-
71
-
72
-
73
-
74
-
75
-
76
-
77
-
78
-
79
-
80
-
81
-
82
-
83
-
84
-
85
-
86
-
87
-
88
-
89
-
90
-
91
-
92
-
93
-
94
-
95
-
96
-
97
-
98
-
99
-
100
-
101
-
102
-
103
-
104
-
105
-
106
-
107
-
108
-
109
-
110
-
111
-
112
-
113
-
114
-
115
-
116
-
117
-
118
-
119
-
120
-
121
-
122
-
123
-
124
-
125
-
126
-
127
-
128
 |
 |
19
Setting Up the Printer
|
19
3.
Assemble the left leg and base in the same way.
4.
Attach the horizontal strut as shown, then fasten it with two bolts at
each end.
Left leg
Front of
stand
Right leg
Front of
stand
Left leg
Front of
stand