Fluke Ti200 Manual - Page 37
Display Graphics Presentation, Logo, Outside/Inside Alarm
 |
View all Fluke Ti200 manuals
Add to My Manuals
Save this manual to your list of manuals |
Page 37 highlights
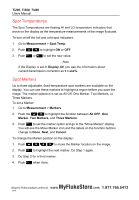
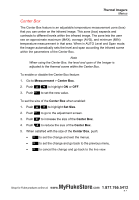
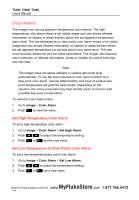
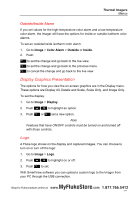
Thermal Imagers Menus Outside/Inside Alarm If you set values for the high-temperature color alarm and a low-temperature color alarm, the Imager will have the options for inside or outside isotherm color alarms. To set an outside/inside isotherm color alarm: 1. Go to Image > Color Alarm > Outside or Inside. 2. Push: to set the change and go back to the live view. to set the change and go back to the previous menu. to cancel the change and go back to the live view. Display Graphics Presentation The options for how you view the on-screen graphics are in the Display menu. These options are Display All, Details and Scale, Scale Only, and Image Only. To set the display: 1. Go to Image > Display. 2. Push / to highlight an option. 3. Push or set a new option. Note Features that have ON/OFF controls must be turned on and turned off with those controls. Logo A Fluke logo shows on the display and captured images. You can choose to turn on or turn off the logo: 1. Go to Image > Logo. 2. Push / to highlight on or off. 3. Push to set. With SmartView software you can upload a custom logo to the Imager from your PC through the USB connection. MyFlukeStore Shop for Fluke products online at: www. .com 1.877.766.543112
-
 1
1 -
2
-
3
-
4
-
5
-
6
-
7
-
8
-
9
-
10
-
11
-
12
-
13
-
14
-
15
-
16
-
17
-
18
-
19
-
20
-
21
-
22
-
23
-
24
-
25
-
26
-
27
-
28
-
29
-
30
-
31
-
 32
32 -
 33
33 -
 34
34 -
 35
35 -
 36
36 -
 37
37 -
 38
38 -
 39
39 -
 40
40 -
 41
41 -
 42
42 -
43
-
44
-
45
-
46
-
47
-
48
-
49
-
50
-
51
-
52
-
53
-
54
 |
 |