Haier HGRA241AAWW User Manual
Haier HGRA241AAWW - HGRA1AAWW 20" Gas Range Mono-Chromatic Manual
 |
View all Haier HGRA241AAWW manuals
Add to My Manuals
Save this manual to your list of manuals |
Haier HGRA241AAWW manual content summary:
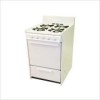
- Haier HGRA241AAWW | User Manual - Page 1
Gas Range User Manual Quality • Innovation • Style - Haier HGRA241AAWW | User Manual - Page 2
AND/OR PARTS When your range does not operate in accordance with the instructions in the manual, you should contact the dealer in the immediate vicinity for service. Or, the purchaser may contact the service organization noted on the warranty. IMPORTANT TO THE OWNER OF THE RANGE: Retain this owner - Haier HGRA241AAWW | User Manual - Page 3
24-25 Cleaning the Range 26-27 Lift-Off Doors 28 Trouble Shooting Guide 29 Wiring Diagrams 30-31 Note: For warranty and service information, please see back cover of this manual. If the information in this manual is not followed exactly, WARNING ! a fire or explosion may result causing - Haier HGRA241AAWW | User Manual - Page 4
cause severe burns. Before using this new appliance, carefully read and follow all instructions. ! WARNING The California Safe Drinking Water qualified technician and an authorized repair service. Have the technician familiarize you with the locations of the manual gas shut off valve and gas meter - Haier HGRA241AAWW | User Manual - Page 5
may cause the range to tip, resulting in serious burns or other injury. • USER SERVICING: Do not repair or replace any part of the appliance unless specifically recommended in this owner's guide. All other servicing should be done only by a qualified technician. This will reduce the risk of personal - Haier HGRA241AAWW | User Manual - Page 6
oven and may cause carbon monoxide poisoning. Aluminum foil linings may also trap heat, causing a fire hazard. Refer to the cleaning section of this manual for more information on the use of aluminum foil. • Placement of oven racks: Always place an oven rack in the desired location while the oven - Haier HGRA241AAWW | User Manual - Page 7
break it touched with a damp cloth. Disconnect the electrical service cord or shut off the power to the oven before fan could catch fire. Refer to the hood manufacturer's instructions for cleaning. • Do not use a "cyclonic" appliance or at another location. Connectors must comply with ANSI Z21.24. - Haier HGRA241AAWW | User Manual - Page 8
to service or move it. NOTE: The instructions appearing in this owner's guide are not meant to cover every possible condition and situation that may occur. Common sense and caution must be practiced when operating and maintaining any appliance - Haier HGRA241AAWW | User Manual - Page 9
of Massachusetts. NOTICE: Massachusetts law requires the following: • Appliances must be installed by a licensed plumber or gas fitter. • Appliances must be connected with three (3) foot (36" maximum length) flexible gas connector and • A "T" handle type manual gas valve in the gas supply line to - Haier HGRA241AAWW | User Manual - Page 10
piping system during any pressure testing of that system at test pressures in excess of 1/2 psig. The appliance must be isolated from the gas supply piping system by closing its individual manual shut-off valve during any pressure testing of the gas supply piping system at test pressures equal to - Haier HGRA241AAWW | User Manual - Page 11
BACKGUARD INSTALLATION INSTRUCTIONS Gas Ranges A. Remove main top. B. Place the backguard on top of end panels at the rear of range. C. Connect the "disconnect plug", for power to - Haier HGRA241AAWW | User Manual - Page 12
WALL CLEARANCES All units must be installed in accordance to minimum rear and side wall clearance and clearances extended vertically above cooking top which are stated on the serial plate. (The serial plate is located below the cooktop.) ANY OPENINGS IN THE WALL BEHIND THE UNIT AND IN THE FLOOR - Haier HGRA241AAWW | User Manual - Page 13
are not covered under the warranty. Any expenses incurred due to such situations will not be paid by the manufacturer of the appliance. Gas Range Conversion and Adjustment Guide The range will either be set for use with Liquefied Petroleum (LP) or Natural Gas. The factory setting is indicated on the - Haier HGRA241AAWW | User Manual - Page 14
To Convert and/or Adjust 1. Convertible Pressure Regulator The inlet pressure of the gas supply shall be in accordance with the nominal inlet pressure of the regulator used on the range or 1/2 psig maximum. The range should be tested by pressurizing the regulator with an inlet pressure at least 1 - Haier HGRA241AAWW | User Manual - Page 15
ALIGNMENTS AND ADJUSTMENTS, Continued 2. Gas System Operating Characteristics Cooking on your new gas range may differ slightly than on previous ranges because of a new system designed to better regulate temperature control. Most ovens have a burner that cycles on then off to maintain an average - Haier HGRA241AAWW | User Manual - Page 16
ALIGNMENTS AND ADJUSTMENT, Continued ! WARNING Keep appliance area clear and free from combustible materials, for sealed burner models that employ an ignitor for each burner. (See page 13 in the Owner's Manual.) To ignite the burner, depress and turn the valve knob 90 degrees to the left to the - Haier HGRA241AAWW | User Manual - Page 17
push it down. Supply enough force with the palm of you hand to accomplish this adjustment. To raise, pull up on the burner support at the center of the support. 5. Oven Control (Thermostat) The oven control has a flame safety device built into the body of the thermostat. Presence of a gas ignition - Haier HGRA241AAWW | User Manual - Page 18
ALIGNMENTS AND ADJUSTMENT, Continued Oven Pilot The oven pilot is located along the left hand side of the oven burner. It is fastened under the flame safety probe. The flame of the oven pilot ignites main burner gas when the oven is turned on. If the pilot flame is not present, the flame safety - Haier HGRA241AAWW | User Manual - Page 19
on the injector elbow and the front is bolted onto the burner support. 5. The spark ignitor is defective. Contact an authorized service technician. 6. The glow bar ignitor is defective. Contact an authorized service technician. 6. Oven Burner Air Shutter Adjustment The oven burner flame should be - Haier HGRA241AAWW | User Manual - Page 20
ALIGNMENTS AND ADJUSTMENTS, Continued Ovens with Pilotless Electric Ignition: Glow Bar Ignition System (-7 Models) System Operation The glow-bar ignition system consists of three main components: 1. The thermostat (or range control). 2. The glow-bar ignitor. 3. The oven gas valve (also called the - Haier HGRA241AAWW | User Manual - Page 21
of the features described within this manual. If your range has some features which are not covered in this manual, these features will be covered utensil. As a matter of safety, it's urged that you comply with these instructions. A high flame on a surface burner is both inefficient and unsafe. The - Haier HGRA241AAWW | User Manual - Page 22
Baking Follow the recipe instructions when baking. Use correct ingredients, measure them carefully, and use the correct on the front of the rack so it will clear the rack keeper. To replace the oven rack, guide the angled rear portion of the rack under the rack keeper and slide the rack to the rear. - Haier HGRA241AAWW | User Manual - Page 23
the broiler section there are two positions of stamped-in oven rack guides and a broiler pan and grill. When you want to broil, take one of the oven racks and insert it into the rack guide positions. Next, place the broiler pan and grill on the oven rack for broiling - Haier HGRA241AAWW | User Manual - Page 24
the continuous cleaning feature.) Before Using Your Oven-Read These Instructions Carefully. Using The Continuous Cleaning Oven The catalytic finish will Over a period of time, wear marks may appear on the embossed rack supports. This is normal and results from sliding the oven racks in and out of - Haier HGRA241AAWW | User Manual - Page 25
OPTIONAL EQUIPMENT, Continued Backguard and Control Panel Features ! WARNING Electrical Grounding Instructions: This appliance, when equipped with electrical equipment, has a three-prong grounding plug for your protection and should be plugged directly into a properly grounded receptable. Do not - Haier HGRA241AAWW | User Manual - Page 26
the main top. Never immerse the ignitor in water. This can cause ignition problems. Clean the burner head with a non-abrasive soap filled scouring pad, the ceramic ignitor base could be damaged. See page 13 for instructions. The porcelain finish top can be cleaned with detergent and warm water. A - Haier HGRA241AAWW | User Manual - Page 27
dealer from whom the range was purchased. In case your range was purchased from a source other than an appliance dealer you may prefer to contact the manufacturer at the address shown in this manual. Moisture During the initial heat-up of your range, the heat mixing with the cooler air in the - Haier HGRA241AAWW | User Manual - Page 28
CLEANING THE RANGE, Continued prevent this, open the oven door for the first few seconds of initial oven heat-up. This will allow the moist air within the oven to escape without the forming of visible moisture on the range. The amount of moisture will depend upon the humidity of the air and water - Haier HGRA241AAWW | User Manual - Page 29
TROUBLE SHOOTING GUIDE PROBLEM CAUSE CORRECTION 1. Surface burner fails to light. a. Pilot is out. b. See step 4 in ALIGNMENTS AND ADJUSTMENTS section. e. Set indicator in MANUAL (MAN) or OFF position. f. Have servicer adjust burner. 6. Oven Temperature seems inaccurate. •Food takes too long. - Haier HGRA241AAWW | User Manual - Page 30
Refer to this diagram for ranges equipped with all spark ignition. 30 - Haier HGRA241AAWW | User Manual - Page 31
Refer to this diagram for ranges equipped with top burner spark ignition and glow coil oven ignition. 31 - Haier HGRA241AAWW | User Manual - Page 32
receipt must be presented to the authorized service center before warranty repairs are rendered. EXCEPTIONS and electrical parts, which serve as a functional, purpose of this appliance for a period of 12 months. This includes all parts except Haier America New York, NY 10018 PART NO. 180-6C152 (6-06)
-
 1
1 -
 2
2 -
 3
3 -
 4
4 -
 5
5 -
 6
6 -
 7
7 -
8
-
9
-
10
-
11
-
12
-
13
-
14
-
15
-
16
-
17
-
18
-
19
-
20
-
21
-
22
-
23
-
24
-
25
-
26
-
27
-
28
-
29
-
30
-
31
-
32
 |
 |
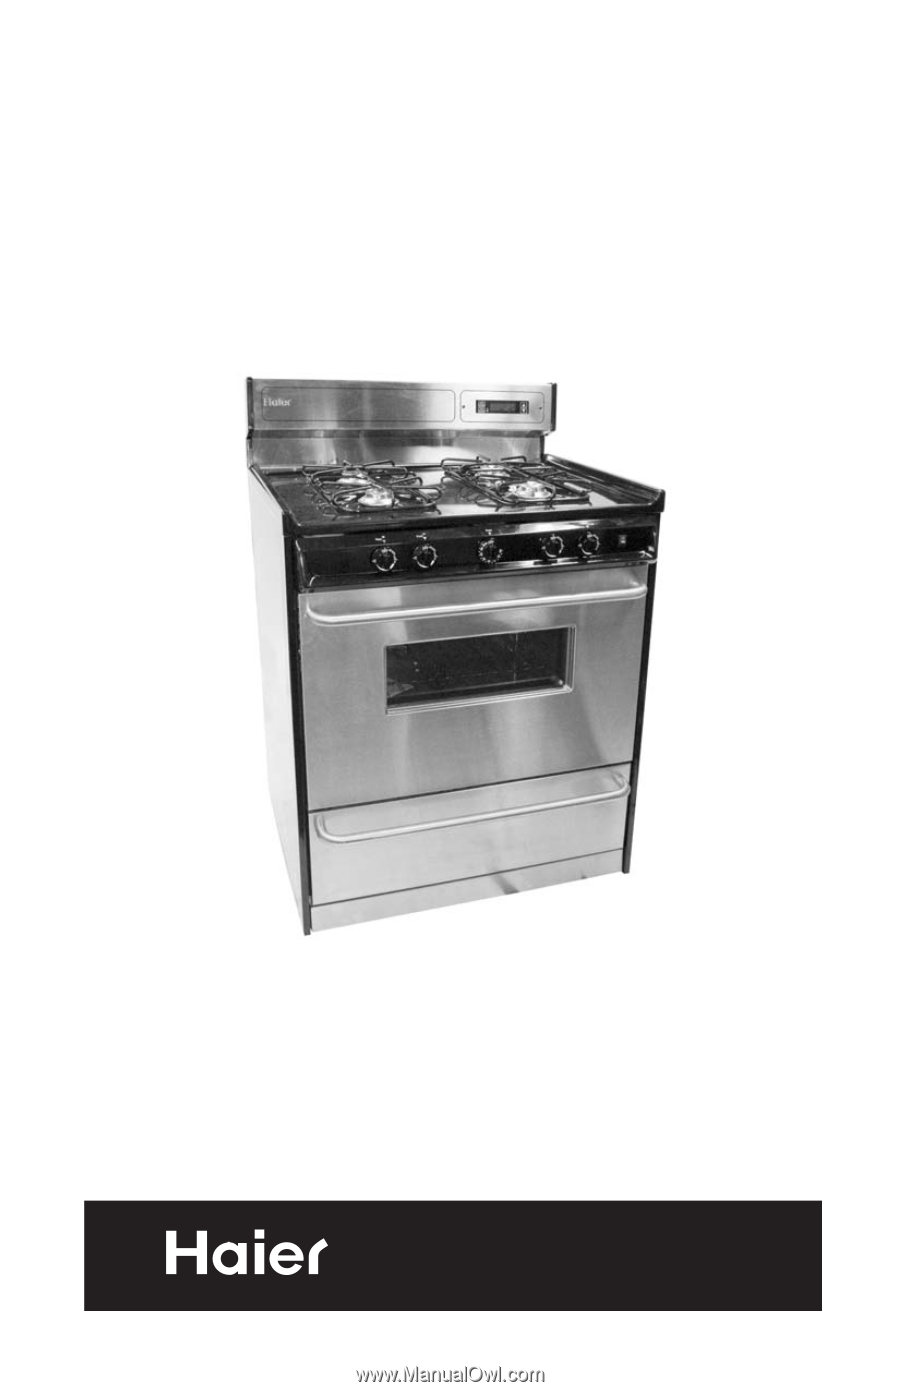
Quality • Innovation • Style
Gas Range
User Manual