Hayward Power-Flo LX Owners Manual
Hayward Power-Flo LX Manual
 |
View all Hayward Power-Flo LX manuals
Add to My Manuals
Save this manual to your list of manuals |
Hayward Power-Flo LX manual content summary:
- Hayward Power-Flo LX | Owners Manual - Page 1
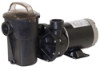
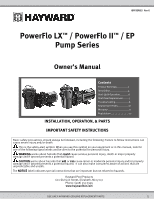
PowerFlo LX™ / PowerFlo II™ / EP Pump Series Owner's Manual Contents Product Warnings 2 Installation 4 Start-Up & Operation 6 Shaft Seal Replacement..........7 Troubleshooting 8 Replacement Parts 10 Warranty 11 Registration 12 INSTALLATION, OPERATION, & PARTS IMPORTANT SAFETY INSTRUCTIONS - Hayward Power-Flo LX | Owners Manual - Page 2
to follow safety and operation instructions could result in violent separation of the pump housing and cover, and/or filter housing and clamp due to pressure in the system, which could cause property damage, severe personal injury, or death. Before servicing pool and spa water circulation system - Hayward Power-Flo LX | Owners Manual - Page 3
Failure to follow safety and operation instructions could result in violent separation of pump and/or filter components. Strainer cover must be properly secured to pump housing with strainer cover lock ring. Before servicing pool and spa circulation system, filters manual air relief valve must be in - Hayward Power-Flo LX | Owners Manual - Page 4
Installation Instructions Pump Location The PowerFlo LX™ and EP series pumps MUST be installed below the pool water line (see Figure to right). Self-priming PowerFlo II™ pumps may be installed up to four (4) feet above the pool water line. Install pump on a firm, level base or pad to meet all local - Hayward Power-Flo LX | Owners Manual - Page 5
In case of a power outage, check GFCI for tripping, which will prevent normal pump operation. Reset if necessary. NOTE: If you do not use conduit when wiring motor, be sure to seal wire opening on end of motor to prevent dirt, bugs, etc., from entering. USE ONLY HAYWARD GENUINE REPLACEMENT PARTS 5 - Hayward Power-Flo LX | Owners Manual - Page 6
pump. 1. Drain water level below all inlets to the pool. 2. Remove drain plug from bottom of strainer body. 3. Disconnect pump from base. 4. Once the pump is removed of water, re-install the strainer lid and strainer plug. 5. Store pump in a dry enclosure. USE ONLY HAYWARD GENUINE REPLACEMENT PARTS - Hayward Power-Flo LX | Owners Manual - Page 7
rotating portion of seal in place onto the motor shaft. Hand-tighten the impeller in place. 14. Clean (replace if necessary) the O-ring and replace on pump cover. Assemble the pump cover to the pump housing/ shroud with the eight (8) screws removed in step #3. Tighten screws alternately and evenly - Hayward Power-Flo LX | Owners Manual - Page 8
's instructions; Cartridge filters - clean or replace cartridge. 3. Air leak in suction (bubbles issuing from return fittings). Re-tighten using Teflon tape. 4. Plugged or restricted impeller or impeller sheared off. Replace including new seal assembly. USE ONLY HAYWARD GENUINE REPLACEMENT PARTS 8 - Hayward Power-Flo LX | Owners Manual - Page 9
. Hayward pumps have self-lubricating motor bearings and shaft seals. No lubrication is necessary. Keep motor clean. Insure air vents are free from obstruction. Occasionally, shaft seals must be replaced, due to wear or damage. See "Shaft Seal Change Instructions" in this manual. DATE - Hayward Power-Flo LX | Owners Manual - Page 10
Part No. on Refer to Part No. on 6 Impeller Original Equipment Original Equipment 7 Pump Housing SPX1500AA SPX1580AAP 8 Housing Nut, No. 10-24 Hex Head SPX1500Y2 (7 Req'd.) SPX1500Y2 (8 Req'd.) Motor (for SP1540C) - 40 GPM SPX1540Z1E ---- Motor (for SP1750) - 1/2 HP ---- ---- Motor - Hayward Power-Flo LX | Owners Manual - Page 11
on your nearest Hayward Authorized Service Center please visit us at www.haywardpool.com. Hayward shall not be responsible for cartage, removal, repair or installation labor or any other such costs incurred in obtaining warranty replacements or repair. The Hayward Pool products warranty does - Hayward Power-Flo LX | Owners Manual - Page 12
Vinyl Fiberglass Other New Installation Replacement Installation for: In Ground Above Ground Spa Hayward is a registered trademark, and PowerFlo LX, and PowerFlo II are trademarks of Hayward Industries, Inc. © 2015 Hayward Industries, Inc. USE ONLY HAYWARD GENUINE REPLACEMENT PARTS 12
-
 1
1 -
 2
2 -
 3
3 -
 4
4 -
 5
5 -
 6
6 -
 7
7 -
8
-
9
-
10
-
11
-
12
 |
 |
USE ONLY HAYWARD GENUINE REPLACEMENT PARTS
1
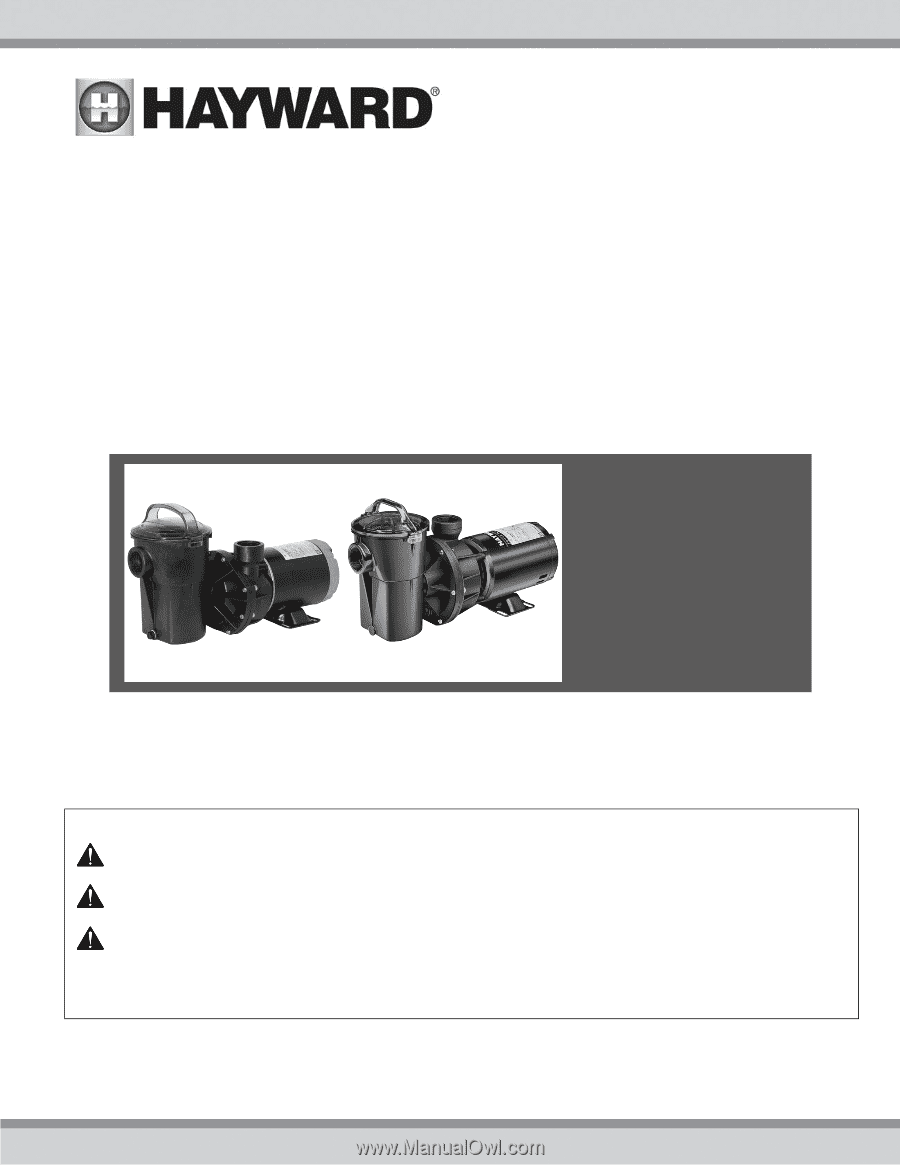
PowerFlo LX
™
/ PowerFlo II
™
/ EP
Pump Series
Owner’s Manual
INSTALLATION, OPERATION, & PARTS
IMPORTANT SAFETY INSTRUCTIONS
Hayward Pool Products
620 Division Street, Elizabeth, NJ 07207
Phone: (908) 355-7995
www.haywardnet.com
Contents
Product Warnings……….………2
Installation……….……………..…4
Start-Up & Operation…….…….6
Shaft Seal Replacement……….7
Troubleshooting…………………..8
Replacement Parts………..….…10
Warranty …………………………..…11
Registration………………………….12
ISPFSERIES
Rev G
Basic safety precautions should always be followed, including the following: Failure to follow instructions can
cause severe injury and/or death.
This is the safety-alert symbol. When you see this symbol on your equipment or in this manual, look for
one of the following signal words and be alert to the potential for personal injury.
WARNING
warns about hazards that
could
cause serious personal injury, death or major property
damage and if ignored presents a potential hazard.
CAUTION
warns about hazards that
will
or
can
cause minor or moderate personal injury and/or property
damage and if ignored presents a potential hazard.
It can also make consumers aware of actions that are
unpredictable and unsafe.
The
NOTICE
label indicates special instructions that are important but not related to hazards.