HP 1150c HP OfficeJet Pro 1150C - (English) User Guide - Page 13
Attach the Front-Panel Overlay, Unlock the Scanner
 |
View all HP 1150c manuals
Add to My Manuals
Save this manual to your list of manuals |
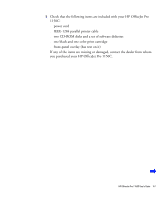
Page 13 highlights
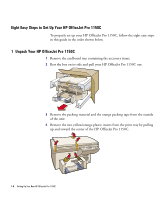
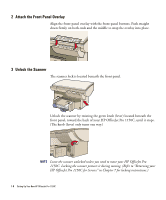
2 Attach the Front-Panel Overlay Align the front-panel overlay with the front-panel buttons. Push straight down firmly on both ends and the middle to snap the overlay into place. 3 Unlock the Scanner The scanner lock is located beneath the front panel. Unlock the scanner by twisting the green knob (lever) located beneath the front panel, toward the back of your HP OfficeJet Pro 1150C, until it stops. (The knob (lever) only turns one way.) NOTE Leave the scanner unlocked unless you need to move your HP OfficeJet Pro 1150C. Locking the scanner protects it during moving. (Refer to "Returning your HP OfficeJet Pro 1150C for Service" in Chapter 7 for locking instructions.) 1-8 Setting Up Your New HP OfficeJet Pro 1150C
-
 1
1 -
2
-
3
-
4
-
5
-
6
-
7
-
 8
8 -
 9
9 -
 10
10 -
 11
11 -
 12
12 -
 13
13 -
 14
14 -
 15
15 -
 16
16 -
 17
17 -
 18
18 -
19
-
20
-
21
-
22
-
23
-
24
-
25
-
26
-
27
-
28
-
29
-
30
-
31
-
32
-
33
-
34
-
35
-
36
-
37
-
38
-
39
-
40
-
41
-
42
-
43
-
44
-
45
-
46
-
47
-
48
-
49
-
50
-
51
-
52
-
53
-
54
-
55
-
56
-
57
-
58
-
59
-
60
-
61
-
62
-
63
-
64
-
65
-
66
-
67
-
68
-
69
-
70
-
71
-
72
-
73
-
74
 |
 |
1-8
Setting Up Your New HP OfficeJet Pro 1150C
2
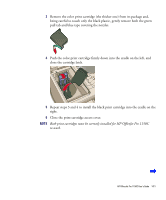
Attach the Front-Panel Overlay
Align the front-panel overlay with the front-panel buttons. Push straight
down firmly on both ends and the middle to snap the overlay into place.
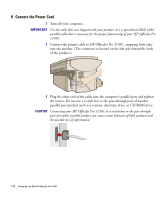
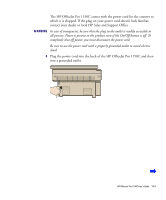
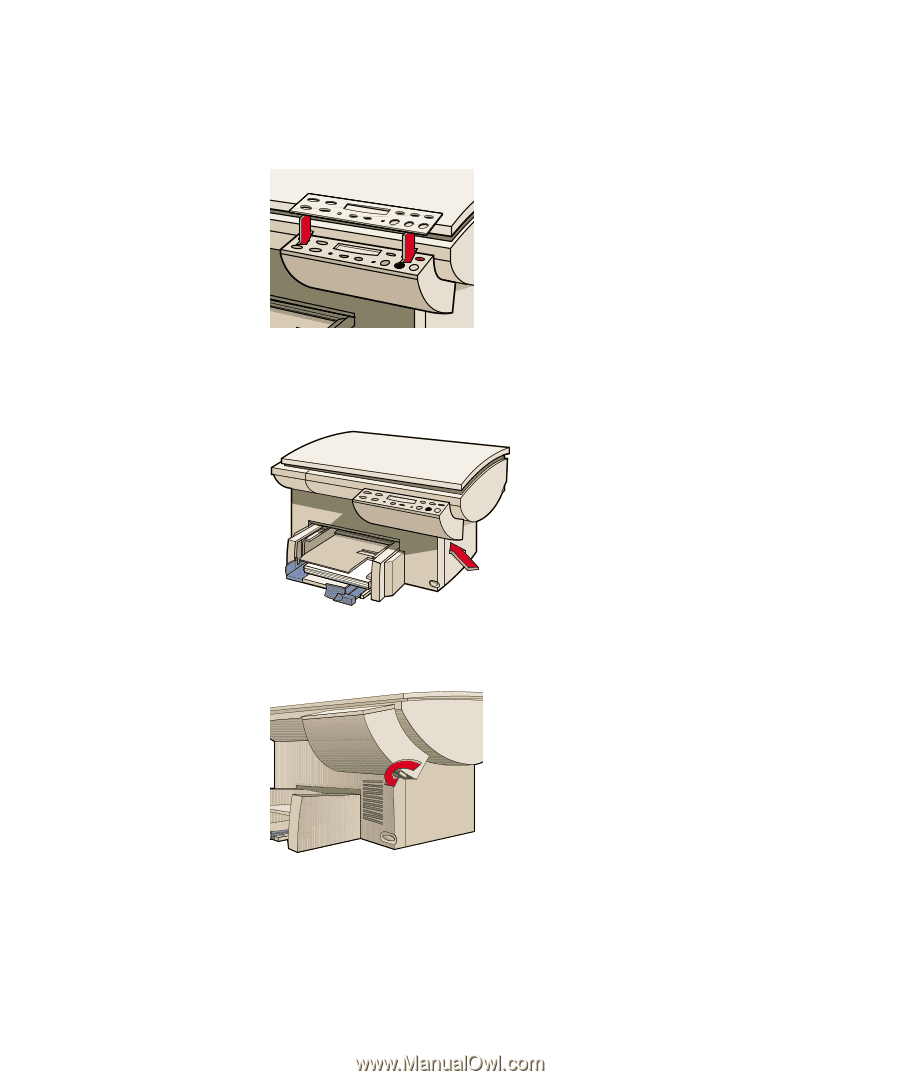
3
Unlock the Scanner
The scanner lock is located beneath the front panel.
Unlock the scanner by twisting the green knob (lever) located beneath the
front panel, toward the back of your HP OfficeJet Pro 1150C, until it stops.
(The knob (lever) only turns one way.)
NOTE
Leave the scanner unlocked unless you need to move your HP OfficeJet Pro
1150C. Locking the scanner protects it during moving. (Refer to “Returning your
HP OfficeJet Pro 1150C for Service” in Chapter 7 for locking instructions.)